❏
1. If you have not done so already, remove the major
parts of the kit from the box (wings, fuselage, cowl, tail
parts, etc.) and inspect them for damage. Be sure to label
the ailerons in some way to remind you of which wing panel
they belong to. If any parts are damaged or missing, contact
Product Support at the address or telephone number listed
on page 7.
❏
2. Remove the masking tape and separate the ailerons
from the wing, the elevators from the stab, and the rudder
from the fin. Use a covering iron with a covering sock on
high heat to tighten the model’s covering if necessary. Apply
pressure over sheeted areas to thoroughly bond the
covering to the wood.
❏ ❏
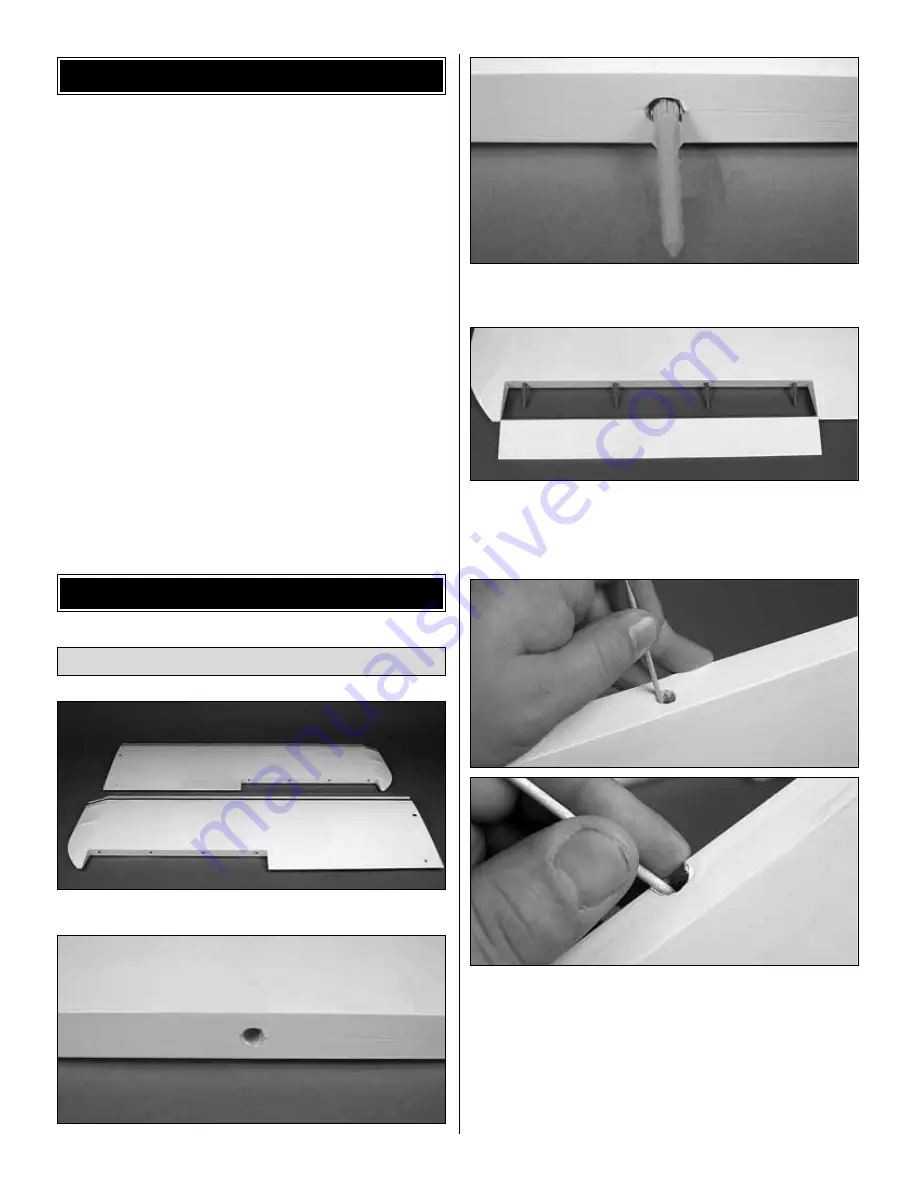
1. Locate the two bottom wing panels.
❏ ❏
2. There are four holes drilled in each wing panel to
accept the hinges. Test fit each hinge in the wing.
❏ ❏
3. Test fit the aileron to the wing.
❏ ❏
4. Remove the hinges from the wing and aileron and
set them aside.
❏ ❏
5. Mix up some 30-minute epoxy and Microballoons
(if using mixing cups, approximately 1/4 oz. [7g] of
Microballoons added to 1/4 oz. [7g] of mixed epoxy is
recommended). Use a toothpick to thoroughly apply the
mixture in the holes in the wing and aileron. Use the
toothpick to get the epoxy out of the outer edge of the
opening of the holes in the aileron so it doesn’t get into the
hinge pins. Wipe away any epoxy around the outside of the
holes with a paper towel.
Attach the Ailerons
WING ASSEMBLY
CHECK KIT CONTENTS
8


