27
❏
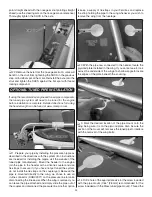
12. Slide a wheel onto the axle and secure it with a 5/32"
[4mm] wheel collar, 6-32 set screw and thread locking
compound. A drop or two of oil on the axle will ensure that
the wheel rotates freely. Loosely thread a 6-32 x 1/4" [6.4mm]
SHCS into the axle. Slide the axle onto the end of the nose
gear strut and move the retract to the locked up position.
Position the axle on the strut so that the wheel is as far aft as
possible but still moves up and down without contacting the
fuselage. Tighten the SHCS in the axle just tight enough to
hold the axle in place on the strut. Move the retract to the down
position. Rotate the axle on the wire so the nose wheel will
point straight ahead with the nose gear strut pointing straight
ahead (use the steering arm on the nose gear as a reference).
Thoroughly tighten the SHCS in the axle.
❏
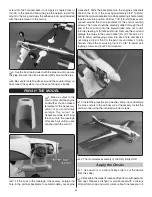
13. Remove the axle from the nose gear strut. A mark will
be left on the strut from tightening the SHCS in the previous
step. Grind a fl at spot at the mark. Reinstall the axle onto the
strut and tighten the SHCS against the fl at spot with thread
locking compound.
❏
14. Install a screw lock connector into the outer hole of
the remaining rudder servo arm. Loosely thread a 4-40 x 1/8"
[3mm] SHCS into the screw lock connector.
Содержание DIRTY BIRDY .60 ARF
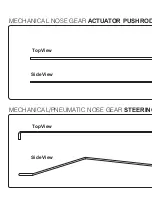
Страница 21: ...Carefully remove this insert in order to use your full size templates on the reverse side...
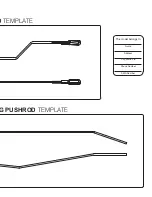
Страница 23: ...D TEMPLATE G PUSHROD TEMPLATE This model belongs to Name Address City State Zip Phone Number AMA Number...
Страница 24: ...Carefully remove this insert in order to use your full size templates on the reverse side...
Страница 44: ...GPMA1975 Mnl Entire Contents 2011 Hobbico Inc All rights reserved...


