18
INSTALL THE STABILIZER
AND TAIL SERVOS
❏
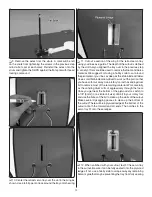
1. Test-fi t the carbon stabilizer tubes in the fuselage and
center them left and right.
❏
2. Test-fi t the left and right stabilizer halves onto the stab
tubes. If the stabilizer halves are diffi cult to install onto the
tubes, you may need to bevel the ends of the tubes with some
sand paper.
❏
3. When satisfi ed with the fi t, remove the stab halves and
tubes from the fuselage. Roughen the sides of the fuselage
where the stab halves will install with 220 grit sand paper and
clean the areas with denatured alcohol. Mix up approximately
1/4 oz [7.5cc] of 30-minute epoxy. Apply a thin coat onto one
half of each stab tube and insert the coated ends into one
stab half. Coat the other ends of the tubes, the roots of the
stab halves, and the mating sides of the fuselage. Assemble
the stab halves onto the fuselage taking care to wipe away
any excess epoxy that squeezes out as you slide the halves
together. Clean around the roots of the stab halves and then
use masking tape to hold the stab halves tightly against the
fuselage until the epoxy has completely cured.
❏
4. Thread a clevis (20 turns) and silicone clevis retainer
onto two 2-56 x 36" [914mm] pushrods. Attach the clevises
to the second outer holes of two control horns and insert the
pushrods into the elevator outer pushrod tubes. As you did
with the ailerons, align the holes in the control horns over the
elevator hinge lines and mark the locations of the mounting
holes onto the elevators (be sure that the control horns are
positioned over the hardwood plates installed in the elevators).
❏
5. Drill 5/64" [2mm] holes at your marks. Install the control
horns using four 2-56 x 5/8" [16mm] machine screws and
control horn backplates.
❏
6. Electronically center your elevator servo. Determine
at which orientation a four-armed servo arm fits most
perpendicular to the servo case. Trim off three of the four
Содержание DIRTY BIRDY .60 ARF
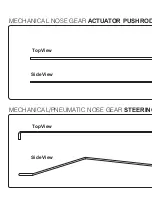
Страница 21: ...Carefully remove this insert in order to use your full size templates on the reverse side...
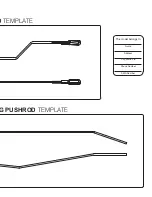
Страница 23: ...D TEMPLATE G PUSHROD TEMPLATE This model belongs to Name Address City State Zip Phone Number AMA Number...
Страница 24: ...Carefully remove this insert in order to use your full size templates on the reverse side...
Страница 44: ...GPMA1975 Mnl Entire Contents 2011 Hobbico Inc All rights reserved...


