11
EDIUS for AvID EDItorS
Core Editing
www.grassvalley.com
Much of your time as an editor will be spent looking at clips, marking them, and adding them to a sequence.
the good news for Avid editors using eDiUS is that there is almost no difference in functionality, naming, button functions, or
keyboard shortcuts.
Adding Clips to a Sequence
To Perform a Standard Edit:
1.
Double click on a clip in the Asset Bin to open it in the player monitor
2.
Add in and out marks by clicking on the Add in point or Add out point buttons or by pressing the “i” or “o” keys
3.
Set up your track patching, just as you would with Media composer
4.
Set your edit position on the timeline, or use an in mark
5.
click on the insert or overwrite button or press the [ or ] key
You can also drag-and-drop directly from the player preview monitor or from the Asset Bin.
What happens when you remove a clip from a sequence depends on the timeline modes—see “Working with the timeline.”
removing Clips from a
Sequence
To Remove a Clip Segment from a
Sequence:
Select it
press the Delete key
Moving Clips in a Sequence
Moving clips that are already part of a sequence is the same
experience in eDiUS as it is in Media composer. like Media
composer, you will need to choose your mode (insert or
overwrite).
Since version 5, Media composer has provided the option to
automatically select audio clips that are linked with video clips.
this has always been the way the eDiUS timeline functions.
in both edit systems, you prevent this automatic selection by
using the Alt modifier key.
the Proxy Workflow
Media composer allows you to transcode media to a highly
compressed format and then relink clips to the new files for
increased performance, relinking to the original media later for
output.
eDiUS offers the same functionality, including a standard-
definition downconvert for HD media, but there is also a fully
automated proxy mode.
When you turn on proxy mode, eDiUS automatically creates
highly compressed copies of all your project media and links all
Asset Bin clips and sequence clips to the new files.
the conversion is a background process, so you can continue
editing while it happens and you will know when a clip has
been converted as proxy clips have a patterned texture on the
timeline.
Working in proxy mode dramatically reduces workload for your
cpU, which is useful when editing on a less powerful computer
like a laptop.
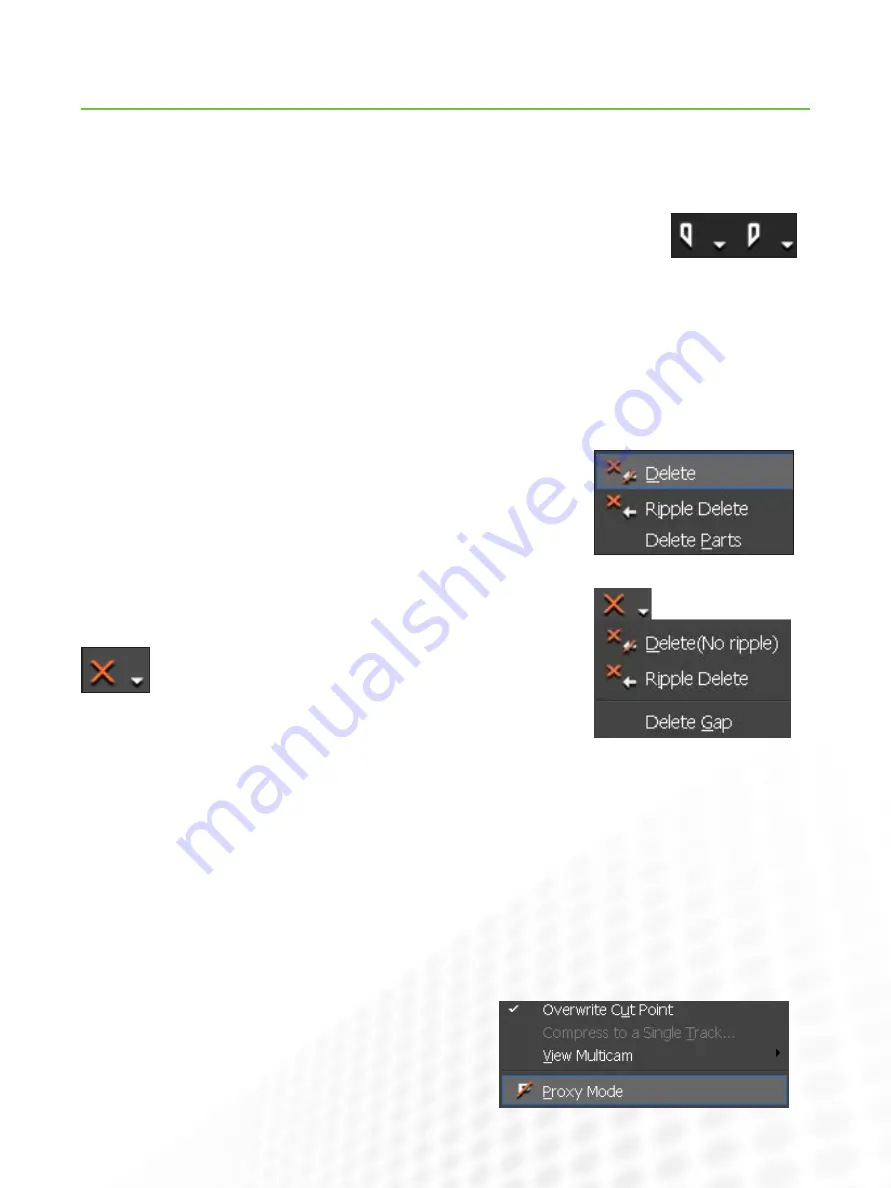
toggle between proxy mode and regular editing mode at any
time, by clicking on the Mode menu and choosing proxy Mode.
or
Right click on it and choose Delete
(Media composer lift) or Ripple Delete
(Media composer extract)
or
click on the Delete short-
cut button at the top of
the timeline
or
Use one of the timeline Delete button
submenu options to choose a different
delete type or partial delete


