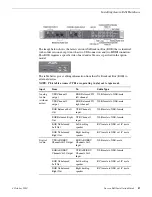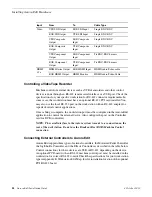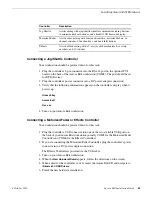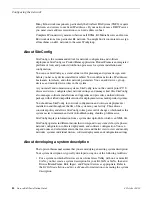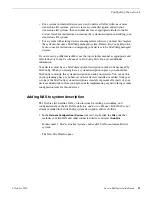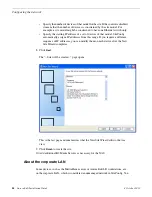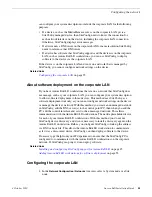
Description
Controller
Assists editing with a jog/shuttle wheel for convenient searching, buttons
to minimize keyboard strokes, and a backlit LCD timecode display.
Jog Shuttle
Assists audio mixing with four touch-sensitive, motorized faders, 16
channel switches, 4 function keys, and bank shift buttons.
Motorized Fader
Assists effects editing with a 3–axis joystick mechanism, five rotary
encoders, and 10 switches.
Effects
Connecting a Jog/Shuttle Controller
Your workstation should be powered down for this task.
1. Plug the controller’s 9-pin connector into the RS-422 port on the optional PCI
board on the back of the Aurora Edit workstation (COM4). The port should be set
for DTE (Device).
2. Plug the controller’s power connector into a DC power adapter connection.
3. Verify that the following information appears on the controller’s display when it
powers up:
Grass Valley
Aurora Edit
Rev x.xx
4. Turn on your Aurora Edit workstation.
Connecting a Motorized Fader or Effects Controller
Your workstation should be powered down for this task.
1. Plug the controller’s USB connector into one of the two available USB ports on
the back of your Aurora Edit workstation (usually COM5 for the Motorized Fader
Controller and COM6 for the Effects Controller).
2. If you are connecting the Motorized Fader Controller, plug the controller’s power
connector into a DC power adapter connection.
The Effects Controller is powered via the USB cable.
3. Turn on your Aurora Edit workstation.
4. When the
New Hardware Wizard
appears, follow the directions on the screen.
5. When asked for the controller’s driver, insert the Aurora Edit CD and navigate to
\Drivers\JLC USB Drivers
.
6. Finish the new hardware installation.
4 October 2010
Aurora Edit Installation Guide
23
Installing Aurora Edit Hardware


