CRF-1 Operating Manual
Page 23 of 60
33801-V4 DMN S90
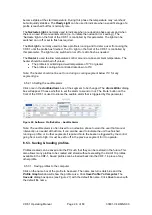
6.5.1.3. Deleting a segment
Click the
ID
box of the segment to be deleted. The number is highlighted in light blue to show
it has been selected. Click the
Delete Segment
button. The segment is removed and the ID
numbers for the other segments are adjusted.
6.5.1.4. Clearing a profile
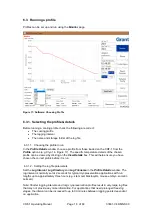
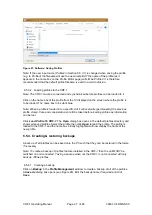
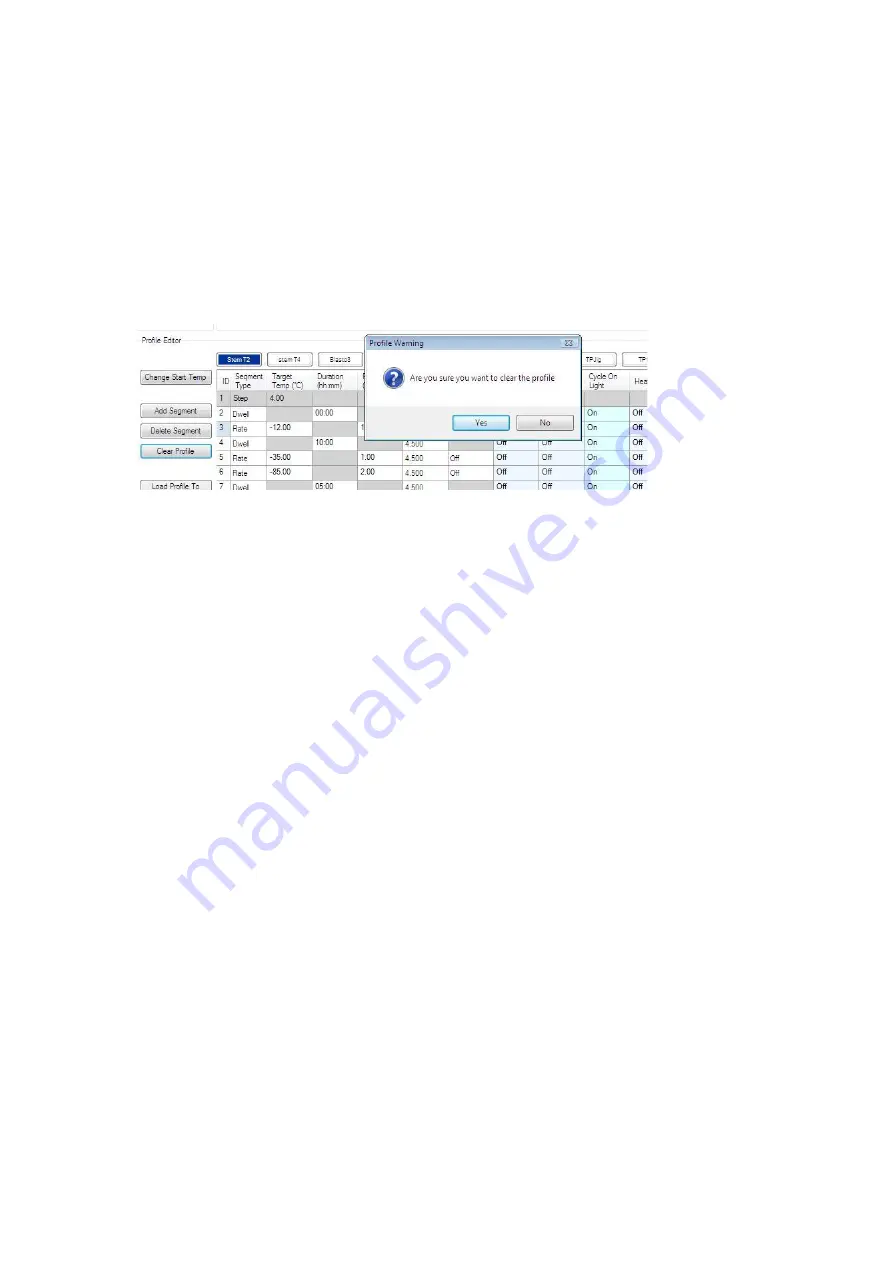
Clearing a profile will remove all segments. Click
Clear Profile
button. A
Profile Warning
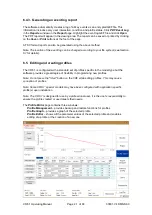
dialog box opens up to confirm the deletion of the selected profile (see Figure 22
– the profile
name highlighted in blue
– in this example this is ‘StemT2’).
Note: Do not delete the profiles with names begi
nning “TP” – these are factory test profiles.
Figure 22: Software: Profile Editor
– Clearing Profile
6.5.2. Setting the parameters of a profile
The segments of all cooling profiles can be modified to create variations of standard profiles
or to create completely new profiles. Editing segments within existing profiles is permanent
and should only be done with care and consideration. It is recommended that profile backups
are taken prior to any profile editing.
Note: The CRF-1 is designed for common cryopreservation applications and most profile
parameters can be easily met. The maximum or minimum parameter values for a segment
represent the highest or lowest value that can normally be achieved. Any profile created or
modified should be tested to confirm it is suitable for the given application. If the maximum or
minimum rate cannot be achieved in practice, then the CRF-1 will reproducibly deliver the
fastest or slowest value that can be achieved within the specific set up.
6.5.2.1. Changing a profile name
To change a profile name, double click on the name box of the profile to be edited. The name
box turns light blue and the
Profile Graph
window will show the profile curve. Type in the new
profile name (up to 8 characters
only) and press ‘enter’. The profile name will change and the
box will turn dark blue to show it is still selected.
6.5.2.2. Segment ID
The ID is the numerical position of the segment in a profile. It is automatically adjusted by the
software.
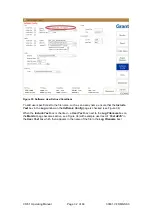
6.5.2.3. Changing the segment type
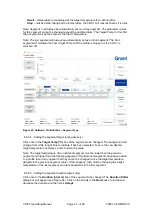
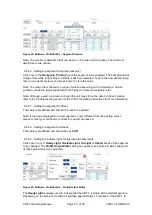
Click once in the
Segment Type
box of the segment to be changed. The
Segment Type
Entry
dialog box will appear (see Figure 23). Click the appropriate segment type to select it. If
no change is required, click on the X in the top right hand corner of the
Segment Type Entry
box to close and keep the original segment type.
Each segment can be one of three types:
Rate
– precisely controls the rate of temperature change in
o
C/min
Содержание CRF-1 H00
Страница 1: ...Controlled Rate Freezer CRF 1 Series Operating Manual...
Страница 59: ......


