background image

D.

Move  through  the  clip using  the  PLAY/FF/REW buttons  or  “scrub”  or  shuttle  through  the 
video using the playback slider moving the playhead forward and back in time manually. 

Below the player  window on the right, the “full  frame” button will  show your video full frame 
on  your  computer  display,  hiding  your  working  interface  until  you  choose  to  return  to  it  by 
using the “Esc” key. Adjust the audio volume using the slider control.

E.

Playback, View and External Display controls

PLAYBACK

: This controls the  playback  quality  of your GoPro CineForm  converted  clips in 

the  player. The  default  is set  for  half-resolution. This  does not affect the  quality  of the  clip 
itself, but lowering the playback resolution will allow smoother playback.

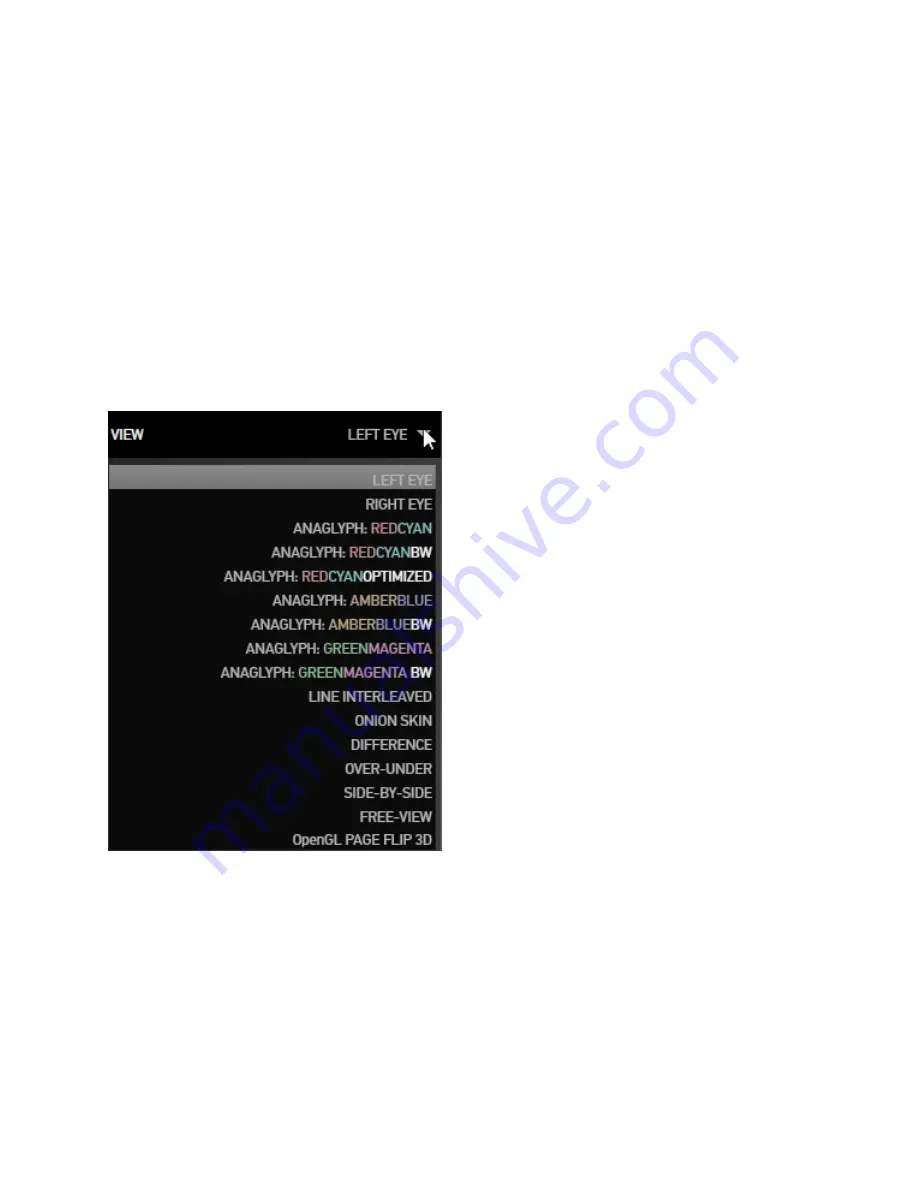
VIEW

: Control how your GoPro CineForm 3D clips are displayed on your computer.

LEFT EYE/RIGHT EYE

  display  only  one of the 

two video clips in your 3D clip.

ANAGLYPH

  modes  are  for  use  with  colored 

glasses,  tinting  each  video clip  slightly  so  that 
the  colored  filters in  the  glasses  separate  the 
two images, creating the “3D” effect.

LINE INTERLEAVED

 takes the two “eyes” and 

outputs  each  one  on  every   other  horizontal 
line.  This  is  for  use  with  certain  polarized, 
passive 3D displays and polarized glasses.

ONION SKIN

 displays your 3D clip  with the left 

and right eye superimposed together  in normal 
color. This mode can be very  helpful when you 
are  changing  the  alignment  between  the  two 
eyes.

DIFFERENCE

  is  another  way   to  view 

alignment by  viewing  only  the parts of the two 
images that  are different. You  may  choose this 
as  an  alternative  in  cases  where  the  images 
are too  detailed  or  “busy” to  properly adjust  in 
Onion Skin mode. 

OVER-UNDER

 is  a  3D  image  format  used  to 

feed some displays and television sets where the 

left and  right  eye  are  scaled  into one  frame,  split vertically,  then  properly  combined  into  a  3D 
image by the television set itself.

SIDE-BY-SIDE

  is  another  scaled  format  designed  to  feed  specific  3D  displays  or  television 

monitors where  the  two  eyes  are  scaled into  a  screen  split  left  and  right  which  the  television 
then displays as a 3D image.

FREE  VIEW

 can  be  useful  for  editing  or  adjusting  your  3D  clip as it  shows the  left  and  right 

eyes, in the proper aspect ratio, in the player.

GOPRO CINEFORM STUDIO


PAGE 12 

Содержание CineForm Studio

Страница 1: ...GoPro CineForm Studio Manual GoPro HERO and their respective logos are trademarks of Woodman Labs Inc in the United States and other countries Copyright 2011 Woodman Labs Inc All rights reserved...

Страница 2: ...TABLE OF CONTENTS INSTALLATION 3 OVERVIEW WORKING INSIDE THE STUDIO 3 STEP 1 IMPORT CONVERT 7 STEP 2 EDIT 11...

Страница 3: ...Pro CineForm files and keeping them in that state while you use your favorite video editing program to cut them together while you make color and framing and 3D alignment changes in GoPro CineForm Stu...

Страница 4: ...this folder on a drive with enough free space Second open the SD card that is now available on your computer via the camera or card reader and locate the DCIM folder Click and drag the complete conte...

Страница 5: ...ust alignment and you can simply edit them like any other video file Inside GoPro s CineForm Studio you can make color framing or 3D alignment or viewing adjustments to your GoPro CineForm files and t...

Страница 6: ...e in Studio to export an MPEG4 file for upload to the World Wide Web or playback on a computer You can take your clips through GoPro CineForm Studio to perfect their color and or 3D settings and expor...

Страница 7: ...pair If you choose to work with all the files in your project folder simply dragging the folder and dropping it on the Import pane will import all the GoPro media in the folder and will automatically...

Страница 8: ...g the playback slider moving the playhead forward and backward in time manually Below the player window on the right the full frame button will show your video full frame on your computer display hidi...

Страница 9: ...d typically be used on a Mac Quality The GoPro CineForm file can be created using the quality level you choose The default is Medium which will be a very high quality video file You can choose High qu...

Страница 10: ...vealed with the triangle on the right to give you an overview of the settings you ve created for the clip selected in the Conversion List panel If you wish to make a change to the settings of a partic...

Страница 11: ...s MP4 files for easy playback in other devices or uploading to a web video site The Edit Workspace A The Import Converted Clips List works exactly like the Import New Files List works in Step 1 You ca...

Страница 12: ...ges creating the 3D effect LINE INTERLEAVED takes the two eyes and outputs each one on every other horizontal line This is for use with certain polarized passive 3D displays and polarized glasses ONIO...

Страница 13: ...e colors in the shot I You can change the composition of your shot using the Framing Controls Zoom Horizontal and Vertical positioning slider controls can be helpful if you would like to crop out some...

Страница 14: ...i n g a c t i v e t o m a k e adjustments in other areas Working with 3D Inside GoPro CineForm Studio When you re working with 3D clips you are actually working with two slightly offset 2D clips whic...

Страница 15: ...s is the content the viewer will sense is at the screen face You can adjust what is at that screen plane through adjustment of the 3D Convergence Controls Horizontal slider By moving the slider to the...

Отзывы: