16
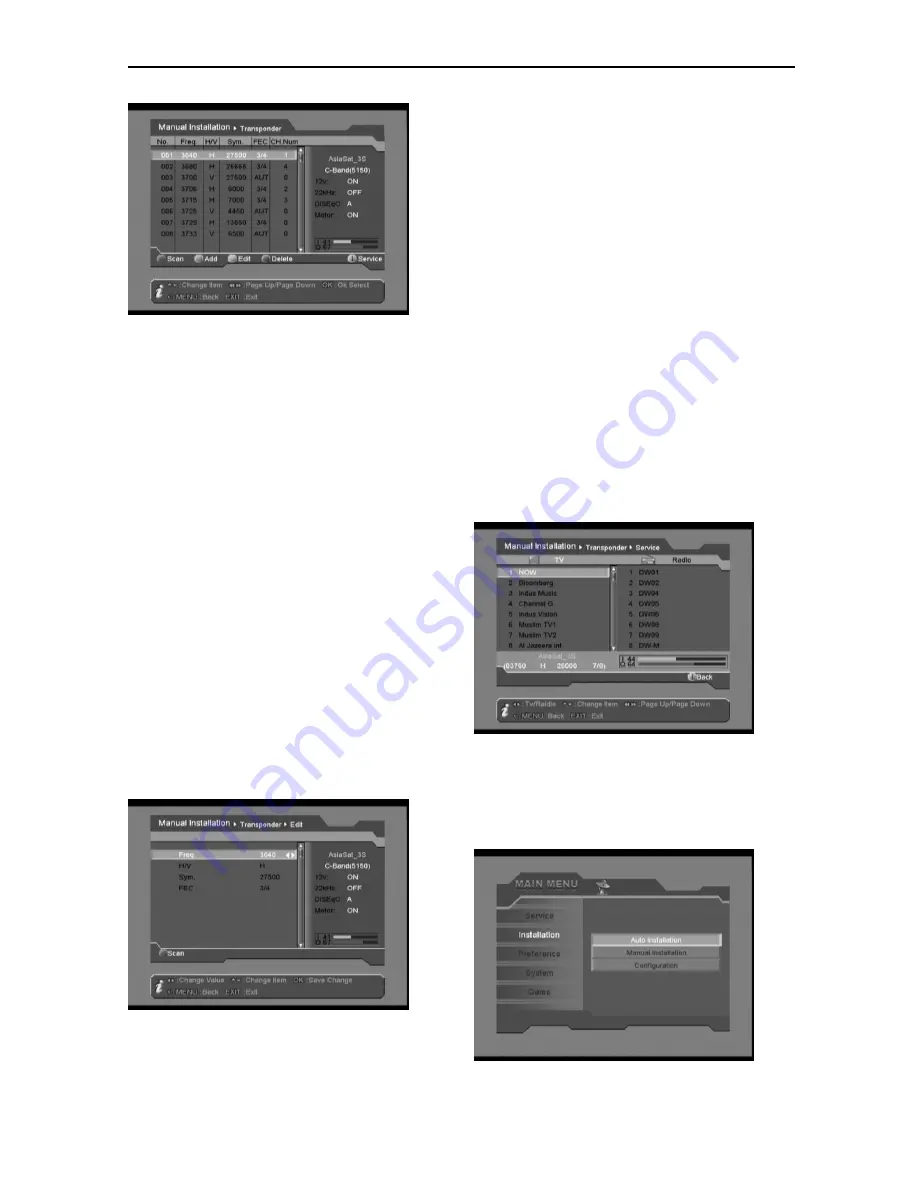
The menu displays as the following:
-
Transponder list
-
Indication frame for the information of
current satellite
We supply the following functions:
A. Scan
1. You can use UP/DOWN, P+/P- buttons to
browse the transponder list and press OK
button to select one or more transponders
at one time, then press RED button. An
“Scan Option” menu will be displayed for
you to select Scan Mode (FTA, ALL,
FTA_TV, ALL_TV) and Network (NIT OFF,
NIT ON) options by LEFT/RIGHT button. Be
noticed that if you select only one
transponder, you are able to scan certain
service only by putting certain VidPID,
AudPID and PcrPID by manual.
2. Press OK button to scan selected
transponder(s).
B. Add / Edit
Press GREEN or YELLOW button, you can
edit the parameters.
Freq.:Use 0-9 buttons or LEFT/RIGHT
button to enter new frequency.
H/V: Use the LEFT/RIGHT button to select
the polarization (H, V).
H(Horizontal): 18V/19V is output through
LNB cable
V(Vertical): 13V/14V is output through LNB
cable
Sym.: Use 0-9 buttons or LEFT/RIGHT
button to enter new symbol rate.
FEC: Use LEFT/RIGHT button to select the
Forward Error Correction (1/2, 2/3, 3/4, 5/6
or 7/8) if you are sure about the value,
otherwise please select AUTO, software will
automatically detect it for you.
C. Delete
Select one or more transponders you don’t
need any more by pressing OK button.
Then press BLUE button to delete them. Be
noticed that all services belonging to the
deleted transponder will be deleted too.
D. Services
Press INFO button, you can check services
(TV and Radio) belonging to current
transponder if any.
Auto
Installation
“Auto Installation” is a very new and
convenient function. It will automatically detect


