


GKB HZ2001 HD-SDI PTZ Camera
56
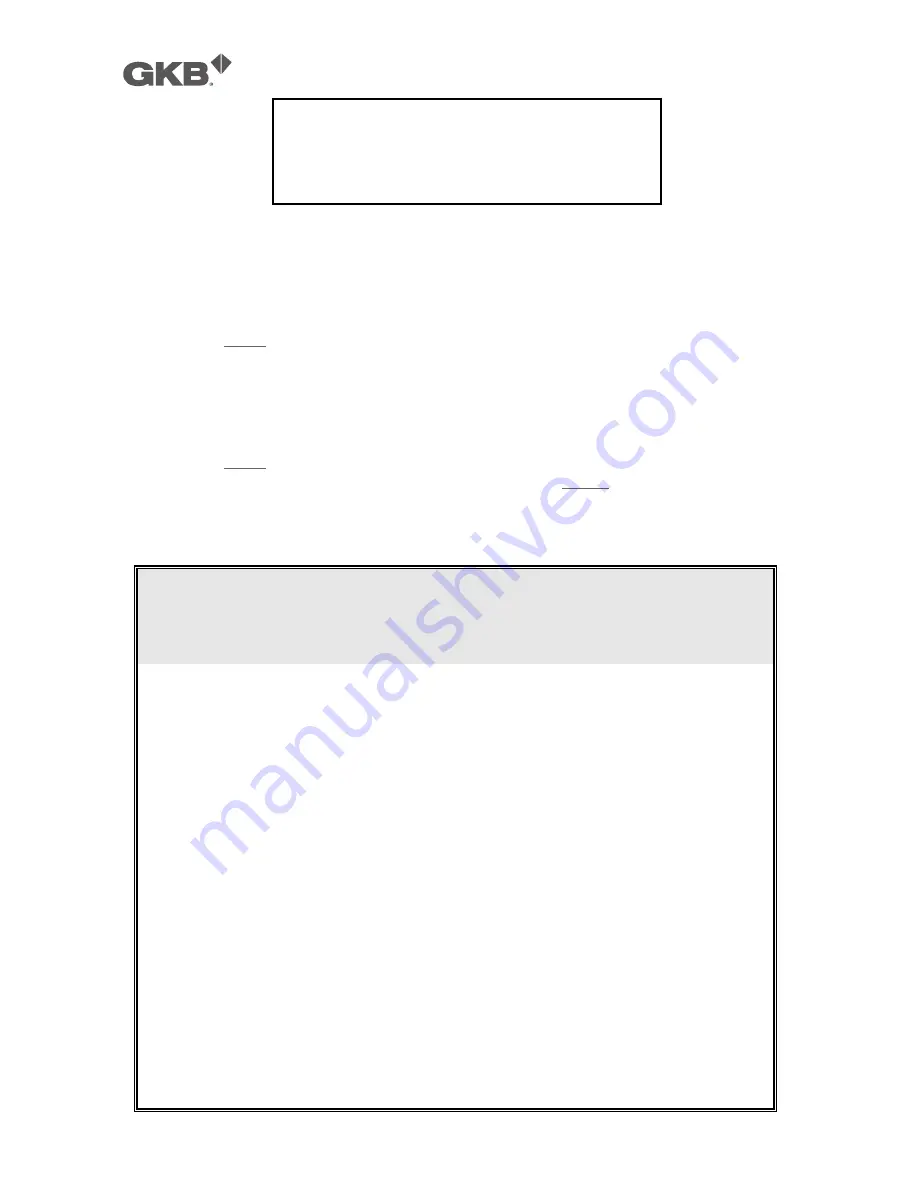
Screen 28: Edit Window Location
51)
A cross-shaped pointer will appear on the monitor: this pointer will correspond to the
middle of the privacy zones being created.
52)
Point the cross-shaped cursor to the required position by moving the joystick in the vertical
and horizontal directions.
53)
Press
OPEN
. A square will appear on the monitor (with the previously defined features).
54)
Use the joystick to obtain the required dimensions of the privacy zone:
a)
Move leftwards to increase the left and right edges of the blanking zone
b)
Move rightwards to decrease the left and right edges of the blanking zone
c)
Move upwards to increase the upper and lower edges of the blanking zone
d)
Move downwards to decrease the upper and lower edges of the blanking zone
55)
Press
OPEN
to confirm after reaching the required dimensions.
56)
At this point, either select a new privacy zone or select
CLOSE
to quit the menu.
"
It is preferable to set the privacy zones with a zoom level of 1x.
Remarks on Privacy Zones
!
Privacy zones can be programmed (and therefore the menu can be opened)
in optical zoom situations only. The privacy zone works also in digital zoom
conditions.
!
The privacy zone rectangle will move on the screen when panning and tilting.
Zooming will expand and contract the rectangle.
!
The rectangle will expand twice in the vertical direction and four times in the
horizontal position to avoid viewing protected areas when panning, tilting
and zooming.
!
After panning and tilting, the privacy zone rectangle will shift and return to the
correct dimensions. After zooming, the rectangle will remain either contracted
or expanded according to the applied zoom (regardless of the x2 or x4 factor
applied while zooming).
!
It is advisable to make the privacy areas slightly larger than the area to be
concealed.
!
Privacy zones can only be rectangular or squares, but several rectangles can
be placed to mask the area as required.
EDIT WINDOW LOCATION
IRIS OPEN TO CONTINUE
IRIS CLOSE TO CANCEL


