


GKB HZ2001 HD-SDI PTZ Camera
25
3.5 Function Program Menu
Use the following control panel command to access the function programming menu.
PRESET
+
95
+
ENTER
At this point, if no password is required for access, the following first level menu will appear on the
screen:
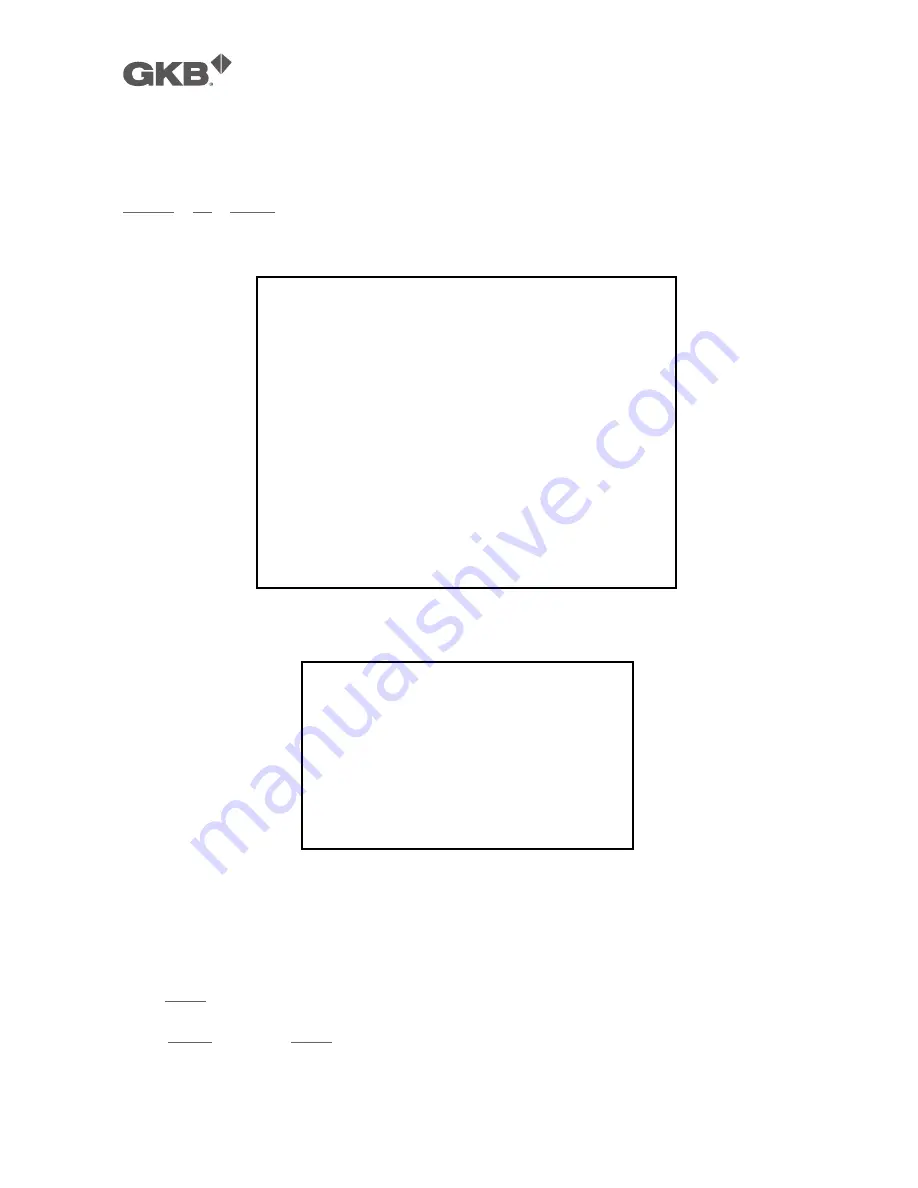
Screen 1: Main Menu
Otherwise, if a password is required, the following prompt will appear.
Screen 2: Password Protection
The password is a numeric combination (max. 4 digits).
Select the password digits by moving the joystick in the horizontal direction. Symbol “
▲
” indicates
the digit which will be entered.
Press
OPEN
to enter the selected digit.
The entered numbers will be replaced by a “*” symbol on the screen for privacy.
Select
ENTER
and press
OPEN
to access the first level menu after entering all the digits correctly.
"
The default password is “0000”.
"
It is advisable to change the default password to prevent intrusions.
"
Do not lose or forget the programmed password.
MAIN MENU
<SYSTEM INFORMATION>
<DISPLAY SETUP>
<DOME SETTINGS 1>
<DOME SETTINGS 2
<DOME LABEL>
RESTORE FACTORY DEFAULT
RESET CAMERA
REBOOT SYSTEM
LANGUAGE
ENGLISH
PRIME DIRECTION
N
POWER DOWN MEMORY
OFF
EXIT
PLEASE INPUT PASSWORD
PASSWORD
1 2 3 4 5 6 7 8 9 0
▲
CLEAR
ENTER
EXIT


