


En
gl
ish
41
Personalize Your W511 Series Notebook Computer
5. Insert the connector of the memory module into the socket.
Make sure the notch of the memory module fits the nose of
the socket.
• Hold the memory module at a 30-degree angle and push its
connector into the memory socket of the notebook.
• Press down on the edge of the memory module until the
locking tabs on both sides is locked.
6. Put the DIMM door back and secure the screw on the DIMM
door.
7. Turn the system over.
To remove a memory module, push the locking tabs aside from
the memory module until the module pops up. Then, remove the
memory module.
Note: Avoid touching the exposed components inside the system.
Doing so may damage the system.
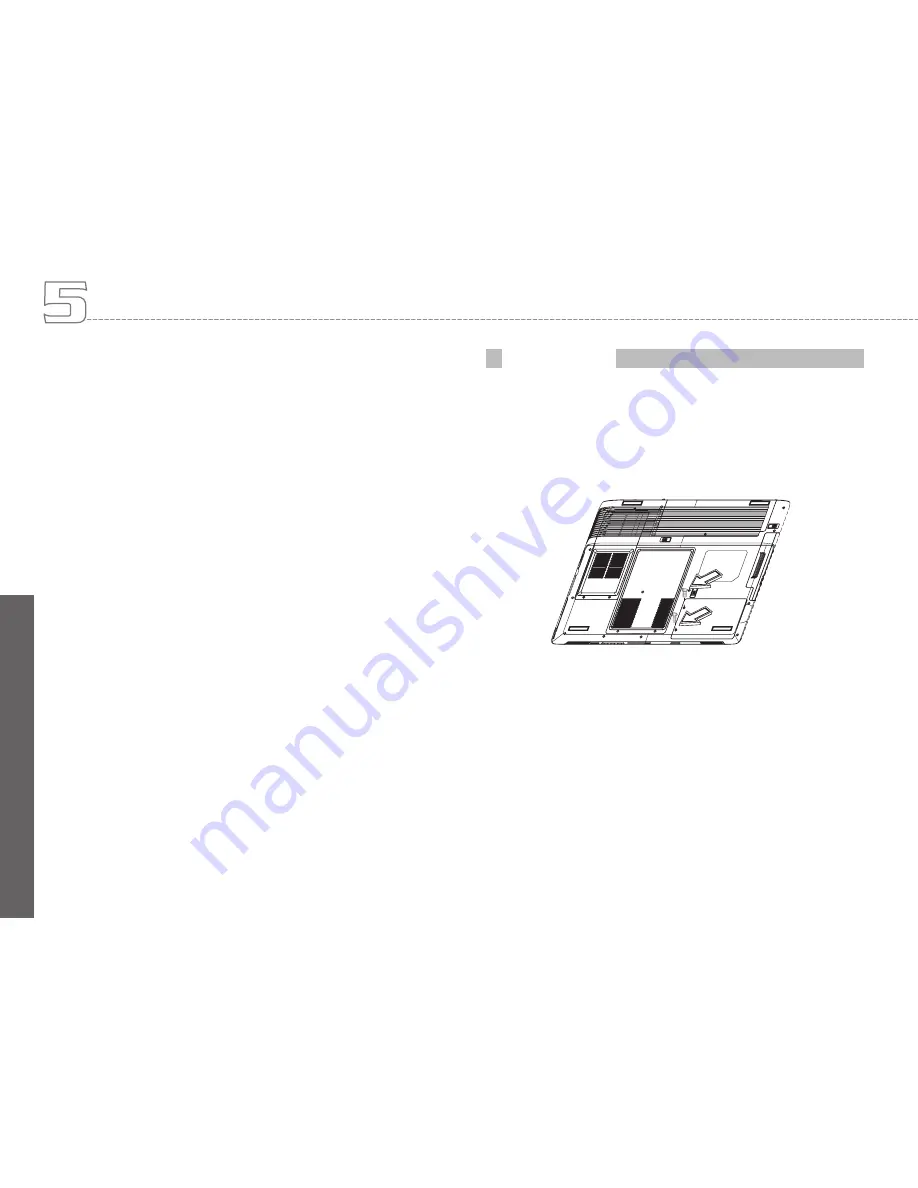
Your notebook computer offers one 2.5” format, 9.5mm height hard
disk. If the volume does not fit your need or it is crashed, you can
upgrade it by replacing with new hard disk. Please do the following
steps to change it.
1. Remove the screws and open the cover by lifting its upper
side cover.
2. Take out the hard disk from the compartment by finger care-
fully.
3. Remove the crane screws located at each side of the hard
disk and then remove the protecting metal shield away from
HDD.
4. Remove the connector from the hard disk gently.
5. Attach the connector to the new hard disk precisely.
6. Cover the HDD with protecting metal shield then rotate and
tighten the crane screws to the new hard disk.
7. Place the hard disk back to the compartment.
8. Cover the lid, then rotate and tighten the screws.
Upgrade Hard Disk
Содержание W511 Series
Страница 23: ...14 W511 Series User s Manual English ...