


Accessing the Camera
6
6.2.2 Configuring the IP Address
Follow the steps below to configure the IP address.
1.
Open your Web browser, and type the default IP address
http://192.168.0.10
.
2.
In both Login and Password fields, type the default value
admin
. Click
pply
.
3.
In the left menu, select
Network
and then
LAN
to begin the network
A
settings.
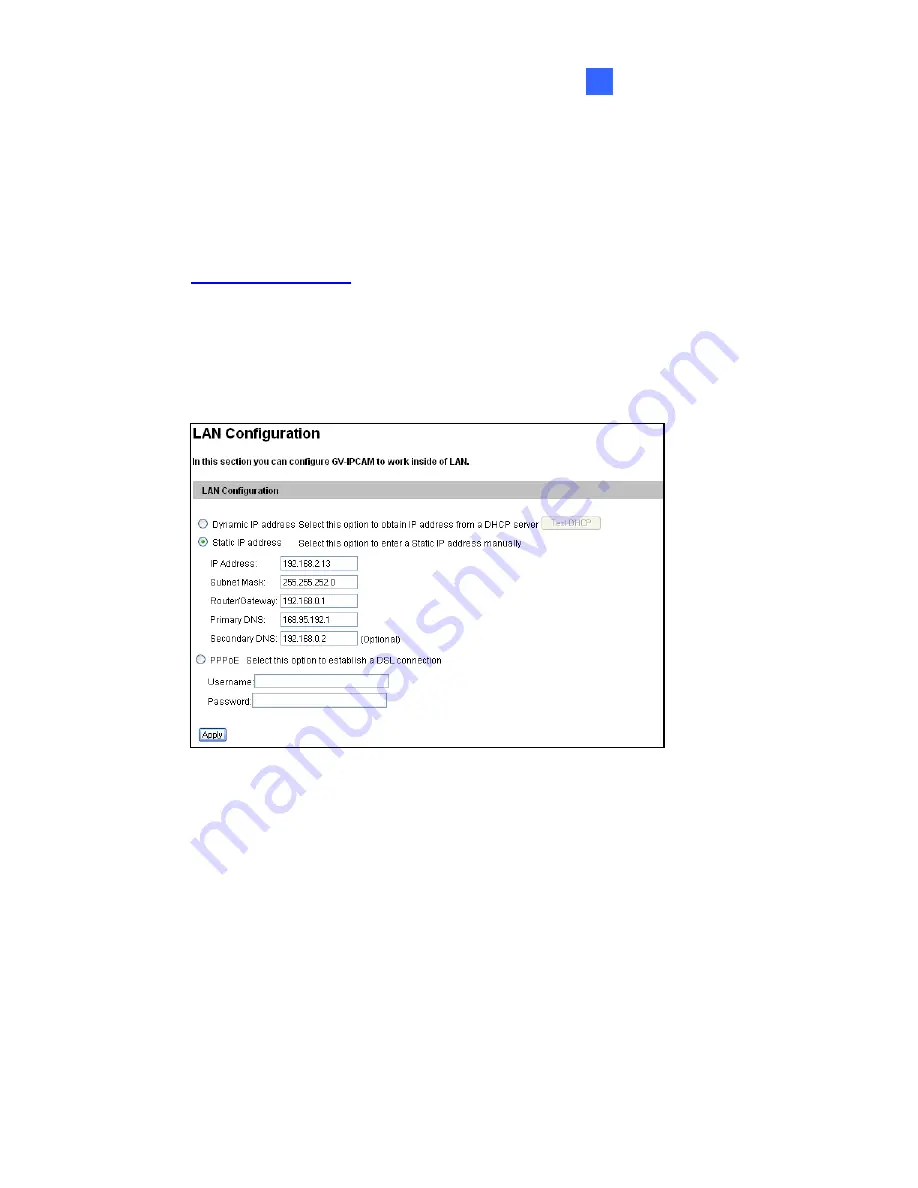
Figure 6-4
4. Select
Static IP address
,
Dynamic IP address
or
PPPoE
and type
the required network info
5. Click
Apply
. The camera is now accessible by entering the assigned
address on the Web browser.
6.
o enable the updating of images in Microsoft Internet Explorer, you
must set your browser to allow ActiveX Controls and perform a one-
e installation of GeoVision’s ActiveX component onto your
omputer.
rmation.
IP
T
tim
c
105
Содержание GV-EVD2100
Страница 21: ...Vandal Proof IP Dome Part I 1 Unscrew the inner housing Take out the camera body 8 ...
Страница 40: ...Vandal Proof IP Dome Part II 2 2 2 Overview 1 2 3 4 5 6 8 7 9 10 12 11 13 14 Figure 2 1 27 ...
Страница 60: ...Vandal Proof IP Dome Part III 3 3 2 Overview 1 2 4 5 3 Figure 3 1 47 ...
Страница 77: ...Vandal Proof IP Dome Part IV 4 4 2 Overview Figure 4 1 13 12 10 8 7 9 11 14 Figure 4 2 64 ...
Страница 78: ...Vandal Proof IP Dome Part IV 4 GV VD2702 2712 Figure 4 3 GV VD4702 Figure 4 4 65 ...
Страница 98: ...Target Vandal Proof IP Dome 5 Conduit pipe Conduit converter Metal PG21 conduit connector 85 ...
Страница 99: ...Target Vandal Proof IP Dome 5 5 2 Overview 1 2 3 4 5 14 6 7 13 12 10 8 9 11 Figure 5 1 86 ...
Страница 124: ...Accessing the Camera 111 6 Do not leave a distance between the Focus Adjustment Cap and the camera Figure 6 10 ...
Страница 125: ...The Web Interface 7 Chapter 7 The Web Interface 1 2 3 4 5 6 7 8 9 10 11 12 13 Figure 7 1 112 ...


