29
SELECTING TRACKS
The track indicators on the display have three
states: blinking, light on or light off.
A blinking light means the track is chosen for
recording. If the track has recorded data, the
original data will be replaced. A track with the light
on indicates the track has data and will play back
the data during recording. A track with the light off
indicates the track has no data.
In recording standby mode, you can press the track
buttons repeatedly to select/de-select a track for
recording.
STOP RECORDING
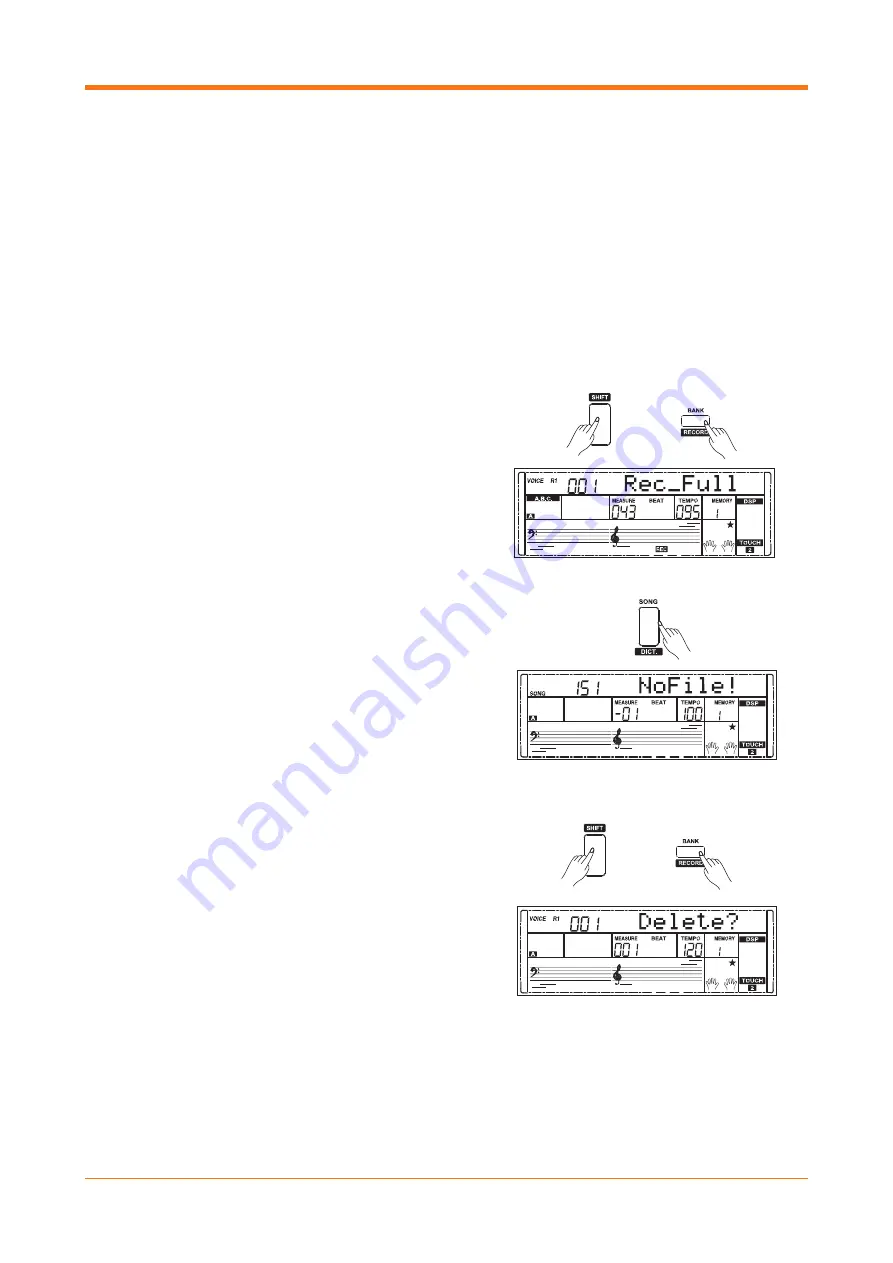
To stop recording, hold down the [SHIFT] button
and then press the [RECORD].
If the memory is full, the recording will stop and
save automatically, and the display will show “Rec_
Full” When recording a rhythm style, recording will
stop when the ending section is finished.
PLAYBACK RECORDING
Stopping recording will automatically enter the
song mode and the display will show “UserSong”
and the user song number.
2. Press the [SONG] button to enter the song mode
and it will play all songs in a loop. Use the data dial
or [-/NO] and [+/YES] buttons to select different
user songs. If there is no data in the selected user
song, it will display “NoFile!”
DELETE USER SONGS
In recording standby mode, hold down the [SHIFT]
button and then press the [RECORD] button for two
seconds, the display will show the prompt “Delete?”
Select the track you wish to delete by pressing
[ACCOMP] or the [MELODY 1] to [MELODY 5]
buttons. The tracks selected will light up. If all tracks
light up, the whole user song will be erased after
confirmation.
Press the [+/YES] button to confirm and the
recorded data in this track will be erased. Press the
[-/NO] button to exit this step and go back to the
recording standby mode.
NOTE:
All user songs can be deleted by pressing and
holding the [RECORD] and [STORE] buttons
simultaneously whilst turning on the keyboard.


