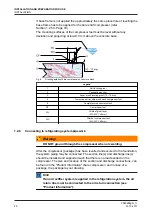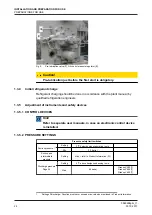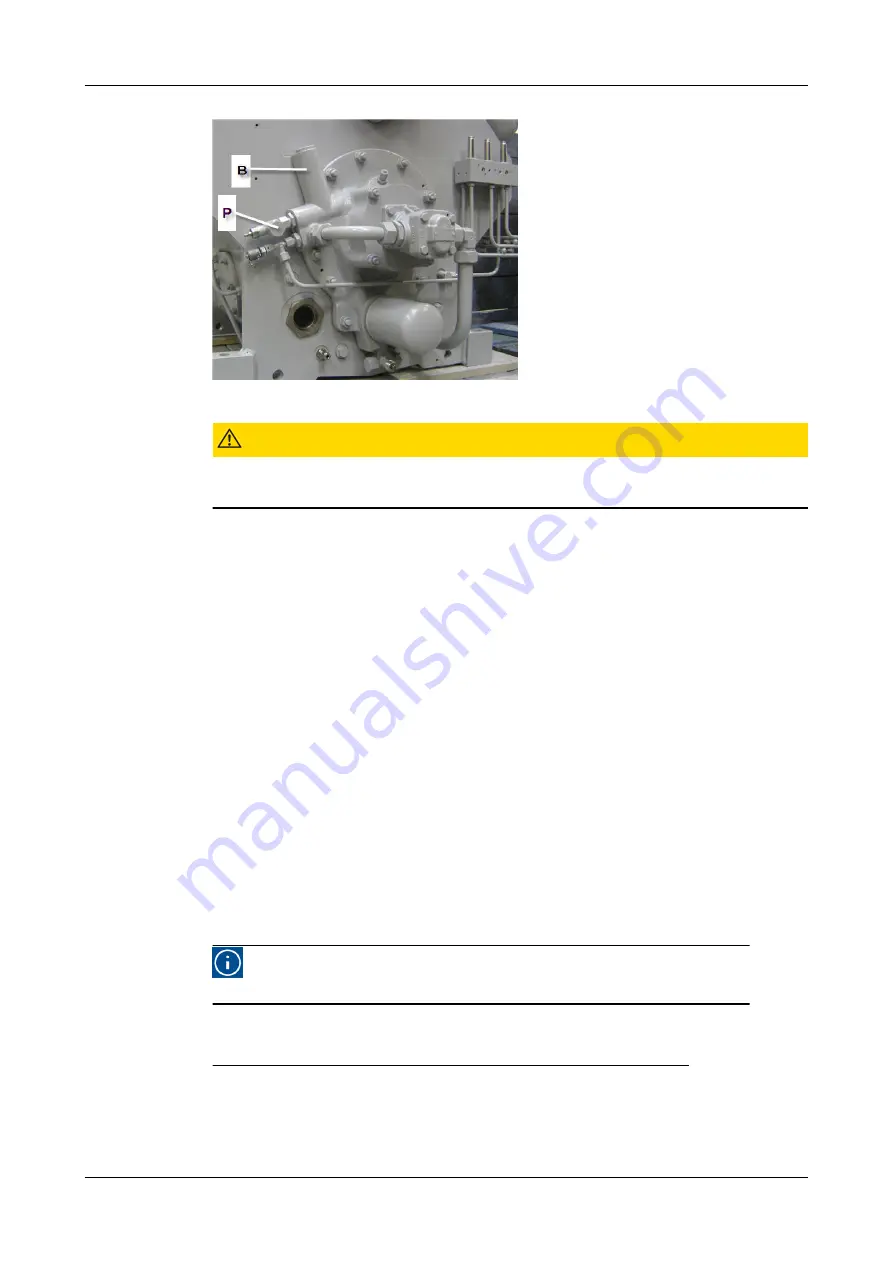
Fig.11:
Oil control pressure regulator (B), Pre-lubrication valve (P)
Caution!
Oil charge valve (P) for lubrication circuit. this connection to be used
for pre-lubrication of the oil circuit
Re-adjustment procedure:
i.
Run the compressor for 15 minutes until the crankcase oil is at its stable
operating temperature [Toil] of 50
o
C and check:
1) The lubricating oil pressure difference (A)
2) The control oil pressure difference (B)
After the initial run the oil pressure differences should be slightly higher.
ii.
Determine the lubricating oil pressure difference (difference between the
pressure gauges of the oil and suction or [dOil]).
iii.
Determine the control oil pressure difference (difference between the
pressure gauges of oil pump discharge
3
and suction.
iv.
Remove the plug of both oil pressure regulators if the pressures need to be
re-adjusted.
v.
Turn the slotted pin with a screwdriver clockwise or counter clockwise for a
higher or lower oil pressure respectively, until the required control &
lubricating oil pressure differences have been achieved
4
.
vi.
Replace both plugs.
Hint!
If the valve lifting fails, check the control oil pressure regulator!
3
To be measured by means of a special control oil pressure gauge to be connected on the oil
pump.
4
Re-adjusting one regulator will affect the other one, so be sure that both regulators are
properly (re-)adjusted.
INSTALLATION AND PREPARATION FOR USE
PREPARATIONS FOR USE
0089288gbr_11
26
30.10.2017
Содержание Grasso V 1100
Страница 6: ...0089288gbr_11 6 30 10 2017 ...
Страница 8: ...0089288gbr_11 8 30 10 2017 ...
Страница 10: ...0089288gbr_11 10 30 10 2017 ...
Страница 61: ...Fig 16 Grasso V 6 Pre lubrication valve APPENDIX Product Information PI 0089288gbr_11 30 10 2017 61 ...


