90
7) Go back to other pages of GCC Laser Print Driver to set up laser parameters like
speed, power, and dpi etc. (refer to Chapter V of user manual for print driver operation
details) and click “OK” to print your design to the laser machine.
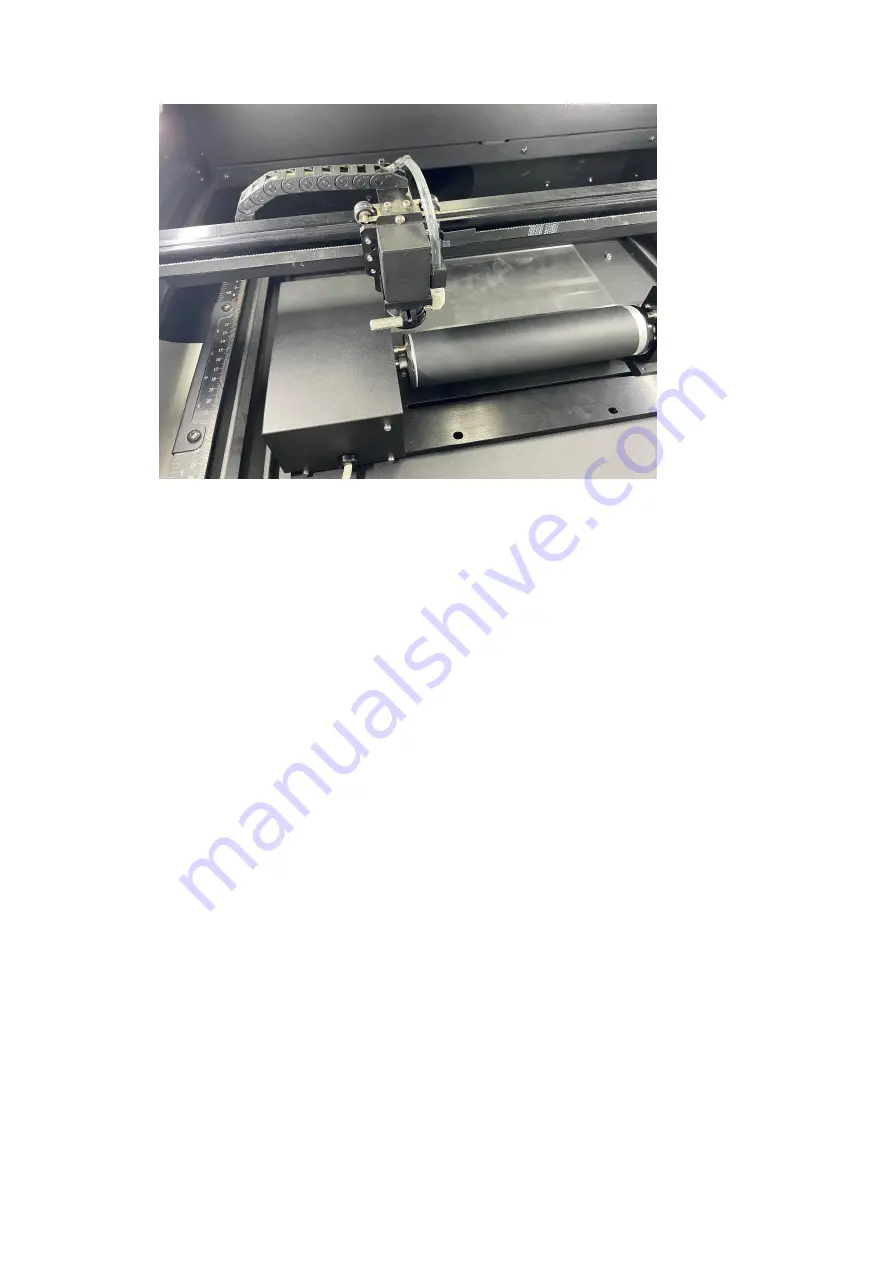
8) Despite the dummy-proof installation design, please ensure that the rotary device is
installed correctly before turning on the machine
Содержание LaserPro E200 Series
Страница 13: ...12 Chapter 2 Unpacking Unloading Unpacking...
Страница 19: ...18 3 3 Right Profile View 3 4 Left Profile View...
Страница 20: ...19 3 5 Rear View...
Страница 21: ...20 3 6 Water Chiller Front View...
Страница 22: ...21 3 7 Water Chiller Right View 3 8 Water Chiller Left View 3 9 Water Chiller Rear View...
Страница 23: ...22 Chapter 4 Machine Setup Water Chiller Setup E200 Desktop Laser Engraver Setup...
Страница 31: ...30 2 Click Next 3 Clip Launch SmartJOB and clip Finish...
Страница 36: ...35 5 Choose the WiFi connection 6 WiFi Setting is complete...
Страница 70: ...69 7 4 E200 Touch Panel Operation 7 4 1 Navigation Chart of E200 Touch Panel...
Страница 81: ...80 Chapter 8 Optional Items Fume Extraction System Air Compressor Rotary Attachment...
Страница 99: ...Chapter 10 Appendix GCC LaserPro E200 Specification Sheet...


