63
NOTE
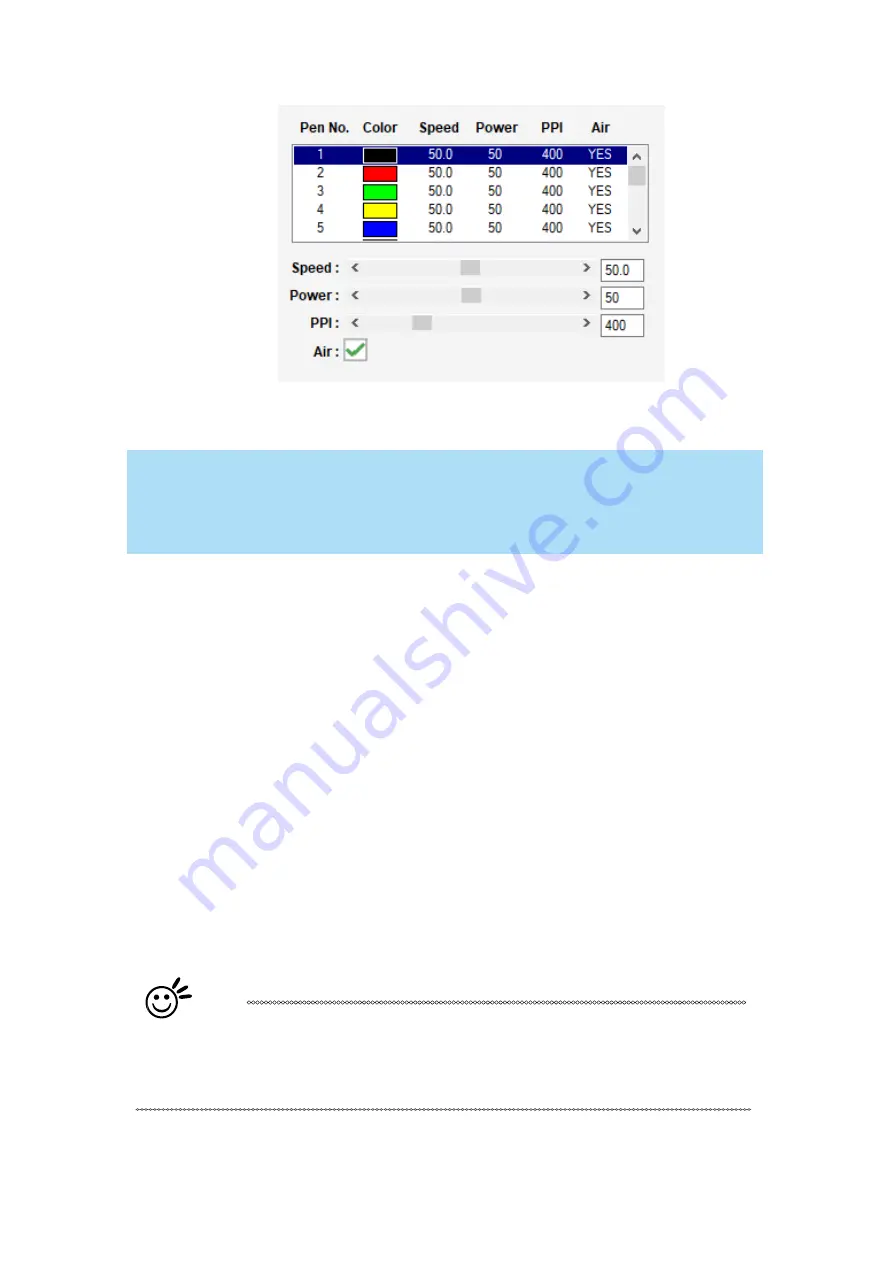
The LaserPro E200 print driver cannot store more than 5 pen colors or different laser
parameter settings per file.
Speed (Pen Page) [DEFAULT SETTING: 40]
The
speed slider controls the laser’s speed during operation (engraving speed) with settings ranging
from 0.1
– 100%.Only when moving in straight line with enough distance, the carriage can achieve
100% speed. On the other hand, the machine will automatically slow down when processing curves
so the speed % indicator only presents maximum speed % that laser can achieve but not equal to
actual laser carriage moving speed. It is exactly like driving a car on a straight road, you can driver
faster and on a curve road you have to slow down.
Laser pulse frequency is controlled by the speed setting for vectors and it is opposite to pulse width,
meaning higher speed setting for vectors, lower pulse width, and thus less cutting capability. Not
only speed% setting affects actual processing time but also the job size, complexity of the graphic
and the position of the graphic in the working area..
Power (Pen Page) [DEFAULT SETTING: 50]
The power slider controls the laser’s power during operation (engraving/cutting power) with a
range setting from 0
– 100%. The percentage setting represents the power for each laser pulse
fired. The lower the power setting, the shallower it engraves or cuts, and vice-versa.
Tip
Cutting / engraving depth are determined by a combination of power and speed.
Slower speed at higher power will produce deeper cuts and engravings, whereas
higher speeds at lower power will produce more shallow cuts and engravings.
PPI (Pen Page) [DEFAULT SETTING: 400]
PPI (pulses-per-inch) represents the pulsing frequency of the laser pulse (fire) numbers within an inch
exclusive for vector cutting. Higher PPI settings may cause more melting, burning or charring on the
Содержание LaserPro E200 Series
Страница 13: ...12 Chapter 2 Unpacking Unloading Unpacking...
Страница 19: ...18 3 3 Right Profile View 3 4 Left Profile View...
Страница 20: ...19 3 5 Rear View...
Страница 21: ...20 3 6 Water Chiller Front View...
Страница 22: ...21 3 7 Water Chiller Right View 3 8 Water Chiller Left View 3 9 Water Chiller Rear View...
Страница 23: ...22 Chapter 4 Machine Setup Water Chiller Setup E200 Desktop Laser Engraver Setup...
Страница 31: ...30 2 Click Next 3 Clip Launch SmartJOB and clip Finish...
Страница 36: ...35 5 Choose the WiFi connection 6 WiFi Setting is complete...
Страница 70: ...69 7 4 E200 Touch Panel Operation 7 4 1 Navigation Chart of E200 Touch Panel...
Страница 81: ...80 Chapter 8 Optional Items Fume Extraction System Air Compressor Rotary Attachment...
Страница 99: ...Chapter 10 Appendix GCC LaserPro E200 Specification Sheet...


