CHAPTER 8: Upgrading Your Notebook
78
12
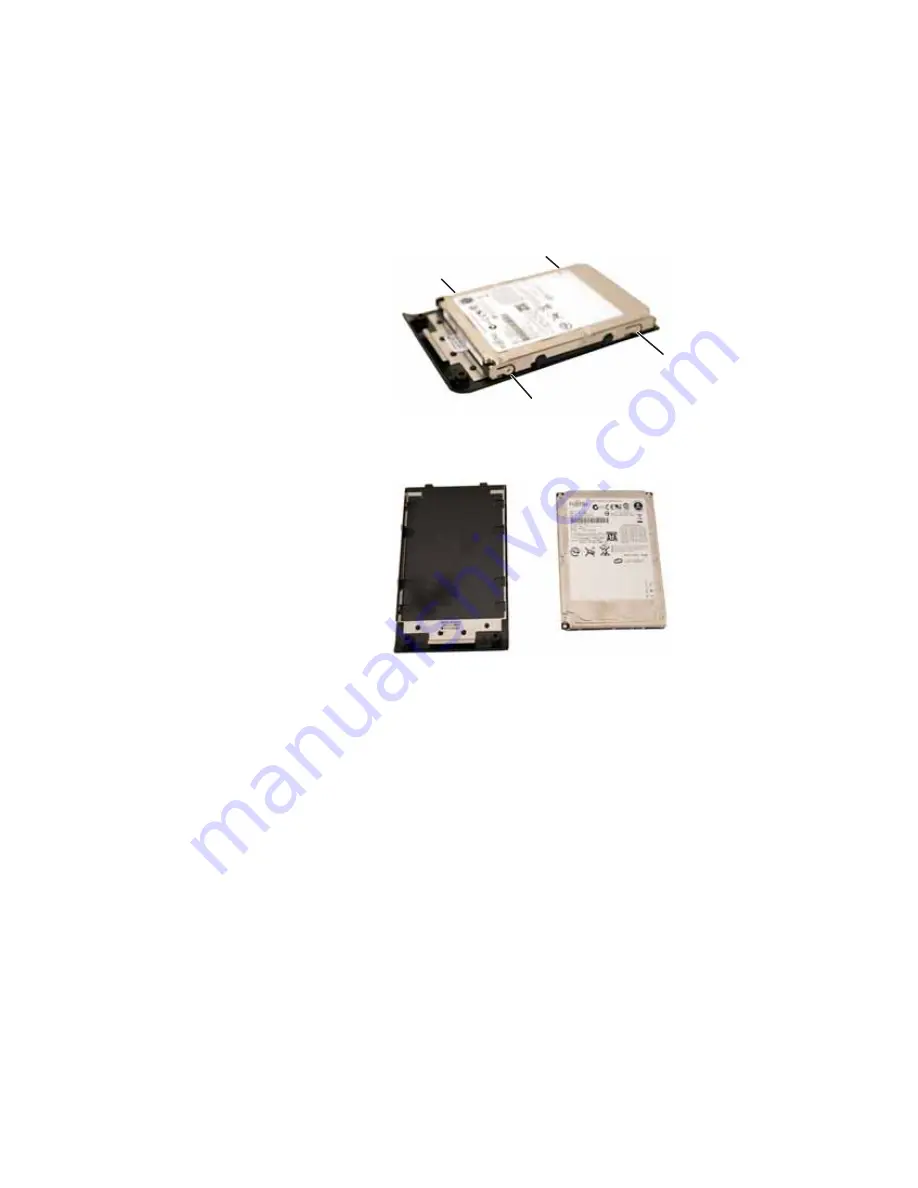
Remove the screws that secure the hard
drive to the hard drive cover.
13
Remove the cover from the old drive.
14
Insert the new drive label side up onto the
cover so the screw holes line up.
15
Replace the screws that secure the cover to
the drive.
16
Slide the new hard drive kit into your
notebook, then replace the cover screws.
17
Insert the battery, then turn your notebook
over.
18
Connect the power adapter, modem cable,
and network cable
19
Turn on your notebook.
Screw
Screw
Screw
Screw
Содержание MX6960
Страница 1: ... REFERENCEGUIDE Version12 Front fm Page a Wednesday September 27 2006 3 37 PM ...
Страница 2: ......
Страница 11: ...CHAPTER 2 5 CheckingOutYourNotebook Front Left Right Back Bottom Keyboard area ...
Страница 18: ...CHAPTER 2 Checking Out Your Notebook 12 ...
Страница 52: ...CHAPTER 4 Using Drives and Accessories 46 ...
Страница 71: ...CHAPTER 7 65 MaintainingYourNotebook Caring for your notebook Cleaning your notebook Cleaning CDs or DVDs ...
Страница 86: ...CHAPTER 8 Upgrading Your Notebook 80 ...
Страница 87: ...CHAPTER 9 81 Troubleshooting Safety guidelines First steps Troubleshooting Telephone support ...
Страница 140: ...APPENDIX A Safety Regulatory and Legal Information 134 ...
Страница 149: ......
Страница 150: ...MAN OASIS USER GDE R0 11 06 ...


