Installing the TurboProp
1. Cut out holes for the exhaust, ideally positioned on any horizontal cowl split if there is one. Allow
6mm/1/4” clear all round.
2. Use M5 / no.10-32 nuts and bolts to fix the unit to the airframe, captive nuts are ideal.
Do Not
fix the engine unit in place with woodscrews, it is impossible to ensure they cannot
loosen or pull through the firewall without warning.
3. Fit a good quality silicon or ptfe (heat resistant) 3 wire type servo type cable from the small
gearbox output pcb to connect to the auxiliary socket on the small Hub board. It may be difficult
to do this later.
When all is installed and powered up you can see a blue light on the small gearbox pcb which
when the shaft is rotated flashes twice per revolution to show gear output shaft rpm signal
present. When the gearbox is running fast the flashes indicate the bus updating rpm signal every
second.
4. Offer the engine unit up to the firewall and secure in place with four screws, cap head type are
ideal as access is challenging.
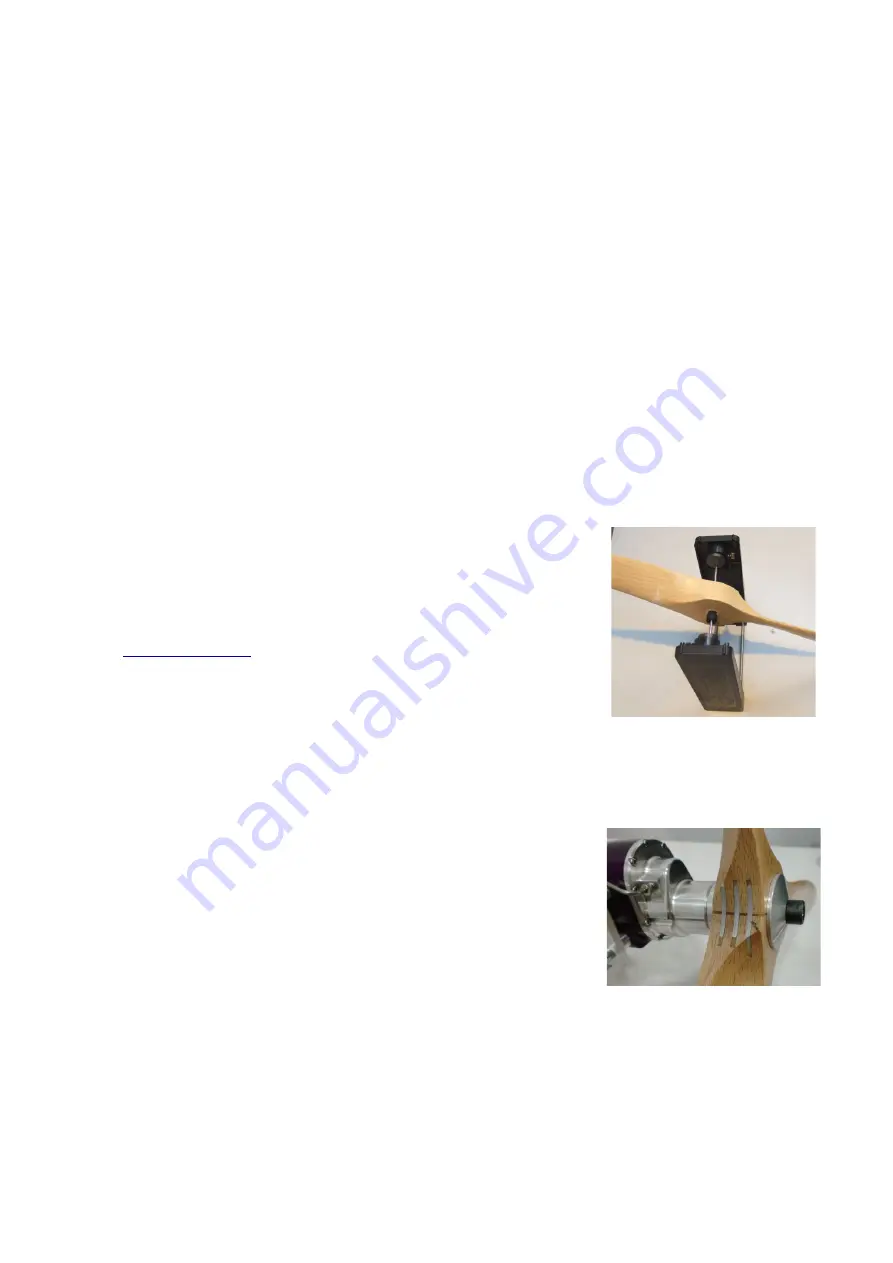
5. Fit a previously carefully balanced propeller with 10mm bore onto
the shaft stub. See the chart on propeller selection to determine a
suitable size. If you plan to use a spinner backplate, fit this 1
st
.
For spinners Xicoy recommend “Truturn” prop backplates and
spinners for their accuracy and careful balance.
(
) They have a wide range of adapters to suit
the unit – just mention you have an M8x1.25 prop bolt and they
should be able to help.
Important -
No attempt should be made to add material, lead shot or coloured sticky tape
to balance the prop as this is sure to fly off later and if you are lucky it might not to hurt
someone, but the resulting out-of-balance running could cause major engine damage. If
this happened in the air you would not know until it was too late. The warranty will not
cover you for such damage.
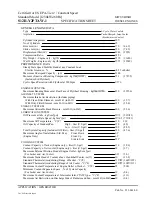
6. Fix prop (bore 10mm) in place using the supplied propwasher
and prop bolt. If the prop bolt is too long or short an alternative
standard M8 cap head type can be substituted. The propshaft is
threaded internally for a distance of 30mm (1-1/4”) and it is best
to have as much thread engaged in this as possible. This helps
steady the retaining bolt and prevent wobble.
7. Rotate the propeller gently and eyeball the tips from the side (don´t get too close..) to ensure
tracking is precise, and correct if not. Any run-out of the tips while under power will generate
severe unwanted vibration which can damage the gearbox.
8. Do the same with the propeller bolt, make sure its running true for the same reasons. Investigate
any wobble and cure.
Page 15


