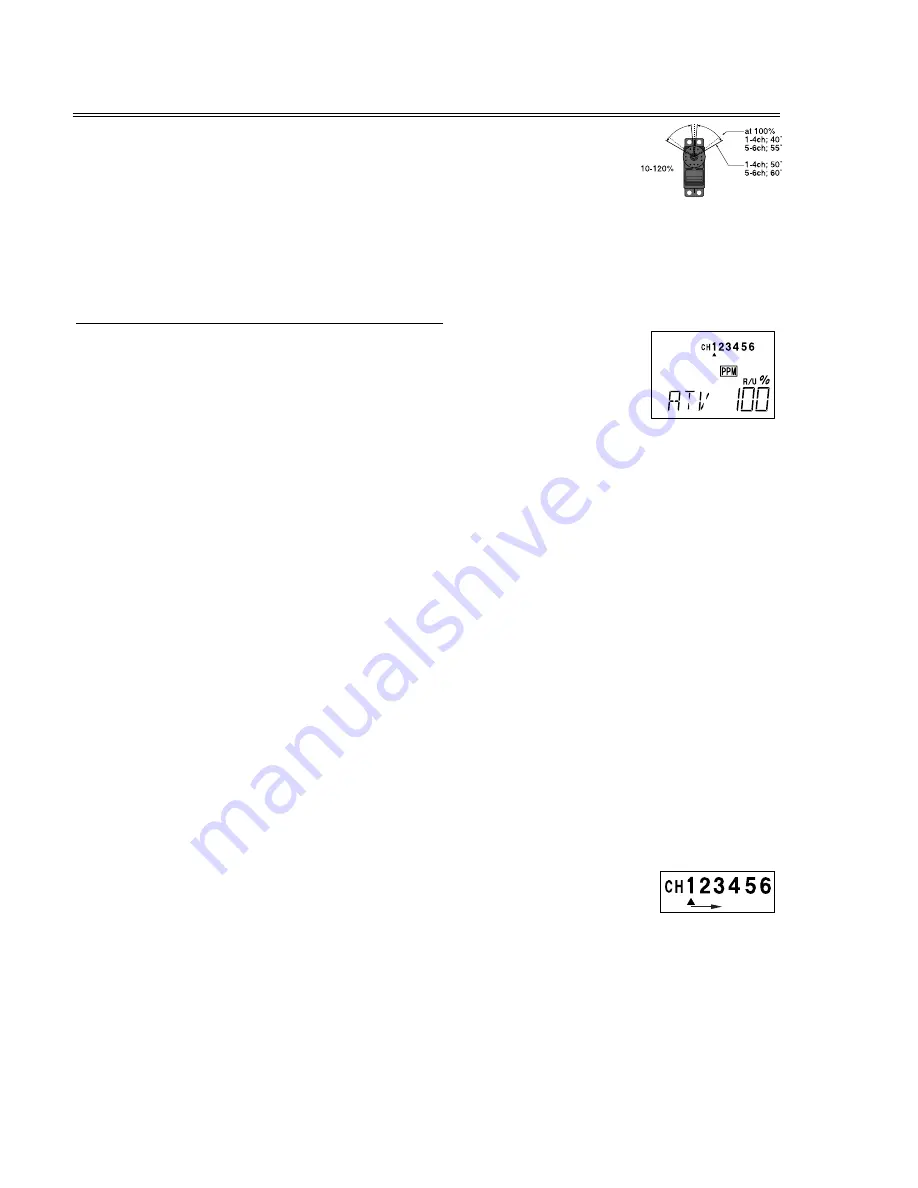
ATV — Adjustable Travel Volume
The
ATV
function is used to set (or limit) the travel of each servo, and may
be set independently between a value of 10% and 120% for each travel
direction. At a 100% setting, the throw of the servo for full stick motion is
approximately 40° for channels 1 – 4 and approximately 55° for channels 5 – 6. Reducing the
percentage settings reduces the total servo throw in that direction. The
ATV
function is normally
used to prevent any servos from binding at the ends of their travel.
Setting ATV values on your system:
1. Enter the programming mode, and get to the
ATV
screen with the up or
down arrow keys. The channel indicator is below numeral 1 for ailerons,
the percent symbol will be flashing, and you’ll notice that you can change
the
L/D
indicator to
R/U
(or vice versa) by moving the aileron (right) stick.
In Steps 2 & 3 you will see how you set the travel directions independently for each stick (or
knob or gear switch) motion.
2. To set the RIGHT aileron motion, move the aileron stick all the way to the right and hold it.
The letters “
R/U
” should appear next to the flashing percent sign, meaning you are setting
either Right or Up travel (with ailerons it’s right or left only, but the display is set up to use
the same indicators for elevator and throttle, thus the dual meanings for the letters). Now if
your servo is stalled or binding, you’ll hear a buzzing sound. Hit the minus
DATA INPUT
key
until the buzzing stops. If the servo is not buzzing, leave the setting at 100%. Later, after
flying the model, you may wish to increase or decrease this number depending on how
rapidly the model rolls to the right (you may also use dual rates to reduce your model’s
responses).
3. To set the LEFT aileron motion, move the aileron stick all the way to the left and hold it.
The letters “
L/D
” should appear next to the flashing percent sign. Again listen and hit the
minus
DATA INPUT
key until the buzzing stops. If the servo is not buzzing, leave the setting
at 100%. You may wish to increase or decrease this number depending on how rapidly the
model rolls to the left (or use dual rates as mentioned before).
4. To set travel volumes for other channels, press the
CURSOR
key to select
the channel you wish to change. The little triangle moves and indicates the
active channel. Repeat steps 1-3 with each channel in sequence, taking care to set the travel
for both directions.
5. You may set each channel separately, anywhere in between 10% and 120%, and if you wish
to rapidly return to the default 100% setting, press both the (+) and (–) keys simultaneously.
– 26 –


