3-7
3.2 Cleaning the Pad
3
DA
IL
Y
C
A
R
E
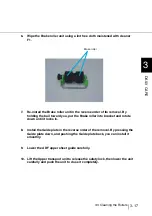
4.
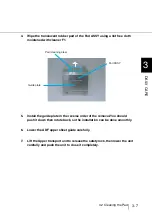
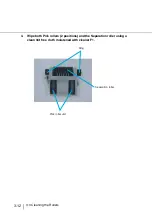
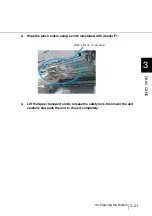
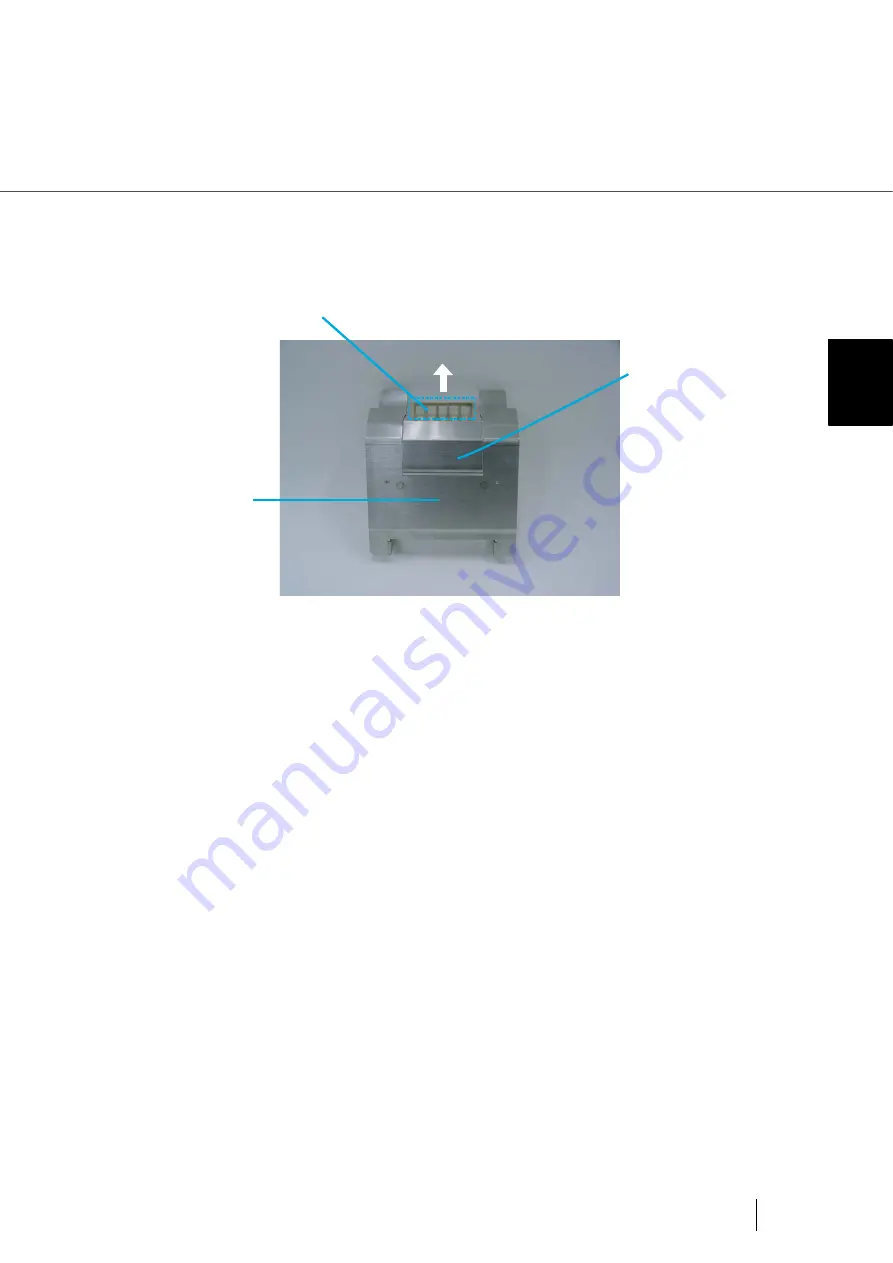
Wipe the translucent rubber part of the Pad ASSY using a lint free cloth
moistened with cleaner F1.
5.
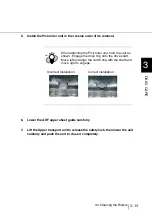
Install the guide plate in the reverse order of the removal.You should
push it down then rotate back, so the installation can be done smoothly.
6.
Lower the ADF upper sheet guide carefully.
7.
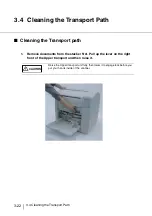
Lift the Upper transport unit to release the safety lock, then lower the unit
carefully and push the unit to close it completely.
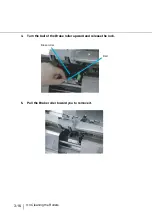
Pad (cleaning area)
Pad ASSY
Guide plate
Содержание 4860C - fi - Document Scanner
Страница 1: ...Operator s Guide fi 4860C2 Image Scanner P3PC 1692 01ENZ0 ...
Страница 2: ......
Страница 22: ... xx ...
Страница 26: ... xxiv ...
Страница 140: ...4 6 4 3 Replacing the Pad ASSY Pad cleaning area Pad ASSY Guide plate ...
Страница 158: ...4 24 4 7 Replacing the Back side Lamp ...
Страница 190: ...5 32 5 4 Labels on the Scanner ...
Страница 288: ...8 6 8 4 fi 486TRK Thinner paper Roller Kit ...
Страница 293: ...9 5 9 3 Dimensions 9 SCANNER SPECIFICATIONS 9 3 Dimensions unit mm 20 5 in 20 6 in 17in 520 20 5 in 523 20 6 in ...
Страница 294: ...9 6 9 3 Dimensions ...
Страница 312: ... AP 18 ...

