76
CONNECTING AT DSC MODE
1
2
SET−UP
SET−UP
USB MODE
USB MODE
DATE/TIME
DATE/TIME
RESET ALL
RESET ALL
ENGLISH
ENGLISH
LANGUAGE
LANGUAGE
PRIMARY MEDIA
PRIMARY MEDIA
SOUND
SOUND
LOW
LOW
SET
SET
DSC
DSC
OK
OK
0
2
0
1
1
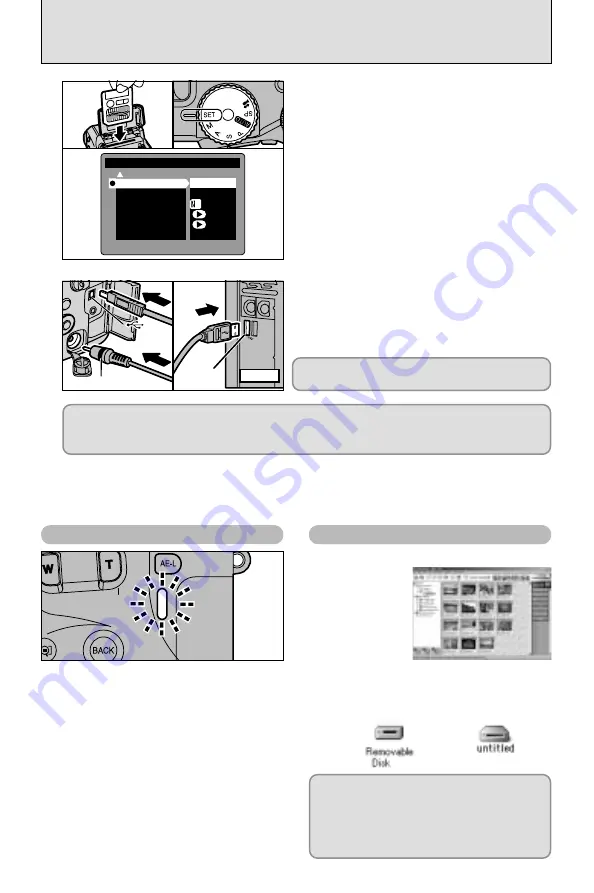
Load the media containing your shots into the
camera.
2
Set the Mode dial to “
~
” and then set the
Power switch to “
q
”.
3
Select “DSC” in “USB MODE” in the SET–UP
menu (
➡
P.68) and then switch the camera off.
●
!
It is recommended that you connect the AC Power
Adapter AC-5VH/AC-5VHS (sold separately) (
➡
P.74).
Constant power supply will prevent successful data
transfer from trouble caused by power supply.
●
!
If you load a SmartMedia and a Microdrive into the
camera at the same time, images will be recorded onto
the media selected as the “Priority media” (
➡
P.68).
1
Switch your PC on.
2
Connect the special USB cable to the camera
and the computer.
3
Switch the camera on.
Always use the prescribed procedure when
disconnecting or switching off the camera (
➡
P.78).
●
!
On Windows XP and Mac OS X, automatic launch settings must be specified the first time you connect the
camera to your computer (
➡
Software Quick Start Guide booklet).
●
!
Ensure that you plug each end of the special USB cable into the correct socket and that the plugs are firmly
inserted all the way into the connection sockets.
If you are using a Windows PC, the driver settings are specified automatically when installation
is completed. No further action is required.
✽
If your PC fails to recognize the camera, refer to the Software Quick Start Guide.
0
3
AC-5V(optional)
(USB)
socket
(USB)
socket
USB
socket
PC
Camera Operations
PC Operations
h
When the camera and the computer are
exchanging data, the indicator lamp flashes
alternately green and orange.
h
“DSC” is displayed on the screen.
h
Auto Power Off is disabled when the
camera is connected to a USB port.
●
!
When replacing the media, always switch the camera
and computer off first using the procedure described
on P.78.
●
!
Do not disconnect the USB cable when the camera is
communicating with the PC. See P.78 for information
on the disconnection procedure.
h
FinePixViewer automatically starts up.
h
A removable disk icon appears and you
can use your PC to transfer files to and
from the camera.
✽
Screen for
Windows 98 SE
Windows
Macintosh
If the above operations do not occur, you do
not have the required software programs or
drivers installed on your PC. Refer to the
Software Quick Start Guide booklet and
complete the required PC setup procedures.
Then reconnect the camera to your PC.


