61
Advanced
Features
3
60
+
FOCUSING
Available Photography mode:
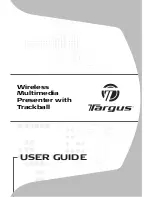
Press the shutter button down halfway. The AF
frame appears positioned on the high-contrast
subject at or near the center of the image.
If the camera has difficulty focusing on the subject
in AF (MULTI) mode, set the focusing mode to
AF(CENTER) and use AF/AE Lock (
➡
P.26).
AF (MULTI)
Pressing the Shutter button down halfway, the
camera recognizes any strongly contrasting subject
near the center of the LCD monitor and displays
the AF frame over subject in focus.
●
!
When taking pictures in Macro mode, the camera focuses on
the center of the LCD monitor.
AF (CENTER)
The camera focuses on the center of the LCD
monitor. Use this setting when taking pictures using
AF/AE lock (
➡
P.26).
250
250 F5.6
F5.6
P
19
19
250
250 F5.6
F5.6
250
250 F5.6
F5.6
250
250 F5.6
F5.6
250
250 F5.6
F5.6
P
19
19
MF (Manual Focus)
AF(CENTER)
CENTER)
AF AREA
AF AREA
MF
MF
FOCUSING
FOCUSING
AF(MULTI)
MULTI)
AF AREA
AF (MULTI)
AF (CENTER)
When there is no high-contrast subject
in the center of the LCD monitor
For a high-contrast subject in
the center of the LCD monitor
Care is required when taking pictures using the
viewfinder as you cannot check the focus.
After taking the picture, play it back to check the
focus.
Continued
3
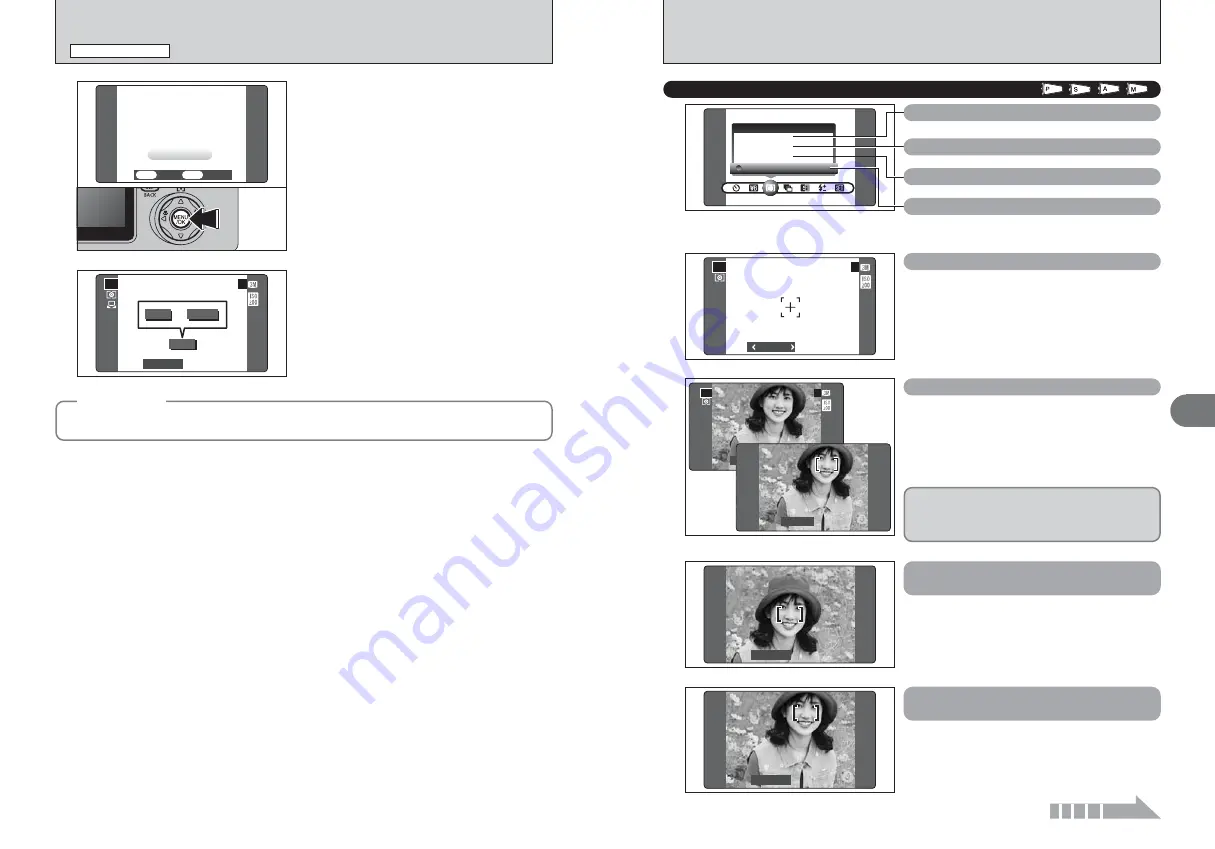
When the correct exposure is measured,
“
ç
” appears.
Press the “MENU/OK” button to confirm the setting.
●
!
The specified custom white balance is retained until it is
reset. This setting is retained even if the battery is removed.
●
!
After taking the picture, check the “Color (White Balance)”
setting for the image.
i
Set “IMAGE DISP.” to “PREVIEW” in the SET-UP screen
(
➡
P.87).
i
Set the Power switch to “
w
” (
➡
P.29).
●
!
See P.52 for information on Continuous AF.
When “
√
” or “
∫
” appears, the white
balance was not measured at the correct exposure.
Set the exposure compensation again, using a
negative value (–) when “
√
” appears and a
positive value (+) when “
∫
” appears.
COMPLETED !
MPLETED !
SET
SET
CANCEL
CANCEL
OK
OK
BACK
BACK
ーーーー
ーーーー Fーーー
ーーー
P
OVER
OVER
19
19
OVER
OVER
UNDER
UNDER
or
STILL PHOTOGRAPHY MENU
STILL PHOTOGRAPHY MENU
◆
Example
◆
You can change the white balance for a photographed image by using colored paper instead of white
paper.
✽
Displaying the menus (
➡
P.57)


