32
ID SETTINGS
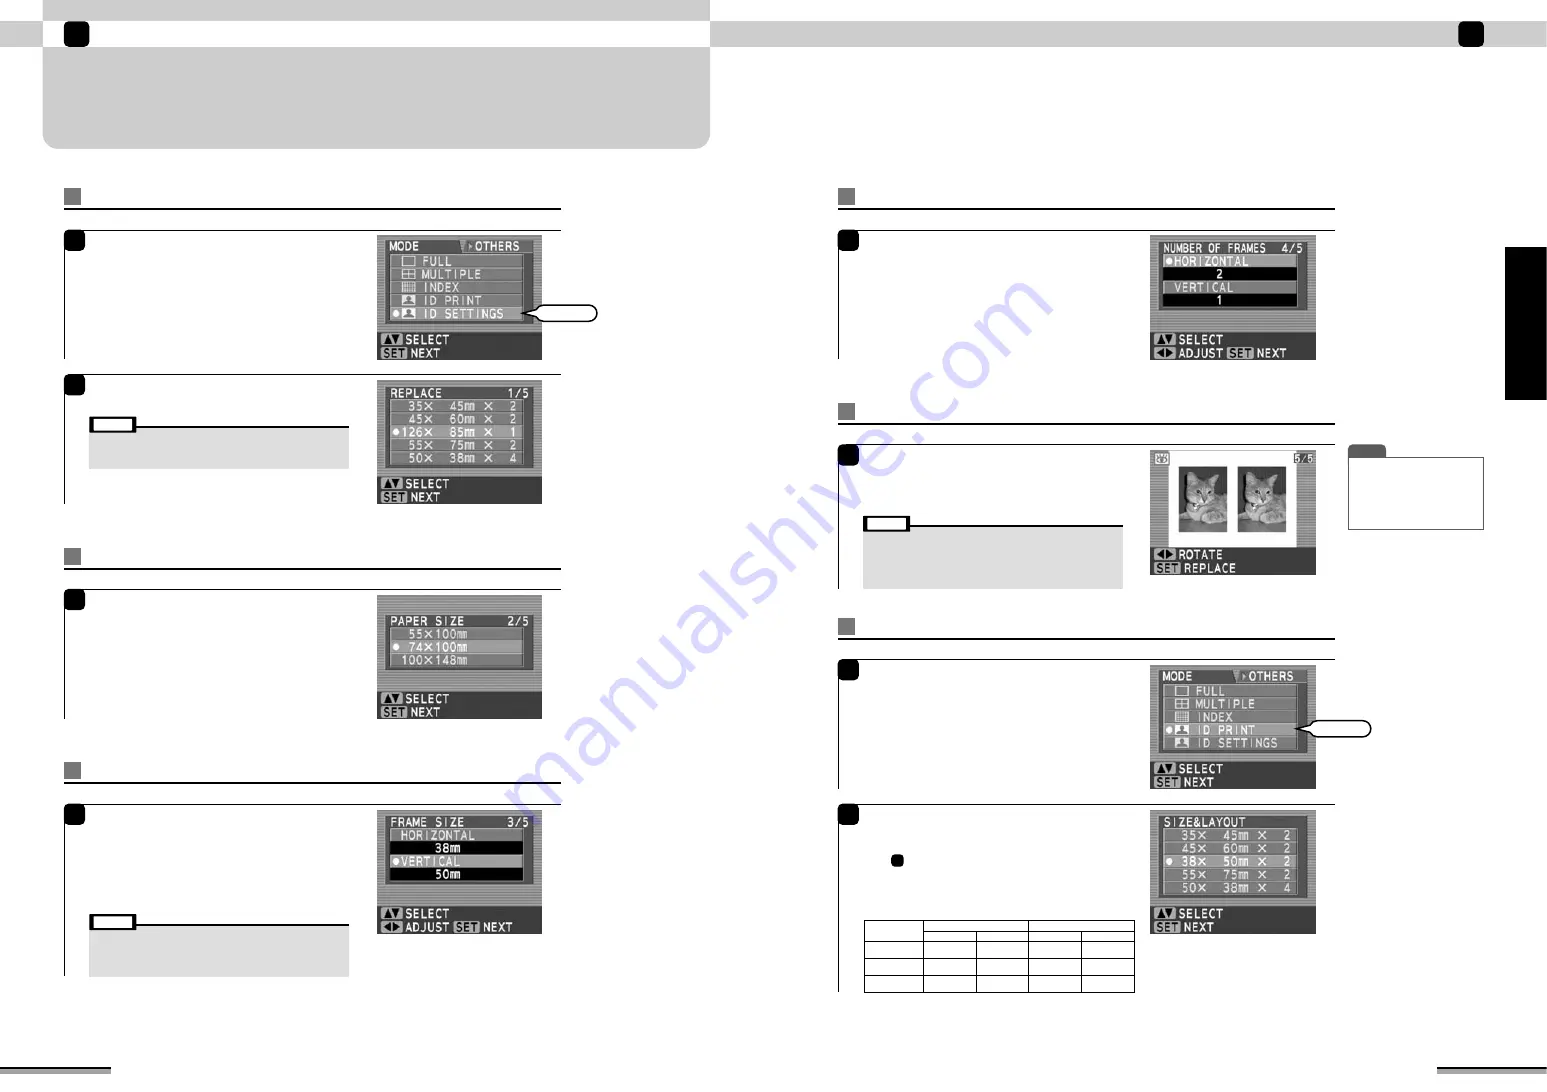
ID print frame size and number of frames can be freely selected and registered.
The registered settings are saved even when the printer power is turned off.
Enjoy various printing!
2
ID settings
33
Enjoy various printing!
2
Enjoy
various
printing!
1
Load the paper and insert the memory card into
the printer, and press the [CUSTOM] button on
the printer.
Use
ab
to select “ID SETTINGS”, and press the
[SET] button.
2
Use
a b
to select the setting you want to
change, and press the [SET] button.
Select
Set number of frame
5
Set the number of frames.
Use
ab
to select the direction you want to set
and use
d c
to select the number of frames.
c
: Increases the number of frames by 1.
d
: Decreases the number of frames by 1.
At the end of setting, press the [SET] button.
Set frame size
4
Set the frame size.
Use
ab
to select the direction you want to set
and use
d c
to set the frame size.
c
: Widens the frame size by 1 mm.
d
: Narrows the frame size by 1 mm.
At the end of setting, press the [SET] button.
Set paper size
3
Use
ab
to select the paper size, and press the
[SET] button.
Setting check
6
If the preview contents are correct, press the
[SET] button.
The setting is registered and the monitor returns
to the “MODE” window.
T I P
• “ROTATION” can be set using
d c
. When “ROTATION” is
set, the picture is automatically
turned during ID printing.
• When re-setting, press the
[BACK] button.
Try printing at the registered settings
1
Load the paper and insert the memory card into
the printer, and press the [CUSTOM] button on
the printer.
Use
ab
to select “ID PRINT”, and press the
[SET] button.
2
Use
ab
to select the newly registered ID photo
print setting, and press the [SET] button.
Thereafter, select the picture the same as from
step
of page 30 and print.
“PAPER SIZE”, “FRAME SIZE”, “NUMBER OF
FRAMES” setting range
3
Select
• When the set frame size aspect ratio is not within the 0.5 – 2
range, an alarm display appears and the monitor returns to
the “FRAME SIZE” window. Input so that the aspect ratio is
within the 0.5 – 2 range.
Note
• 5 templates of frame layout can be registered.
• Any template can be replaced with your preference taking
the following procedure.
Note
• The image of the first frame of the memory card is used at
the preview window. When the first frame is destroyed, is
unknown, or is an audio file, an icon is displayed and preview
display is not performed. In this case, the “ROTATION”
setting remains the same as the last time.
Note
100 mm
×
148 mm
74 mm
×
100 mm
55 mm
×
100 mm
20 mm
−
142 mm
20 mm
−
1
94 mm
20 mm
−
1
94 mm
20 mm
−
94 mm
20 mm
−
68 mm
20 mm
−
49 mm
Frame Size
Number of Frames
Paper Size
Vertical
Horizontal
1
−
6
1
−
4
1
−
4
1
−
4
1
−
3
1
−
2
Vertical
Horizontal


