Printer Connection and Software Installation
87
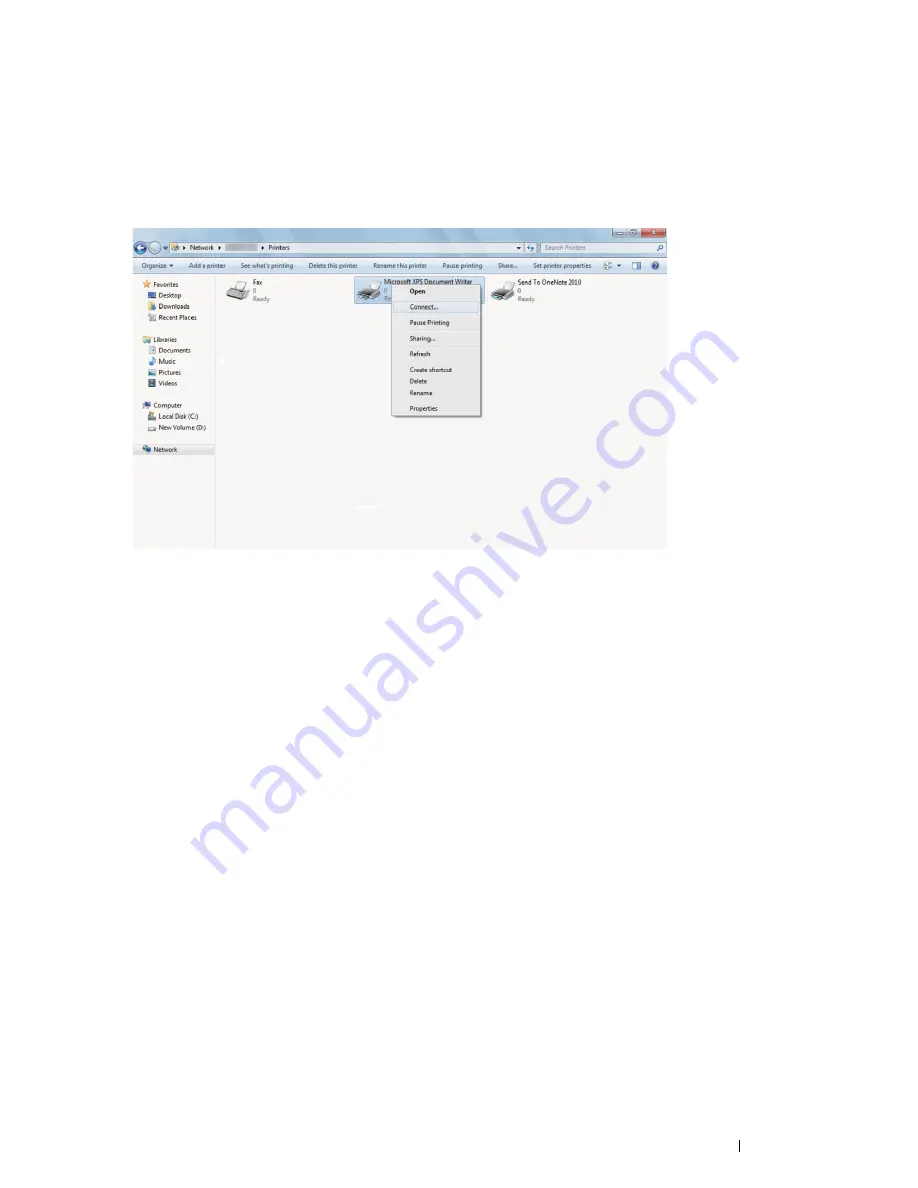
• For Windows 7, Windows 7 64-bit Edition, and Windows Server
2008 R2
1
On the Windows desktop of the client computer, click
Start
→
your user name
→
Network
(
Start
→
Network
for Windows Server 2008 R2).
2
Locate the host name of the server computer, and then double-click the host name.
3
Right-click the shared printer name, and then click
Connect
.
4
Click
Install driver
.
5
Wait for the driver information to be copied from the server computer to the client computer, and for a new
printer object to be added to the
Devices and Printers
folder. The time this takes varies, based on network
traffic and other factors.
6
Print a test page to verify installation.
a
Click
Start
→
Devices and Printers
.
b
Right-click the printer you just created and select
Printer properties
.
c
On the
General
tab, click
Print Test Page
.
When a test page prints successfully, installation is complete.
Содержание DocuPrint CP405 d
Страница 1: ...DocuPrint CP405 d User Guide...
Страница 4: ...4 Preface...
Страница 10: ...10 Contents...
Страница 58: ...58 Basic Operation...
Страница 64: ...64 Printer Management Software...
Страница 102: ...102 Printer Connection and Software Installation 4 Click Start wireless settings 5 Click Wireless Configuration...
Страница 158: ...158 Printing Basics...
Страница 251: ...Maintenance 251 11 Close the side cover...
Страница 255: ...Maintenance 255 4 Close the front cover...
Страница 294: ...294 Maintenance...
Страница 298: ...298 Contacting Fuji Xerox...
Страница 304: ...304 Index...
Страница 305: ......
Страница 306: ...DocuPrint CP405 d User Guide Fuji Xerox Co Ltd ME5568E2 1 Edition 1 June 2012 Copyright 2012 by Fuji Xerox Co Ltd...


