100
Chapter 2 MultiLab Software
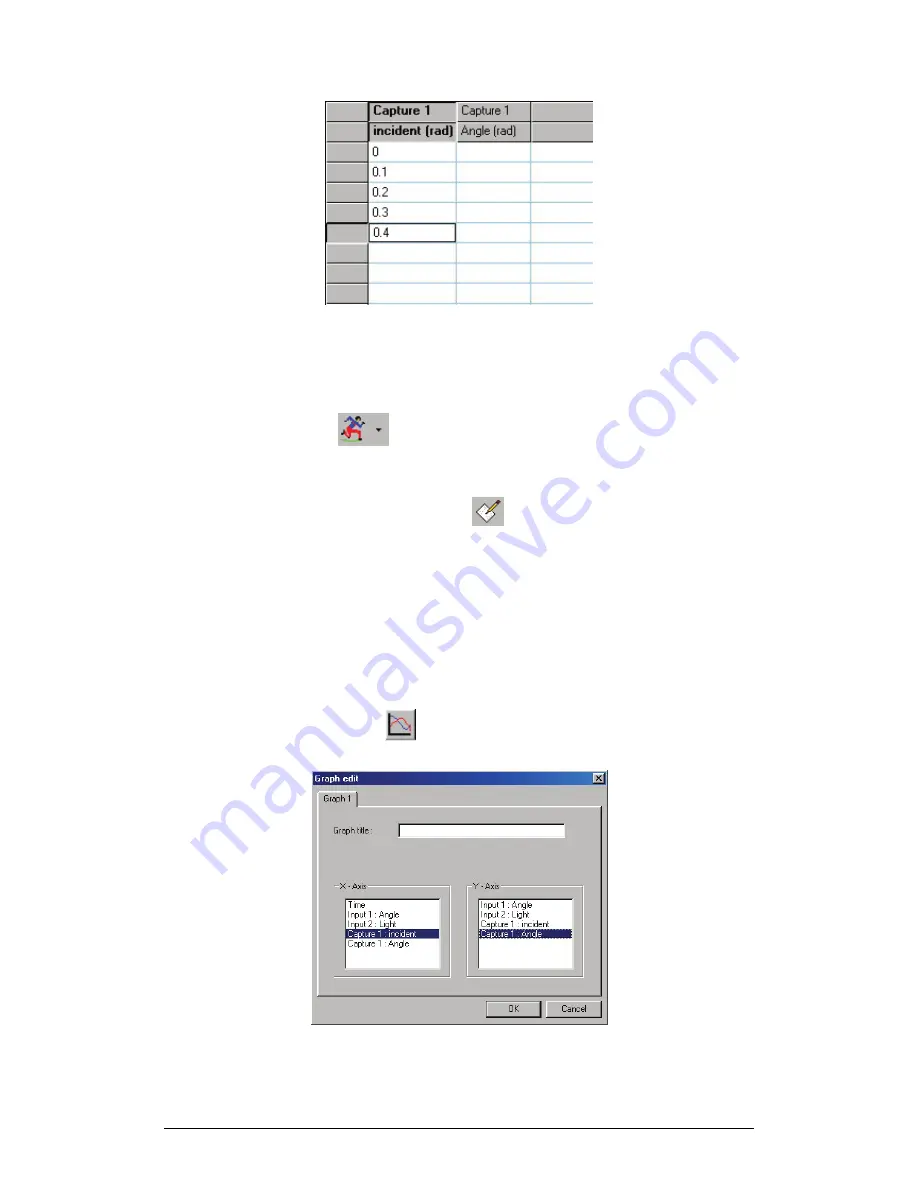
Figure 30: Capture table
2. Capturing Data
1. Click
Run
on the main toolbar to start the data recording
process.
2. Watch the online graph, and when the graph reaches a point you
wish to capture, click
Capture
on the table toolbar. MultiLab
enters the momentary data to the capture table sequentially.
3. If logging stops, simply click
Run
to continue the data recording and
capturing.
4. After you’ve finished capturing the desired data, click
Table
on the
menu toolbar, and then click
Capture mode
to exit capture mode.
3. Displaying the Captured Data on the Graph
1. Click
Edit graph
on the graph toolbar to open the
Graph edit
dialog box:
Figure 31: Using Graph edit dialog box to display captured data
Содержание MultiLab
Страница 2: ...MultiLogPRO User Guide Fourier Systems Eleventh Edition First Print Printed in July 2006...
Страница 3: ......
Страница 9: ......
Страница 117: ...108 Chapter 2 MultiLab Software...
Страница 133: ...124 Chapter 3 Working with a TI Calculator...
Страница 137: ...128 Chapter 5 Specifications...
Страница 145: ...136 Chapter 5 Specifications...


