OMNIS
CANNER
User Guide
4 - 8
If there are tests stored in a project the folder will appear full
,
otherwise it will be empty
.
Use the
é
or
ê
arrow key to highlight a specific Project.
Press
(Set Default) to select it as the Project
to be used and to return to the
SETUP
screen.
Press
(Delete) to permanently remove a
project.
Note:
Default Projects cannot be deleted.
Only projects without stored Autotests can be
deleted.
Press
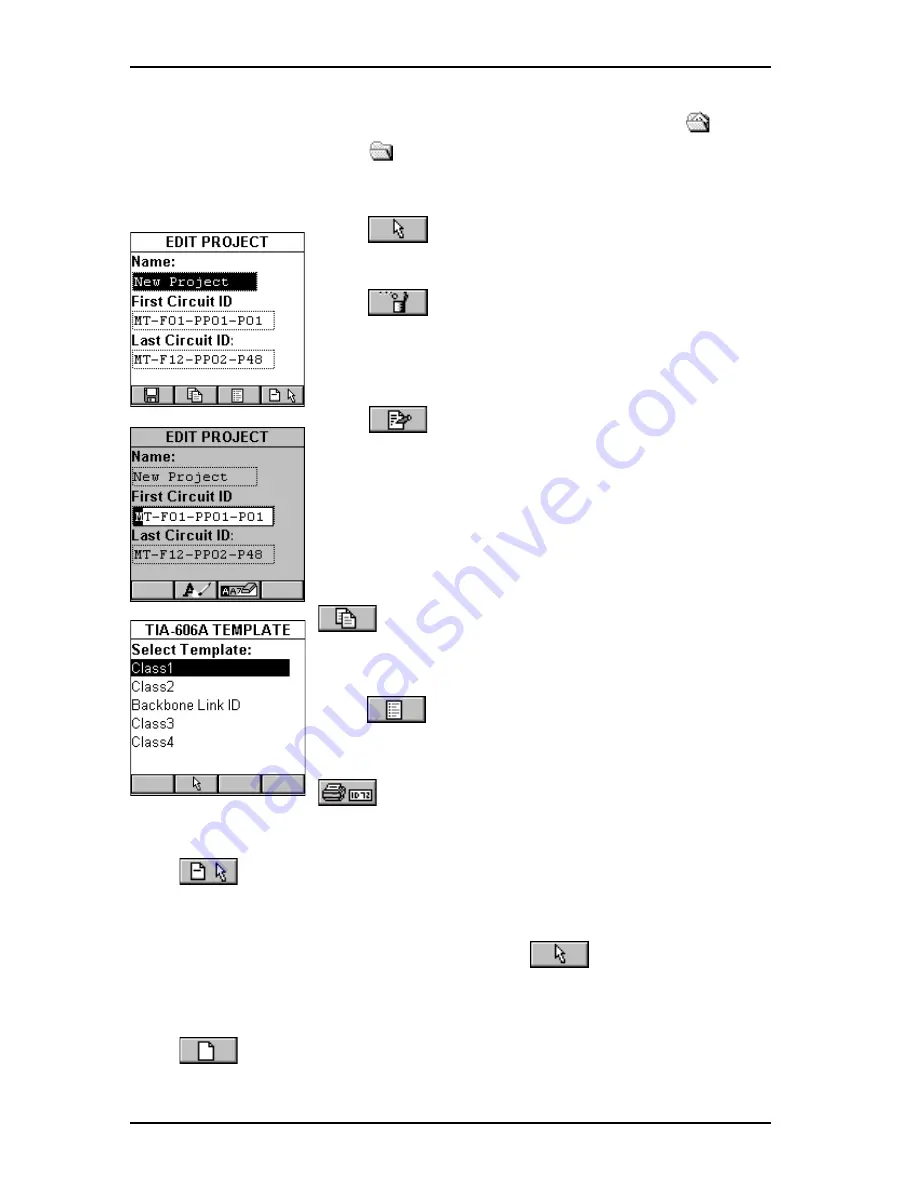
(Edit) to edit an existing project and
its Circuit ID.
The project name will appear in the
Name:
field.
The first and last Circuit ID fields contain a default
circuit ID. (See
Editing a Circuit ID
for further
information.)
When the first Circuit ID field is completed, press
(Copy) to copy the First Circuit ID into the
Last Circuit ID field. Quickly edit the Last Circuit ID
field.
Press
(List) to display the
Circuit ID
screen.
It contains a scrollable list of all Circuit IDs created
for the project. Highlight a circuit ID and press
(Print label) to quickly print a label.
(See
Label Printer
in this Chapter for further information.)
Press
(Select a template) to select a Circuit ID from a Circuit
Identification template. Available TIA 606A compliant templates are:
Class 1, Class 2, Backbone Link ID, Class 3, and Class 4. Use the
é
or
ê
arrow key to highlight a template and press
to copy a circuit ID
into the First Circuit ID and Last Circuit ID fields. To further edit the
fields see the following section:
Editing a Circuit ID
.
Press
(New) to create a new project.
Содержание OMNIFiber
Страница 1: ...OMNIScanner 2 OMNIFiber ...
Страница 9: ...OMNISCANNER User Guide TOC 6 ...
Страница 25: ...OMNISCANNER User Guide 1 16 ...
Страница 33: ...OMNISCANNER User Guide 2 8 ...
Страница 41: ...OMNISCANNER User Guide 2 16 ...
Страница 103: ...OMNISCANNER User Guide 7 6 ...
Страница 111: ...OMNISCANNER User Guide 9 2 ...
Страница 129: ...OMNISCANNER User Guide A 8 ...
Страница 133: ...OMNISCANNER User Guide C 2 ...
Страница 136: ......


