34
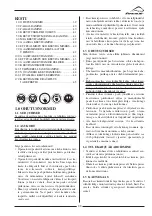
WARNING: The torch must be kept straight. When
feeding a new wire through the liner, make sure the
wire is cut cleanly (no burrs or angles) and at least
5cm of the end is straight (no curves). Failure to fol-
low these instructions could lead to the wire dama-
ging the liner.
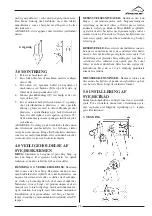
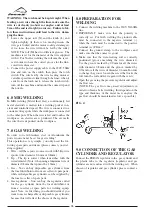
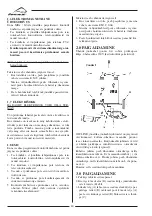
5. Lower the upper roll (N) and the knob (L) and
tighten slightly (if there is too much pressure the
wire gets locked and the motor could get damaged,
if too loose the wire will not be fed by the rolls).
NOTE: The roll (M) has two different grooves. The
machine is set for the diameter of the wire supplied
with it. For No-Gas welding the roll must be rever-
sed in order to have the correct groove for the flux-
cored wire diameter .
6. Connect the power supply cable to the 230V 50Hz
line and turn on the switch, then press the torch
switch. The wire fed by the wire feeding motor at
variable speed must slide through the liner; when it
exits from the torch neck, release the torch switch,
turn off the machine and mount the contact tip and
the nozzle.
6.0 MIG WELDING
In MIG welding (Metal Inert Gas) a continuously fed
metal electrode is melted into a welding pool at con-
stant and controlled speed. The wire is connected to a
constant voltage pole while the workpiece is connected
to the other pole. When the wire is fed and touches the
workpiece, an electric arc is produced. The arc melts
the wire that is deposited on the workpiece.
7.0 GAS WELDING
In order to weld Stainless steel or Aluminium the
power source must be set for gas welding *.
This operation is very simple, you only need the fol-
lowing spare parts and items (please contact your wel-
ding supplier):
1. Wire – All these power sources work with 5Kg-wire
spools (wire diameter 0.6mm or 0.8mm).
2. Tip – The tip is correct when it matches with the
wire diameter. (Note: when using aluminium wire of
diameter 0.8mm the tip must be 1.0mm)
3. Gas – You can buy disposable gas cylinders from
the local distributor or from a reseller of spare parts,
while rechargeable gas cylinders can be supplied by
the local re-seller of spare parts.
4. Gas regulators – You can buy the regulator suited
for the gas cylinder from the local distributor or
from a re-seller of spare parts for welding equip-
ment. Note: As first thing you should decide if you
want to use rechargeable or disposable gas cylinders
because this will affect the choice of the regulator
8.0 PREPARATION FOR
WELDING
1. Connect the welding machine to the 230V 50/60Hz
line;
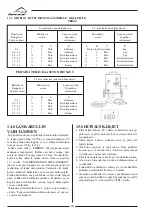
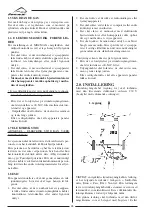
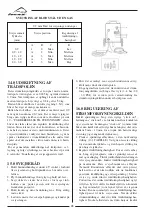
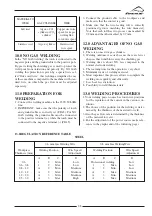
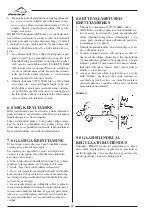
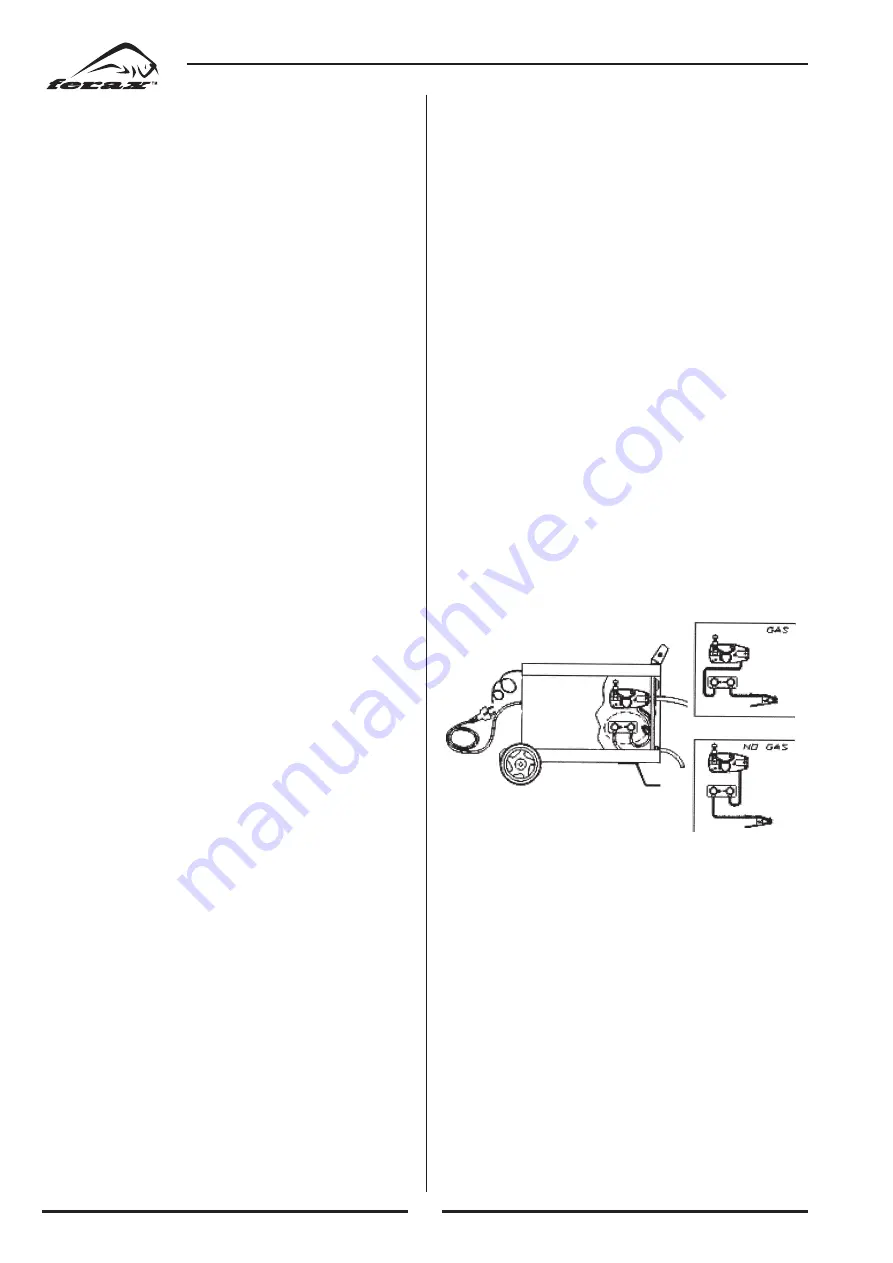
2. IMPORTANT: make sure that the polarity is
correctly set. For GAS welding the ground cable
must be connected to the negative terminal (-),
while the torch must be connected to the positive
terminal (+) (FIG.4) *.
3. Connect the ground clamp to the workpiece and
make sure that the contact is good;
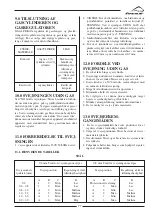
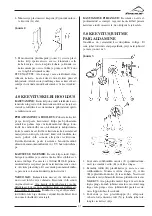
4. Make sure that the wire-feeding roll is correctly
positioned (groove matching the wire diameter).
Use the groove marked by 0.9mm for all the wires
with diameter 0.8mm and the groove marked by
0.7mm for all the wires of diameter 0.6mm. In order
to change the groove loosen the screw that locks the
roll, turn the roll and fix it again with the screw;
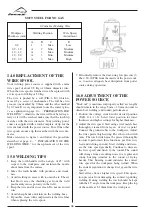
5. Open the gas using the pressure regulator and adjust
the flow rate.
(NOTE: The gas flow may need adjustments in
order to obtain a better welding, this depends on the
type and thickness of the metal used, anyway the
gas flow should be maintained as low as possible).
FIG. 4
9.0 CONNECTION OF THE GAS
CYLINDER AND REGULATOR
Connect the FERAX regulator to the gas cylinder and
the plastic tube to the regulator (regulator and gas
cylinder are not enclosed with the welding set). When
chosen of regulator and gas cylinder, please contact a
dealer.

