7.
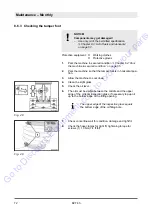
Measure the valve clearance with a feeler gauge (2).
8.
To adjust the valve hold the valve adjustment screw (1) and
loosen locking nut (3).
9.
Turn the valve adjustment screw in or out, as required.
10.
Retighten the locking nut, tightening torque: 8 Nm (6 ft·lbf).
11.
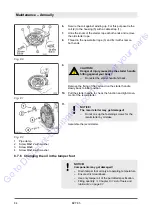
Clean the sealing faces on cylinder head cover and cylinder
block.
12.
Apply a bead of approx. 1.5 to 2.0 mm (0.06 to 0.08 in) in
diameter of the fluid sealant to the inner side of the cylinder
head cover.
Liquid sealant: Three Bond 1207B or similar.
13.
Attach the cylinder head cover to the cylinder block within the
next 10 minutes.
14.
Tighten the fastening screws.
1.
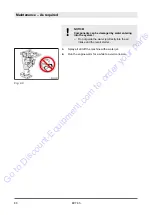
NOTICE!
The recoil starter may get damaged!
–
Do not mix up the fastening screws for the
recoil starter by mistake.
Assemble the recoil starter.
2.
Wait another 20 minutes before starting the engine.
3.
After a short test run check the engine for leaks.
Fig. 56
Fig. 57
Fig. 58
Final work
Fig. 59
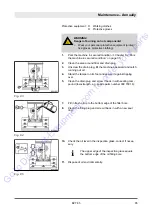
1
Pipe clamp
2
Screw M6x12 with washer
Maintenance – Annually
BVT 65
76
Go to
Discount-Equipment.com
to
order your parts


