19
13.2
TUBELESS AND SUPERSINGLE WHEELS
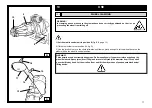
BEAD BREAKING
1) Lock the wheel on the chuck, as previously described, and make sure it is deflated.
2)
Set the mobile control unit in working position C
(fig. B/8, page 13)
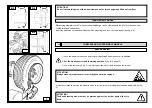
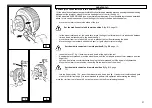
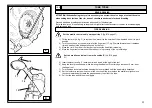
3) Lower the tool arm (14, fig. F) to working position, until it gets locked by the ratchet.
ATTENTION!
Always make sure that the arm is correctly hooked to the carriage.
ATTENTION!
The bead breaking disk must not be pressed against the rim but against the tyre
bead.
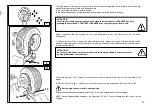
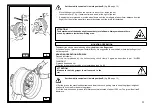
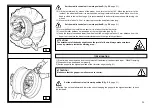
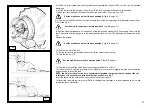
4) Use the joystick to position the wheel in a way to let the rim outer profile graze the bead breaking disk (fig.
F)
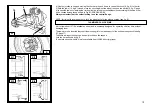
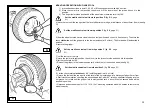
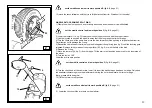
Rims having diameter over 46" without central hole flange can be clamped with the kit of 4 extensions, item
140/90 (available on demand)
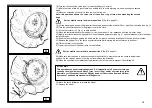
Insert the extension on the support (bayonet-like mounting) and lock it by the wing nut (see fig. E8).
ATTENTION!
Do not leave working area with a wheel clamped on the tyre-changer and lifted up from floor.
CLAMPING EXTENSIONS
E/5
E/6
E/8
F
14
Содержание RGU588E
Страница 37: ...40 ELECTRIC AND HYDRAULIC DIAGRAMS ...


