En
FARO Laser Scanner Photon – User’s Manual
48 / 87
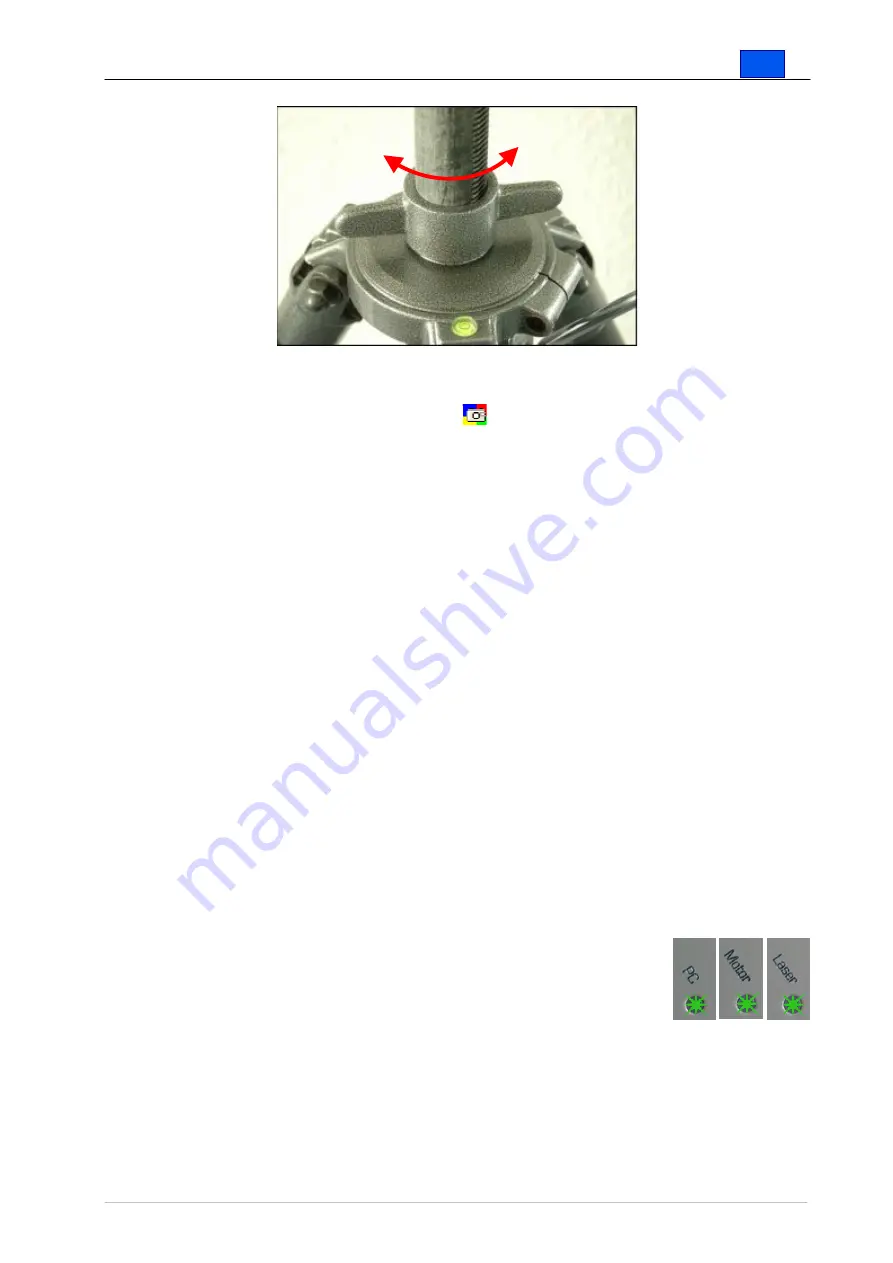
Fig.55 Horizontal twist of the tripod
•
There are different possibilities to start a color scan:
o
Start scanning by pressing
in SCENE Record.
o
Select the
Scan with Color
option on the
color page
of SCENE
Record Mobile. Then go to the
scan page
and press the start
scan button (see chapters 8.2.3 and 8.2.1).
o
If a camera is connected to the scanner and the camera is
turned on, the
START / STOP
button on the scanner will also
start a color scan. Please note: this is only possible if no SCENE
Record is connected to the scanner and you have not been
connected to SCENE Record Mobile before.
•
The scanner will first take a test picture in order to check the camera
settings. If you are using non-recommended camera settings you will
get an error message. In this case please check the camera settings as
described in chapter 7.2.
•
If all camera settings are ok, the scanner will then take an ordinary
scan and will turn 180°. Then it will continue to turn to 360° and
determine additional exposure settings. At the end of the full turn, it
will calculate a balanced exposure setting.
•
If you are using the non-parallax camera mount you are now asked to
move the camera into its operating position over the mirror itself and
to wind down the scanner so that the camera is horizontally and
vertically aligned with the mirror axis. If you are using the FARO
carbon fiber tripod wind down the scanner to the lower end position of
the center column. If you are using other tripods wind down the
scanner for exactly 20cm.
•
If you started the color scan with the START / STOP
button on the scanner, the PC, Motor and Laser LED
on the scanner will start illuminating one after the
other while the scanner is waiting to continue.


