English
English
GB-13
GB-12
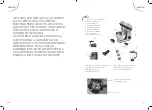
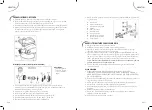
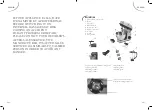
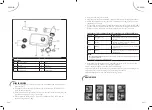
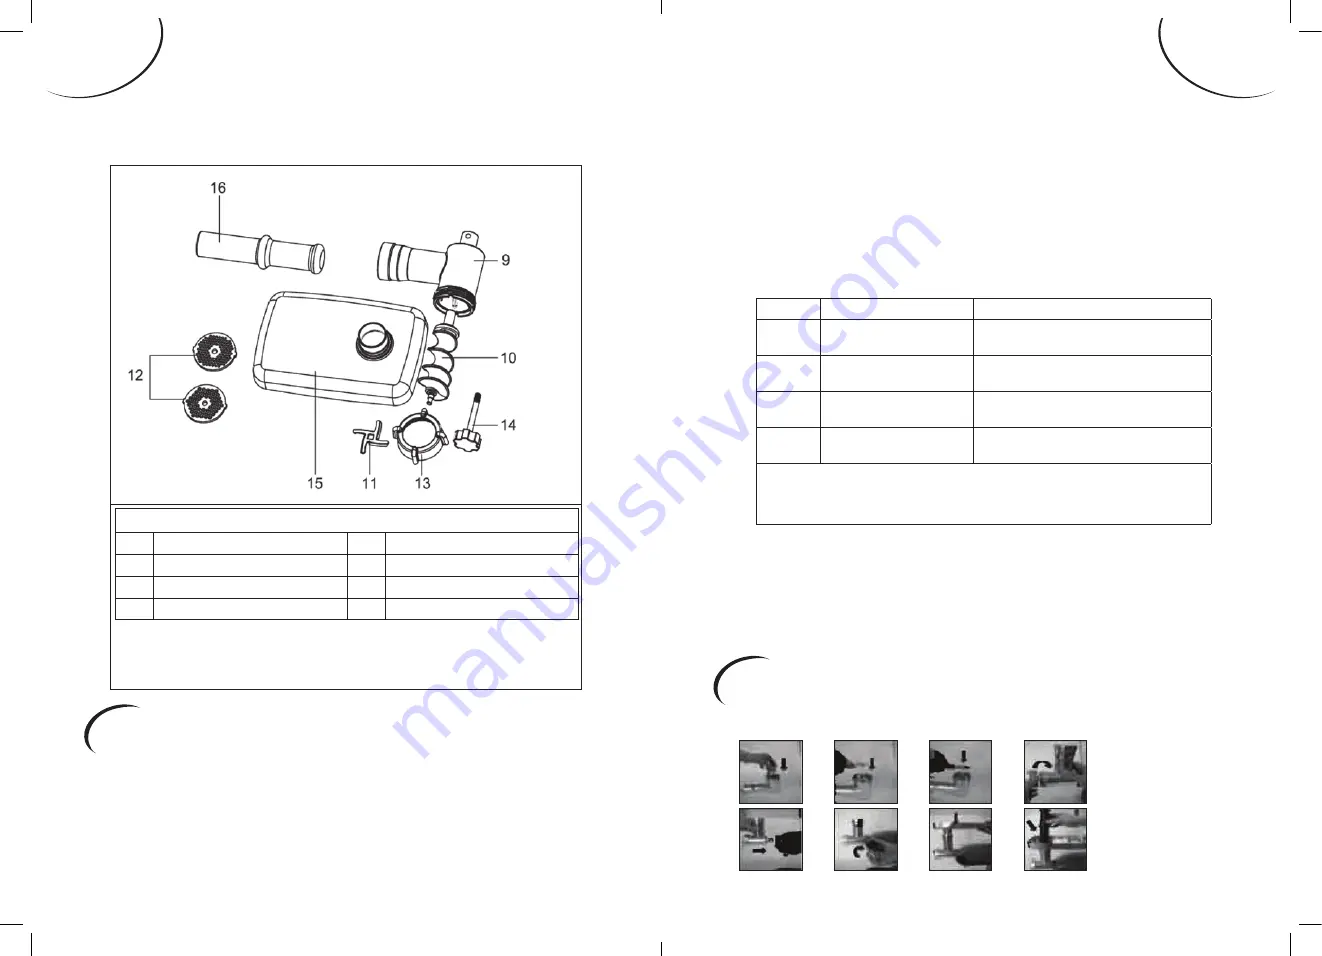
Accessories
9
Worm cylinder
13
Nut
10
Worm
14
Screw
11
Grinder knife
15
Feed tray
12
Grinder plate
16
Stuffing tube
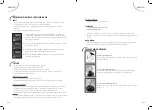
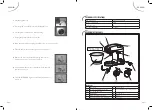
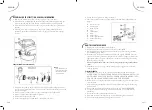
USING THE BEATER
1.
Place the mixing bowl on the base and turn in a CLOCKWISE direction until it
locks into place.
2.
To lift the arm, press the lever (5) downwards, in the direction of the arrows. The
arm will then lift upwards.
3.
Fit the desired utensil by inserting the top of it into the drive shaft and locking the
pin retainer in place by turning it to the right.
4.
Fill the tray with the ingredients. Do not over-fill the machine - the maximum
quantity of ingredients is 2kg.
5.
Lower the arm using the lever (5).
6.
Plug the power cable into a 220-240 V-, 50/60 Hz safe circuit in the appropriate manner.
7.
Switch the appliance on using the speed control dial, to a setting between 1 and 6
(depending on the mix).
8.
For the pulse function (mixing for brief intervals), move the switch to the “PULSE”
position. The switch must be held in the On position for the length of time desired.
When you release this switch, it will automatically reverts to the “0” position
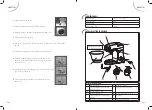
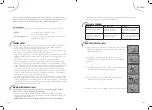
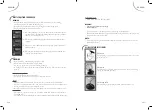
Setting the levels for, and using the hook for a quantity not exceeding 2 kg of Mixture
Levels
Use
Mixture type
1-2
Dough hook
Heavy mixtures (for example, bread or dry
pastry)
3-4
Mixer
Medium weight mixtures (for example
pancake mix or cake mix )
5-6
Whisk
Light mixtures (for example, cream, whisked
egg whites, )
Pulse
Whisk
Intervals (for example, for mixing cake mix
egg whites )
NOTE:
•
Short operating time:
With heavy mixes don’t switch the machine on for longer than ten minutes, then leave
to cool again for ten minutes.
• Use the splash guard to protect against liquid mixtures.
9.
After having kneaded your mixture, return the speed control to ‘0” as soon as the
mixture has formed a ball. Then unplug the appliance,
10.
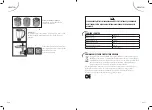
Press the lever (5) down and the mixer head will lift up.
11.
You can then loosen the mixture using a spatula and remove it from the mixing bowl.
12.
You can now remove the mixing bowl by twisting it to the left.
13.
Clean all the parts as indicated in the “Cleaning” section.
MEAT GRINDER

