Chapter 2
2 - 8
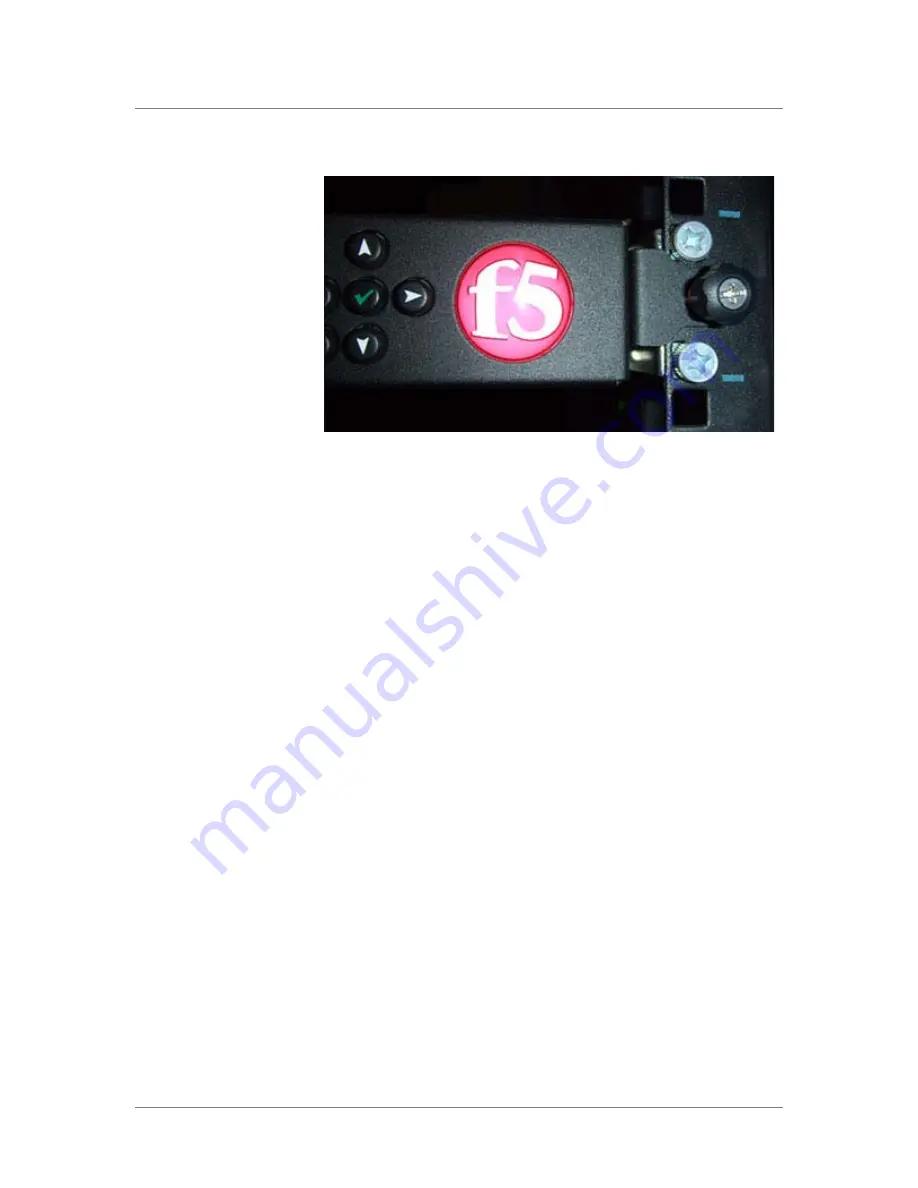
Figure 2.8
A unit secured to a rack using rail mount locks
Connecting the cables and other hardware
After you have installed the unit into the rack, you need to connect certain
cables and other hardware. To perform these tasks, use the following
procedure. Note that you use this procedure regardless of the type of mount
you installed (front mount or rail mount).
To connect the cables and hardware
1. Connect the hardware that you have chosen to use for input/output.
For details about connecting the system to a management
workstation or network, see
Connecting a Management Workstation
or Network
, in
BIG-IP
®
Systems: Getting Started Guide
.
• If you are using a serial terminal as the console, connect the serial
console cable supplied by F5 Networks to the console port
(number 3 in Figure 1.4, on page 1-4).
• If you are using a management workstation, connect an Ethernet
cable to the management interface (number 1 in Figure 1.4, on
page 1-4).
2. If you intend to set up a redundant system configuration with
hard-wired failover capacity, connect the failover cable to the
failover port on each unit (number 4 in Figure 1.4, on page 1-4).
3. Connect the power cable to the power input panel (number 2 in
Figure 1.7, on page 1-6), and then connect it to the power source.
4. Turn on the unit and begin licensing the system.
Before you can license the system, you must assign a management
IP address to the system. For more information about licensing the
BIG-IP
®
system, see
Licensing and Configuring the BIG-IP System
,
in
BIG-IP
®
Systems: Getting Started Guide
.
Содержание BIG-IP 1600
Страница 1: ...Platform Guide 1600 3600 and 3900 MAN 0270 01 ...
Страница 2: ......
Страница 5: ...Table of Contents ...
Страница 6: ......
Страница 10: ...Table of Contents viii ...
Страница 12: ......
Страница 24: ...Chapter 1 1 12 ...
Страница 25: ...2 Installing the 1600 3600 3900 Platform Installing and connecting the hardware ...
Страница 26: ......
Страница 35: ...3 Operating the LCD Panel Introducing the LCD panel Using the LCD panel Navigating through the LCD menus ...
Страница 36: ......
Страница 44: ......
Страница 53: ...5 Using Always On Management Introducing Always On Management Accessing the AOM Command Menu ...
Страница 54: ......
Страница 59: ...6 Working with AC Power Supplies Reviewing maintenance options and operations ...
Страница 60: ......
Страница 64: ...Chapter 6 6 4 ...
Страница 65: ...7 Working with DC Power Supplies Reviewing maintenance options and operations ...
Страница 66: ......
Страница 70: ...Chapter 7 7 4 ...
Страница 71: ...8 Changing the Fan Tray Reviewing maintenance options and operations ...
Страница 72: ......
Страница 75: ...9 Working with Environmental Guidelines for the 1600 3600 and 3900 Platforms Environmental requirements ...
Страница 76: ......
Страница 79: ...10 Understanding Platform Airflow Platform airflow information ...
Страница 80: ......
Страница 82: ...Chapter 10 10 2 ...
Страница 84: ......
Страница 93: ...A Platform Specific Hazardous Substance Levels for China 1600 platform 3600 platform 3900 platform ...
Страница 94: ......
Страница 98: ...Appendix A A 4 ...
Страница 99: ...Glossary ...
Страница 100: ......
Страница 103: ...Index ...
Страница 104: ......


