2
TLP Pro 725C Series • Setup Guide (Continued)
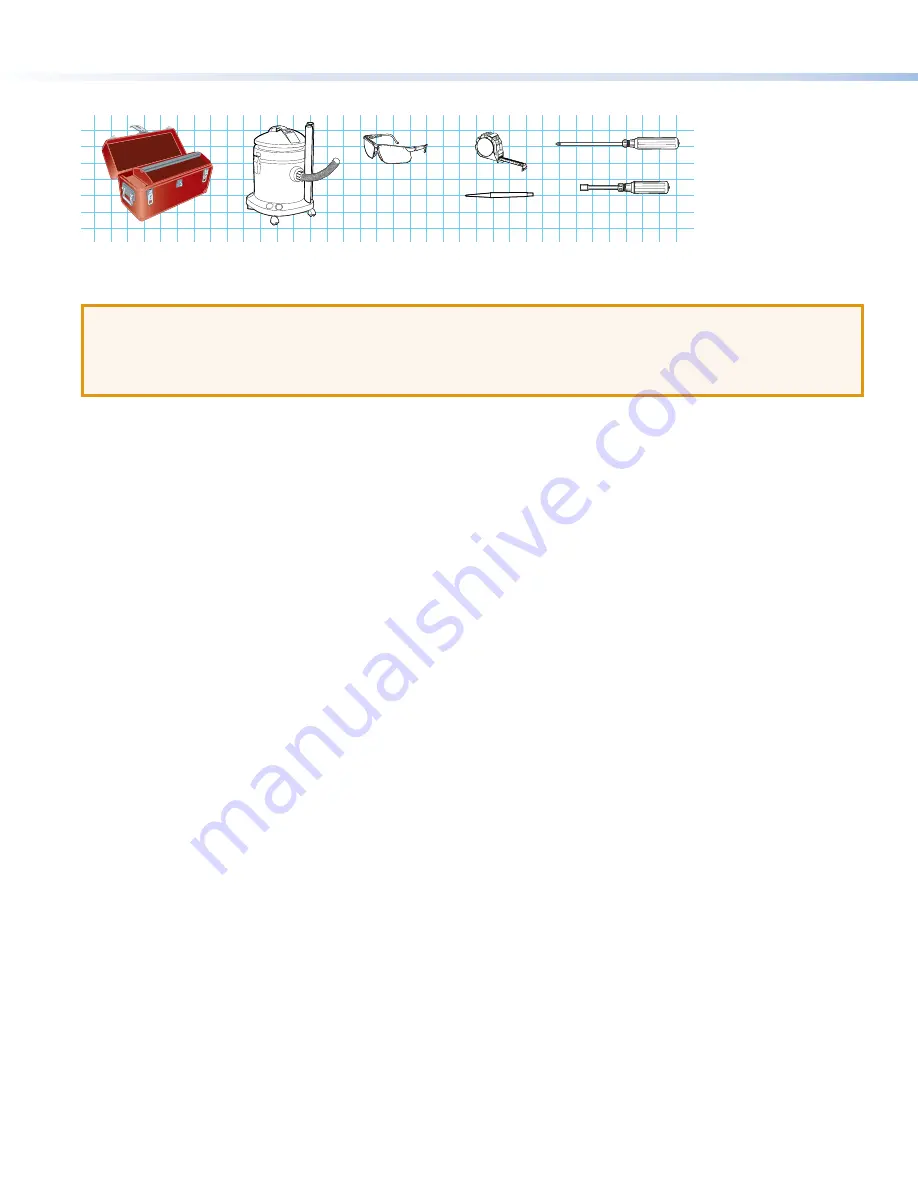
Tools Required for Installation
Safety Glasses
Phillips Screw Driver
Tape Measure
1/4" Hex Nut Driver
Marking Pen
Vacuum Cleaner
Figure 2.
Tools required for installation
Mount and Cable All Devices
ATTENTION:
•
Do not power on the touchpanels or control processors until you have read the Attention in the “Rear Panel Features”
section of the
TLP Pro 725C Series User Guide
.
•
Ne branchez pas les écrans tactiles ou les contrôleurs avant d’avoir lu la mise en garde dans la section « Rear Panel
Features » du
TLP Pro 725C Series User Guide
.
Cut a hole in the table (see
Step 1 — Cut-out Dimensions
and
Step 2 — Cut the Surface
on page 3).
Run cables to the cable cubby (see
Step 3 — Run all Cables
on page 4).
Install modules into the Cable Cubby enclosure. Multiple optional modules can be installed in the TLP Pro 725C Cable Cubby
in a variety of configurations. Decide which modules and which configuration best serve your needs. Options include:
•
Cable Retractors (see
Step 4 — Install Cable Retractors (Optional)
on page 4).
•
Pass-through Cable Modules (see
Step 5 — Assemble Pass-through Cable Module (Optional)
on page 4).
•
AAP Modules (see
Step 6 — Assemble AAP Module (Optional)
on page 4).
•
Power Modules (see
Step 7 — Install Modules
on page 5).
Mount the units (see
Step 8 — Mounting the Enclosure
on page 6).
Connect the touchpanel to a Power over Ethernet injector (see
figure 9
on page 7).
Connect the power injector to the LAN and power it on (see
figure 9
).
Set up the Touchpanels for Network Communication
Connect the PC that you are using for setup, the control processor, and the touchpanel
to the same Ethernet subnetwork
.
Use the
Setup Menu
(see page 8) or Toolbelt to set the DHCP status and, if necessary, the IP address, subnet mask,
gateway, and related settings for the touchpanel.
Configure the Touchpanels
The
GUI Designer Help File
, the
Global Configurator Help File
, and the
Toolbelt Help File
provide step-by-step instructions and
detailed information. The
Global Configurator Help File
includes an introduction to the software and sections on how to start a
project and configuration.
Global Scripter provides an Extron-exclusive Python library (ControlScript
®
) and Global Scripter modules to get you started.
Mounting
Planning
Before making any cuts, select the best location for the TLP Pro 725C.
Ensure that the edge that opens on the lid is oriented correctly.
Ensure there is enough space for all the system cables and components, including cable retractors, if they are to be installed.
The space requirements for retractors are shown in the
TLP Pro 725C User Guide
, which is available at
www.extron.com
.
Decide on the method for cutting a hole in the table:
•
Hand router and template
•
CNC wood router
•
Jigsaw and paper template
Verify that you have the correct template or dimensions.
Check all relevant regulations.
Ensure that the installation complies with local, state, and national building and electrical codes.
Ensure that the installation complies with the Americans with Disabilities Act or other accessibility requirements.


