


EMV800 HD / EMV1200 HD Mobile DVR
48
4
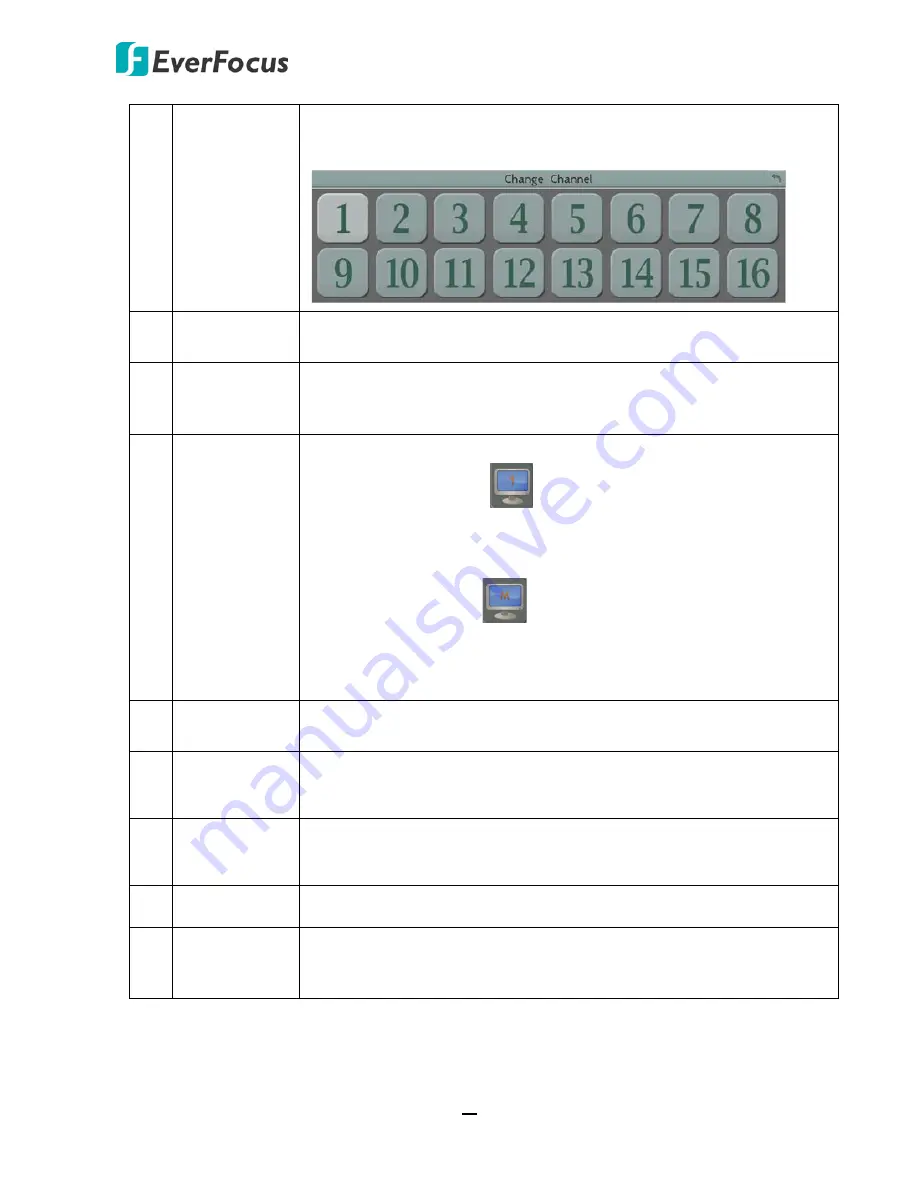
Change
Channel
Click to display the Channel Changing Bar as shown below. To switch
the selected camera to a specific channel, please refer to
4.3 Channel
Switching
.
5
Display
Click to display system information icons or status icons on the live
view screen. For details, please refer to
4.4 Display
.
6
Sequence
Click to enter the auto sequential switching mode. Click again to
disable. For setting up the sequencing order, please refer to
6.5.2 M/T
SEQ.
7
Monitor
Click to switch to the call monitor settings. On the OSD Root Menu,
click the Monitor button
to switch to the Call monitor. On the
OSD Root Menu, the Playback, PTZ, Zoom, Search, Copy, System and
Exit icons will gray out. You can only configure the Layout, Channel,
Display and Sequence settings for the Call Monitor. To switch to the
Main Monitor, click the
button. Note that the Call Monitor can
only be used to display camera views. The functions including the
layout, channel switching, icon display, sequencing mode of the Call
Monitor can only be configured on the Main Monitor.
8
Zoom
Click to enter the Zoom mode. You can zoom in the camera view up to
x4 and navigate the camera view. For details, please refer to
4.6 Zoom
.
9
Search
Click to display the Search menu for setting up the Search mode for
playing back. For details, please refer to
5.3 Searching the Recordings
for Playback Back.
10 Copy
Click to display the Copy menu for archiving the recordings or log data
to the USB storage device or FTP. For details, please refer to
4.7
Archiving the Recordings or Log Data to the USB or FTP.
11 System
Click to enter the System Setting menu. Please refer to
6. System
.
12 Exit
Click to bring up the Logout Confirmation window and then click
Yes
to
log out the system (see
4.8 Logout
). To log in, please refer to
3.2.1
Login
.


