Etaluma, Inc. | 3129 Tiger Run Court, Suite 218 | Carlsbad, CA 92010 | 760-298-2355 | www.etaluma.com
E.
Tiling Across Locations
1.
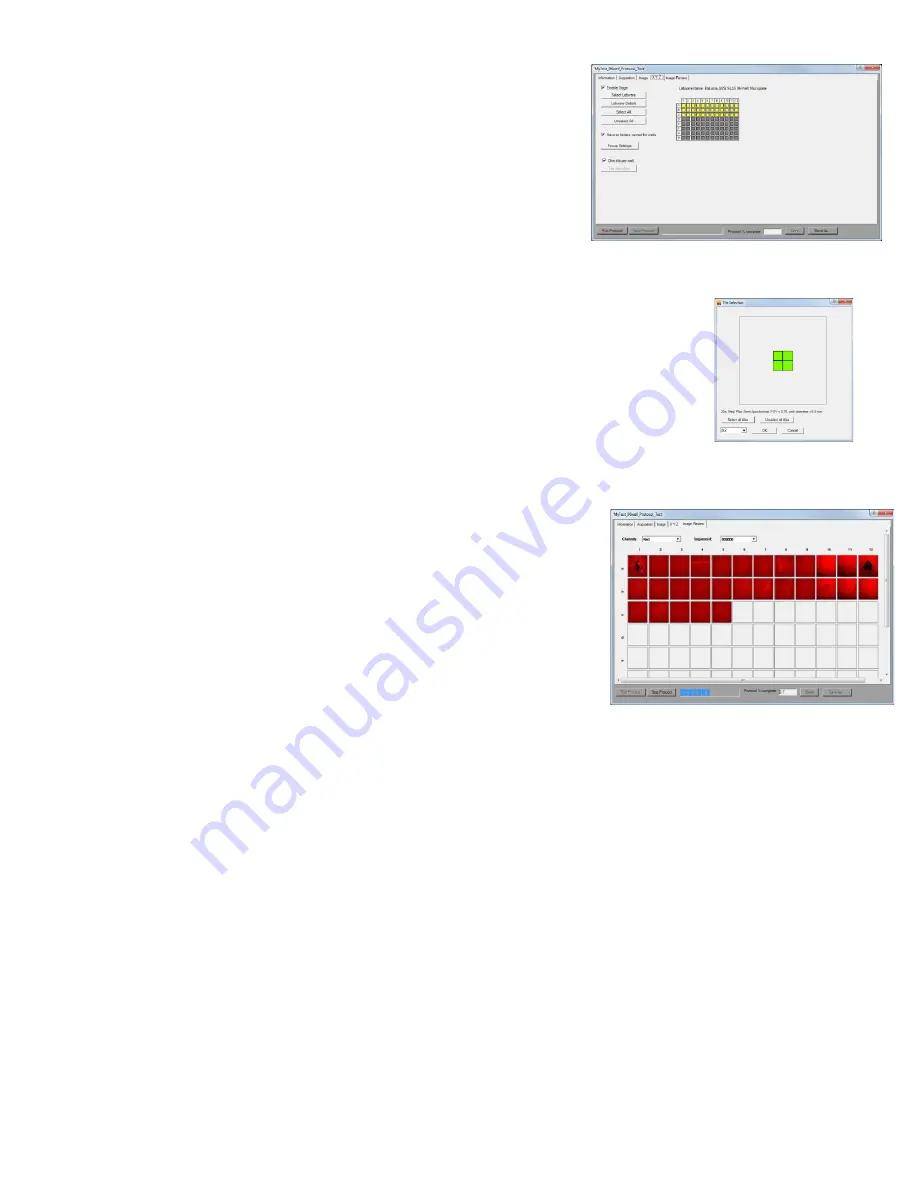
Tiling can carried out as part of a Protocol and set up in
the Protocol XYZ tab. First ensure that the One Tile Per
Well is not checked. Click the Tile Selection button to
open its dialog box. A representative Location will be
shown.
2.
Select the number of tiles desired using the drop-down menu. The tile grid
will then appear superimposed over the location based on the objective to
be used and the location dimensions. Select the tiles to be imaged by
clicking each individually or Select all. The tile number and tiles selected
will apply to all locations to be imaged in the Protocol. Click OK.
3.
Autofocus will be carried out in all selected tiles.
F.
Run Protocol
1.
After entering all information and saving the Protocol, it is ready to be
run.
2.
A message will remind you to install the correct objective and
the Protocol will initiate
.
G.
The fifth tab is “
Image
Review” and will present the
images as
they are captured. Channels, including multiples if a Composite,
can be selected as well as the Sequence number of a Time-Lapse.
This allows the monitoring of images as they are collected in the
Protocol. Click on any location to enlarge the image. Clicking on
a tile will also enlarge that tile.
H.
Live Cell Imaging with the LS720 Microscope in an Incubator
1.
Prior to imaging in an incubator, place the microscope inside for at least 6 hr and preferably
over-night to allow thermal equilibration. Before transferring to the incubator, disinfect the
micro-scope using any of the suggested procedures in Appendix C. Condensation on the
microscope, including on the objective, will form in the first minutes but will evaporate as
thermal equilibrium is achieved. Focus levels may change during this equilibration as materials
expand.
2.
Pass the communication and optional power cable through the incubator port, which is often
located in the upper back wall. A plug or filtered stopper may be present. Every microscope
comes with a foam plug that can be used to seal around the cables) going through the port. Or
the existing plug can be adapted as well. Make sure there is enough slack in the cables inside
the incubator for sliding out the shelf. Place the computer to be used on a flat and stable
surface near to the incubator and within the 3 M USB cable provided.
WARNING: Do not extend the USB cable or use another USB cable other than
that supplied, particularly a longer one, as communication issues will arise. To
extend the user interface to microscope distance use a long HDMI for the
monitor and wireless mouse and keyboard.


