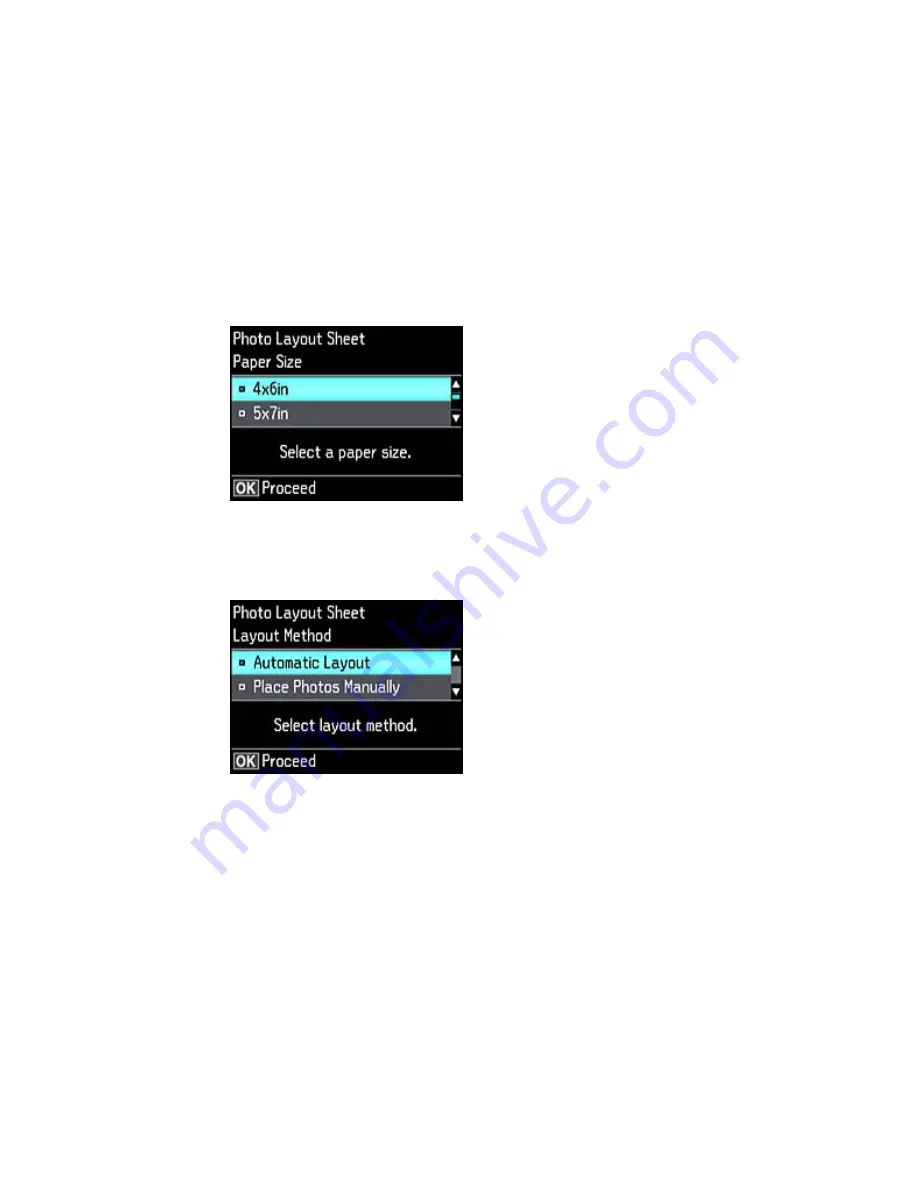
You see this screen:
6.
Select the
Paper Size
setting that matches the paper you loaded and press the
OK
button.
7.
Select the
Paper Type
setting that matches the paper you loaded and press the
OK
button.
Depending on the layout you selected, you may see this screen:
8.
If you see the screen above, do one of the following:
• To allow your product to place photos in the layout automatically, select
Automatic Layout
and
press the
OK
button. Press the
+
button to select a photo to print. If you need to deselect a photo,
press the
–
button. Press the
OK
button when you're finished.
181
Содержание XP-620 Series
Страница 1: ...XP 620 User s Guide ...
Страница 2: ......
Страница 13: ...XP 620 User s Guide Welcome to the XP 620 User s Guide For a printable PDF copy of this guide click here 13 ...
Страница 18: ...Product Parts Top 1 Control panel 2 CD DVD tray Parent topic Product Parts Locations Product Parts Front 18 ...
Страница 20: ...Product Parts Inside 1 Print head ink cartridge holder 2 Output tray Parent topic Product Parts Locations 20 ...
Страница 21: ...Product Parts Back 1 AC inlet 2 Rear cover 3 Vents 4 USB port Parent topic Product Parts Locations 21 ...
Страница 60: ...Parent topic Loading Paper 60 ...
Страница 118: ...You see this window 118 ...
Страница 135: ...You see this window 135 ...
Страница 172: ...Selecting Scan File Settings Related topics Starting a Scan Selecting Epson Scan Settings 172 ...
Страница 196: ...Related topics Loading Paper Viewing and Printing Photos 196 ...
Страница 263: ...3 Remove any jammed paper from the duplexer 4 Open the duplexer and remove any jammed paper from inside it 263 ...


