248
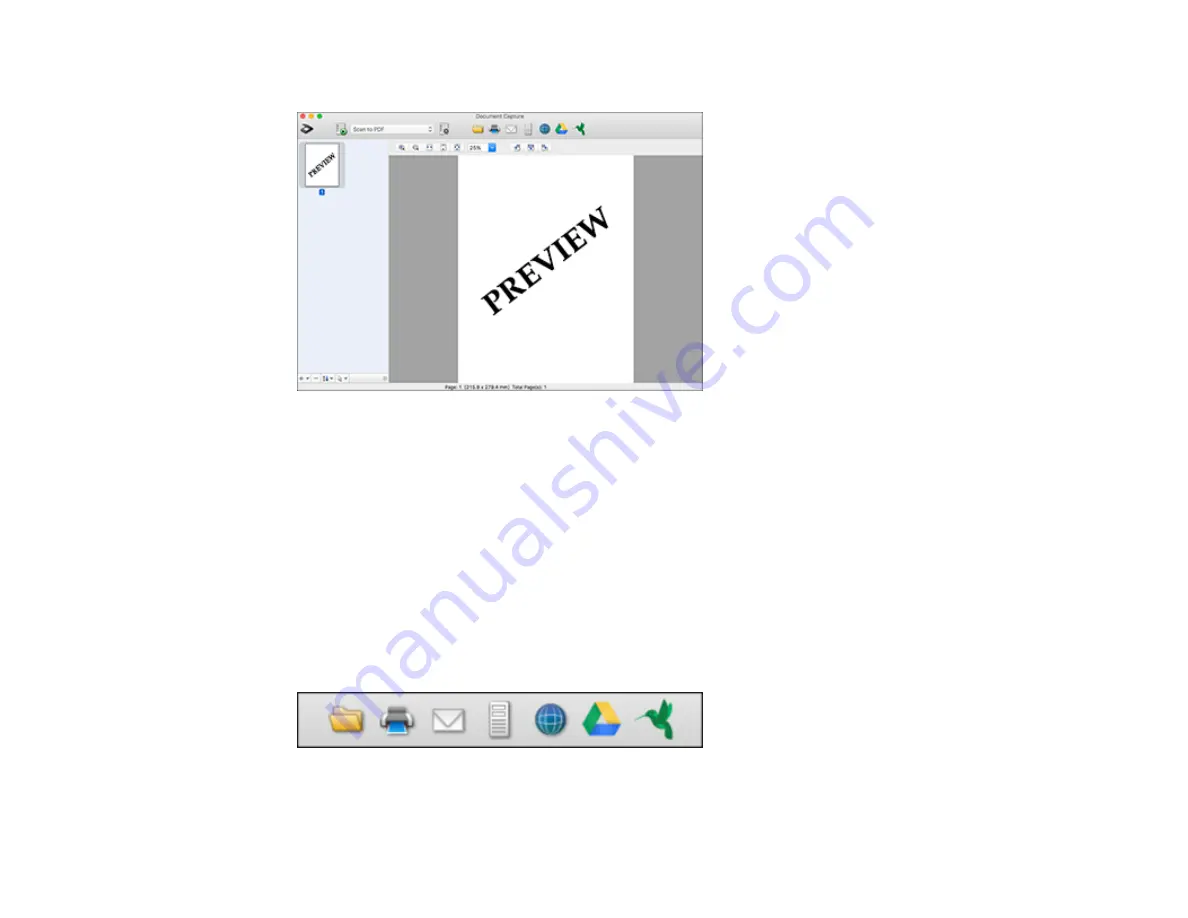
You see a preview of your scan in the Document Capture window.
Note:
You may have to close the Epson Scan 2 window to view your scan in the Document Capture
window.
8.
If you would like to scan additional originals and add them to the current captured images, click the +
icon, select
Acquire from Scanner
, and repeat the previous steps.
9.
Check the scanned images and edit them as necessary.
10. Open the
File
menu at the top of the Mac desktop and select
Save As
.
11. Select
as the
File Type
setting and click the
Options
button.
12. Select the
Create Searchable PDF
checkbox and click
OK
.
13. Click one of the Destination icons to choose where to send your scanned file. (If you cannot see all
of the icons below, click the arrow next to the icons.)
14. Depending on the destination you chose, click
OK
or
Send
to complete the operation.
Содержание WorkForce Pro WF-C579R
Страница 1: ...WF C579R User s Guide ...
Страница 2: ......
Страница 19: ...19 7 Lower paper cassette 2 onto the optional paper cassette unit as shown ...
Страница 20: ...20 8 Lower the product onto paper cassette 2 as shown ...
Страница 116: ...116 1 Open the document cover ...
Страница 122: ...122 Scanning Faxing ...
Страница 157: ...157 10 Select the Layout tab 11 Select the orientation of your document as the Orientation setting ...
Страница 246: ...246 You see a window like this Note You may need to select your scanner from the scanner list 3 Click the Scan icon ...
Страница 255: ...255 You see a window like this ...
Страница 261: ...261 ...
Страница 351: ...351 8 Open the ADF cover ...
Страница 355: ...355 9 Uninstall the optional paper cassette if necessary ...
Страница 357: ...357 Parent topic Cleaning and Transporting Your Product Related concepts Print Head Cleaning Print Head Alignment ...
Страница 437: ...437 Copyright Attribution 2019 Epson America Inc 4 19 CPD 56082 Parent topic Copyright Notice ...


