21
9.
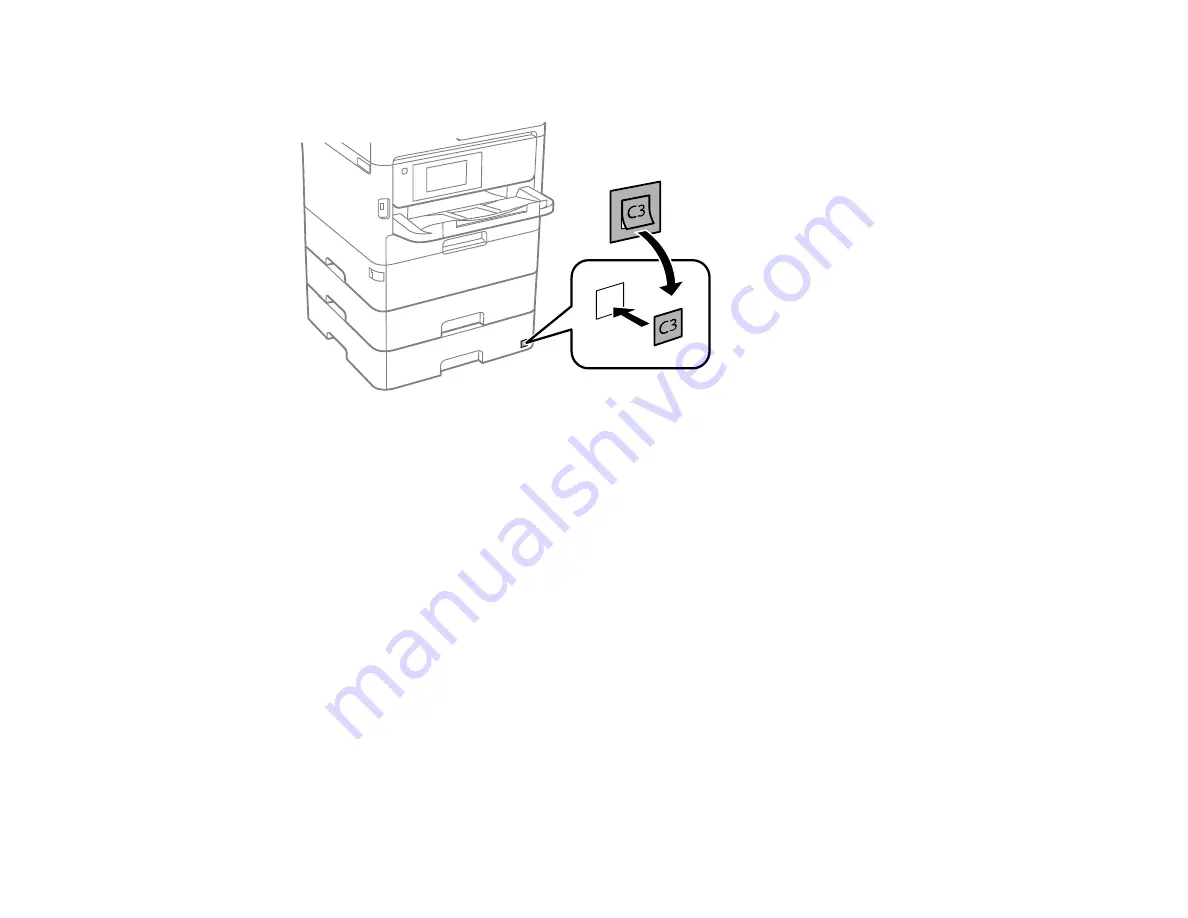
Attach the included C3 sticker as shown.
10. Connect the power cord and other connection cables, then plug in the product.
11. Turn on the product.
12. Pull out and reinsert the paper cassette tray in the optional paper cassette unit and confirm that the
cassette unit number is displayed on the screen.
13. Enable the optional paper cassette unit in the printer software.
Enabling the Optional Paper Cassette - Windows
Enabling the Optional Paper Cassette - Mac
Parent topic:
Enabling the Optional Paper Cassette - Windows
You need to enable the optional paper cassette unit before you can use it with the printer software.
Note:
If you are using the Epson Universal Print Driver or PostScript (PS3) printer software, see the link
below to enable the optional cassette unit.
Содержание WorkForce Pro WF-C579R
Страница 1: ...WF C579R User s Guide ...
Страница 2: ......
Страница 19: ...19 7 Lower paper cassette 2 onto the optional paper cassette unit as shown ...
Страница 20: ...20 8 Lower the product onto paper cassette 2 as shown ...
Страница 116: ...116 1 Open the document cover ...
Страница 122: ...122 Scanning Faxing ...
Страница 157: ...157 10 Select the Layout tab 11 Select the orientation of your document as the Orientation setting ...
Страница 246: ...246 You see a window like this Note You may need to select your scanner from the scanner list 3 Click the Scan icon ...
Страница 255: ...255 You see a window like this ...
Страница 261: ...261 ...
Страница 351: ...351 8 Open the ADF cover ...
Страница 355: ...355 9 Uninstall the optional paper cassette if necessary ...
Страница 357: ...357 Parent topic Cleaning and Transporting Your Product Related concepts Print Head Cleaning Print Head Alignment ...
Страница 437: ...437 Copyright Attribution 2019 Epson America Inc 4 19 CPD 56082 Parent topic Copyright Notice ...


