❏
Orientation (Original)
Select the orientation of the original.
❏
Binding(Original)
Select the binding direction of the original.
Scan Area:
Select the scan area. To crop the white space around the text or image when scanning, select
Auto
Cropping
. To scan at the maximum area of the scanner glass, select
Max Area
.
❏
Orientation (Original)
Select the orientation of the original.
Original Type:
Select the type of your original.
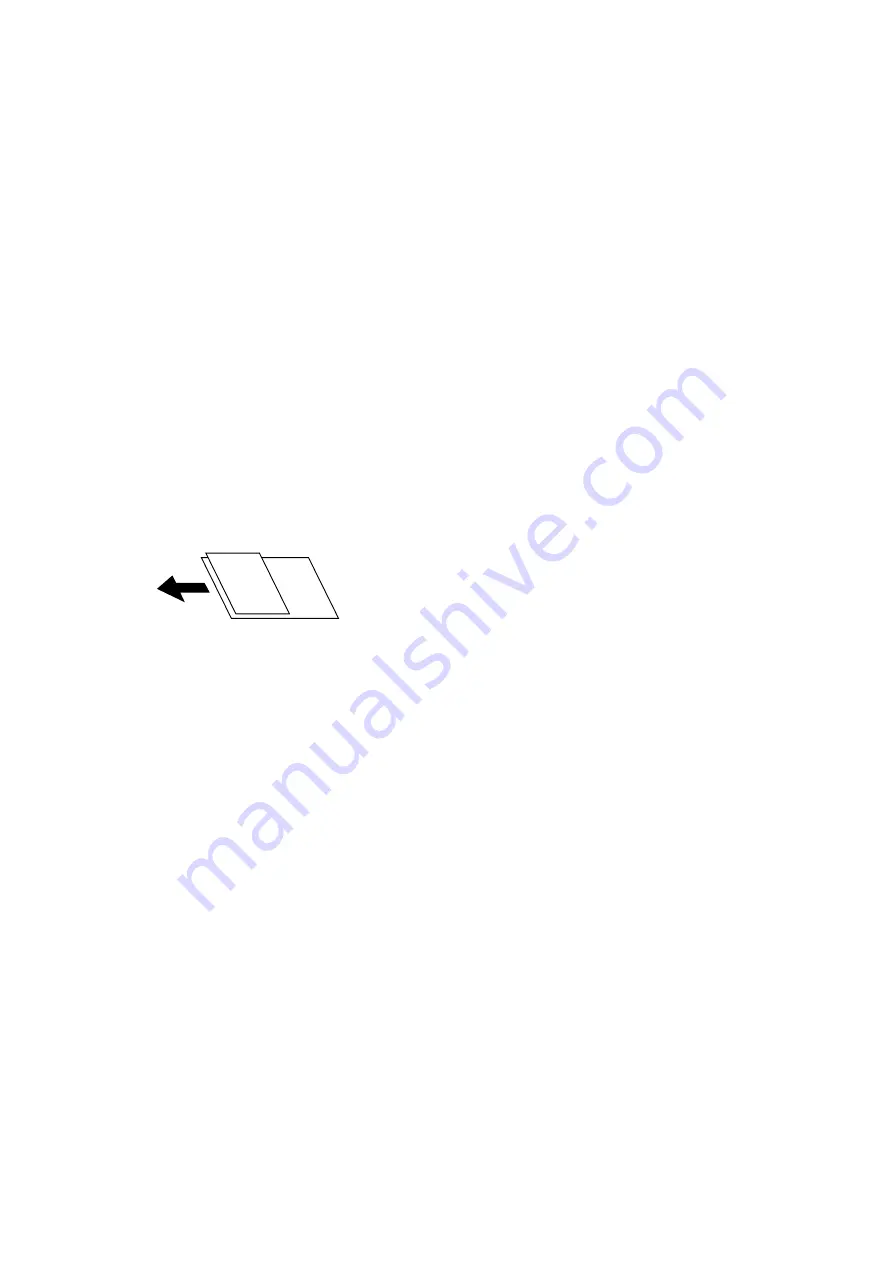
Mixed Size Originals:
You can place the following combination of sizes in the ADF at the same time. A3 and A4; B4 and B5.
When using these combinations, originals are scanned at the actual size of the originals. Place your
originals by aligning the width of the originals as shown below.
Density:
Select the contrast of the scanned image.
Remove Background:
Select the darkness of the background. Tap + to lighten (whiten) the background and tap - to darken
(blacken) it.
If you select
Auto
, the background colors of the originals are detected, and they are removed or
lightened automatically. It is not applied correctly if the background color is too dark or not detected.
Remove Shadow:
Remove the shadows of the original that appear in the scanned image.
❏
Surround
Remove the shadows at the edge of the original.
❏
Center
Remove the shadows of the binding margin of the booklet.
Remove Punch Holes:
Remove the punch holes that appear in the scanned image. You can specify the area to erase the punch
holes by entering a value in the box on the right.
❏
Erasing Position
Select the position to remove the punch holes.
User's Guide
Scanning
65


