248
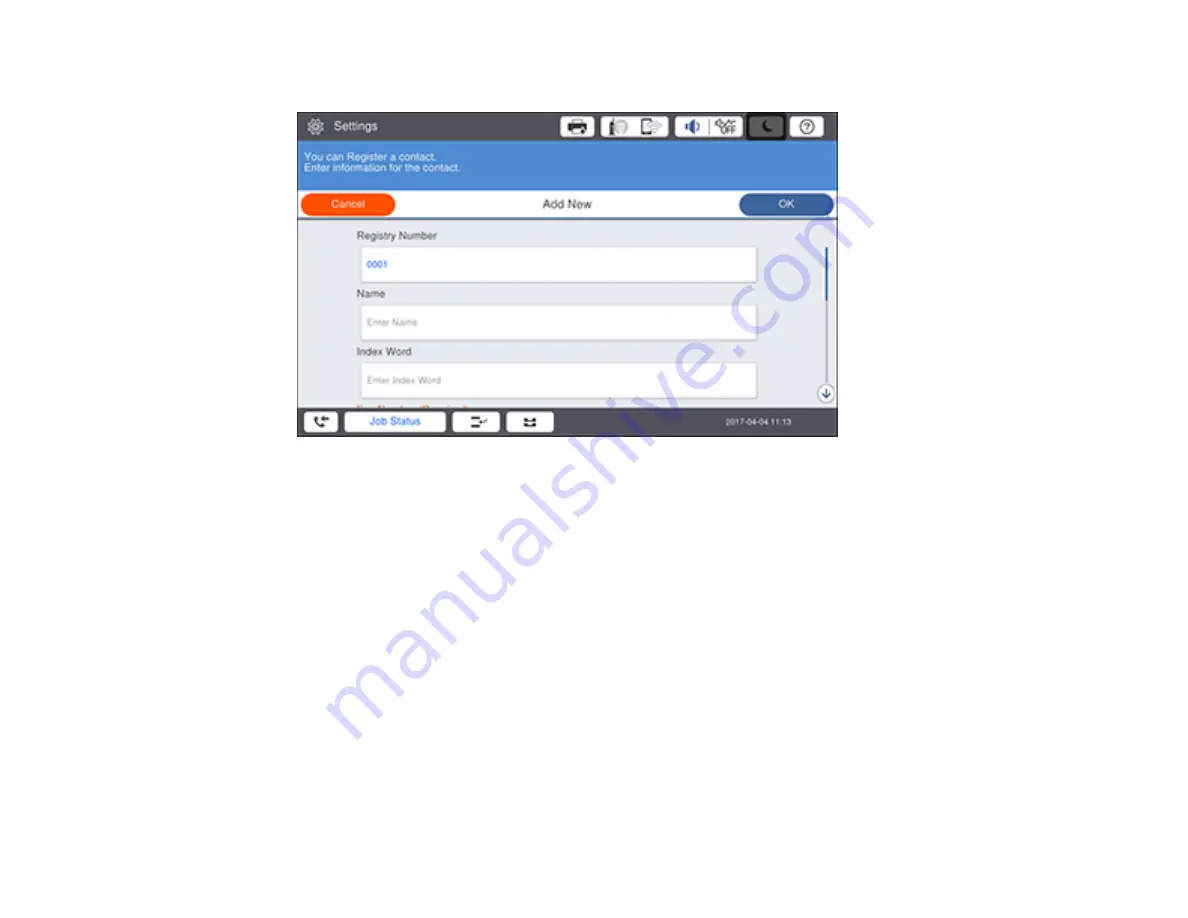
You see a screen like this:
7.
Select the
Name
field. Use the displayed keyboard to enter the contact name (up to 30 characters)
and select
OK
.
8.
Select the
Index Word
field. Use the displayed keyboard to enter a word to use when searching for
an entry (up to 30 characters) and select
OK
. (This field is optional.)
9.
Select the
Fax Number
field. Use the numeric keypad on the LCD screen to enter the fax number.
You can enter up to 64 characters.
Note:
If necessary, enter an outside line access code (such as
9
) at the beginning of the fax number.
If the access code has been set up in the
Line Type
setting, enter the
#
pound sign instead of the
code.
10. Set any additional settings, if necessary.
11. Select
OK
.
Parent topic:
Setting Up Contacts Using the Product Control Panel
Editing or Deleting a Contact
You can edit or delete any of the contacts on your list.
Содержание WF-C20590 Series
Страница 1: ...WF C20590 User s Guide ...
Страница 2: ......
Страница 14: ......
Страница 28: ...28 You see the Basic Settings screen 4 Select Date Time Settings ...
Страница 80: ...80 You see a screen like this 5 Select PDL Print Configuration ...
Страница 89: ...89 You see this screen 2 Select Load Paper under the How To options ...
Страница 90: ...90 You see this screen 3 Select one of the options ...
Страница 91: ...91 You see this screen 4 Select How To ...
Страница 99: ...99 You see a screen like this 2 Select the paper source you want to select settings for ...
Страница 110: ...110 Parent topic Placing Originals on the Product Related topics Copying Scanning Faxing ...
Страница 123: ...123 You see this window 3 Select the double sided printing options you want to use 4 Click OK to return to the Main tab ...
Страница 170: ...170 You see this window 3 Click Network printer search 4 When you see the search results select Add found printers ...
Страница 191: ...191 You see a screen like this 4 Select Email ...
Страница 200: ...200 You see an Epson Scan 2 window like this ...
Страница 202: ...202 You see an Epson Scan 2 window like this ...
Страница 207: ...207 You see this window ...
Страница 223: ...223 DSL connection 1 Telephone wall jack 2 DSL filter 3 DSL modem ...
Страница 224: ...224 ISDN connection 1 ISDN wall jack 2 Terminal adapter or ISDN router ...
Страница 246: ...246 You see a screen like this 3 Select the Recipient tab ...
Страница 251: ...251 You see a screen like this 3 Select the Recipient tab 4 Select Add New 5 Select Add Group ...
Страница 311: ...311 You see a screen like this 6 Select Print Head Nozzle Check ...
Страница 312: ...312 You see a screen like this 7 Select the paper cassette you want and select OK The nozzle pattern prints ...
Страница 318: ...318 5 Open the interior of the document cover ...


