194
4.
Select
Network Folder/FTP
.
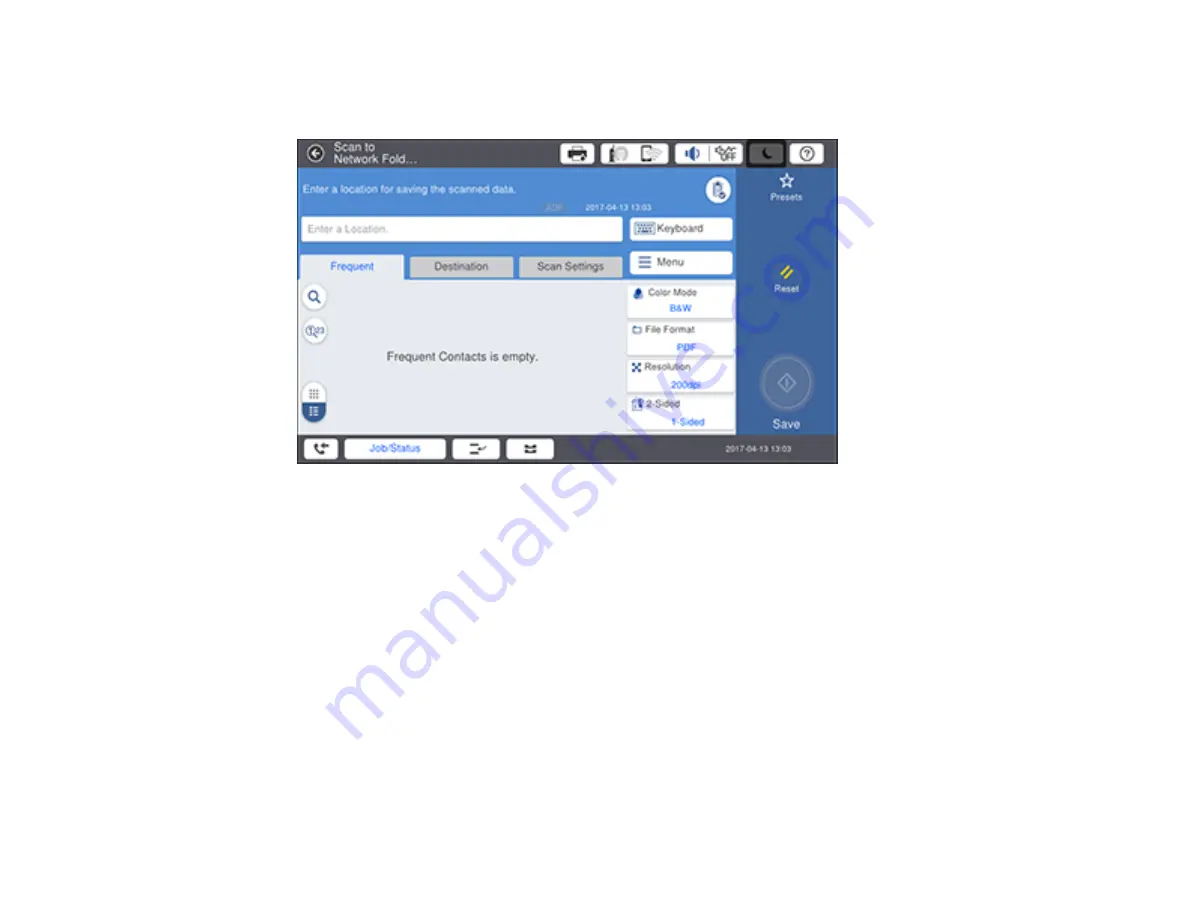
You see a screen like this:
5.
Do one of the following:
• Select the
Destination
tab and choose a saved location.
• Select
Keyboard
, select the
Communication Mode
field, and select
Network Folder (SMB)
or
FTP
. Then select the
Location
field, enter the folder location, and select
OK
. Enter other
information as necessary.
Enter the folder path name for the
Location
setting in one of the following formats depending on
the
Communication Mode
setting you selected:
•
SMB
: \\host name\folder
•
FTP
: ftp://host name/folder name
• Select an email address from any displayed frequent contacts.
6.
Select
Scan Settings
.
7.
Select
File Format
to choose the file format for your scan.
8.
Scroll down to select
File Name
and change it if necessary.
Содержание WF-C20590 Series
Страница 1: ...WF C20590 User s Guide ...
Страница 2: ......
Страница 14: ......
Страница 28: ...28 You see the Basic Settings screen 4 Select Date Time Settings ...
Страница 80: ...80 You see a screen like this 5 Select PDL Print Configuration ...
Страница 89: ...89 You see this screen 2 Select Load Paper under the How To options ...
Страница 90: ...90 You see this screen 3 Select one of the options ...
Страница 91: ...91 You see this screen 4 Select How To ...
Страница 99: ...99 You see a screen like this 2 Select the paper source you want to select settings for ...
Страница 110: ...110 Parent topic Placing Originals on the Product Related topics Copying Scanning Faxing ...
Страница 123: ...123 You see this window 3 Select the double sided printing options you want to use 4 Click OK to return to the Main tab ...
Страница 170: ...170 You see this window 3 Click Network printer search 4 When you see the search results select Add found printers ...
Страница 191: ...191 You see a screen like this 4 Select Email ...
Страница 200: ...200 You see an Epson Scan 2 window like this ...
Страница 202: ...202 You see an Epson Scan 2 window like this ...
Страница 207: ...207 You see this window ...
Страница 223: ...223 DSL connection 1 Telephone wall jack 2 DSL filter 3 DSL modem ...
Страница 224: ...224 ISDN connection 1 ISDN wall jack 2 Terminal adapter or ISDN router ...
Страница 246: ...246 You see a screen like this 3 Select the Recipient tab ...
Страница 251: ...251 You see a screen like this 3 Select the Recipient tab 4 Select Add New 5 Select Add Group ...
Страница 311: ...311 You see a screen like this 6 Select Print Head Nozzle Check ...
Страница 312: ...312 You see a screen like this 7 Select the paper cassette you want and select OK The nozzle pattern prints ...
Страница 318: ...318 5 Open the interior of the document cover ...


