94
94
|
Cleaning, Storing, and Transporting the Printer
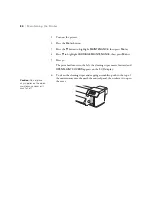
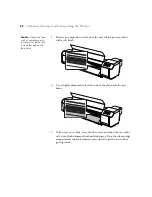
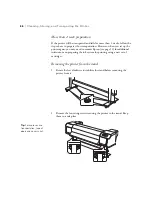
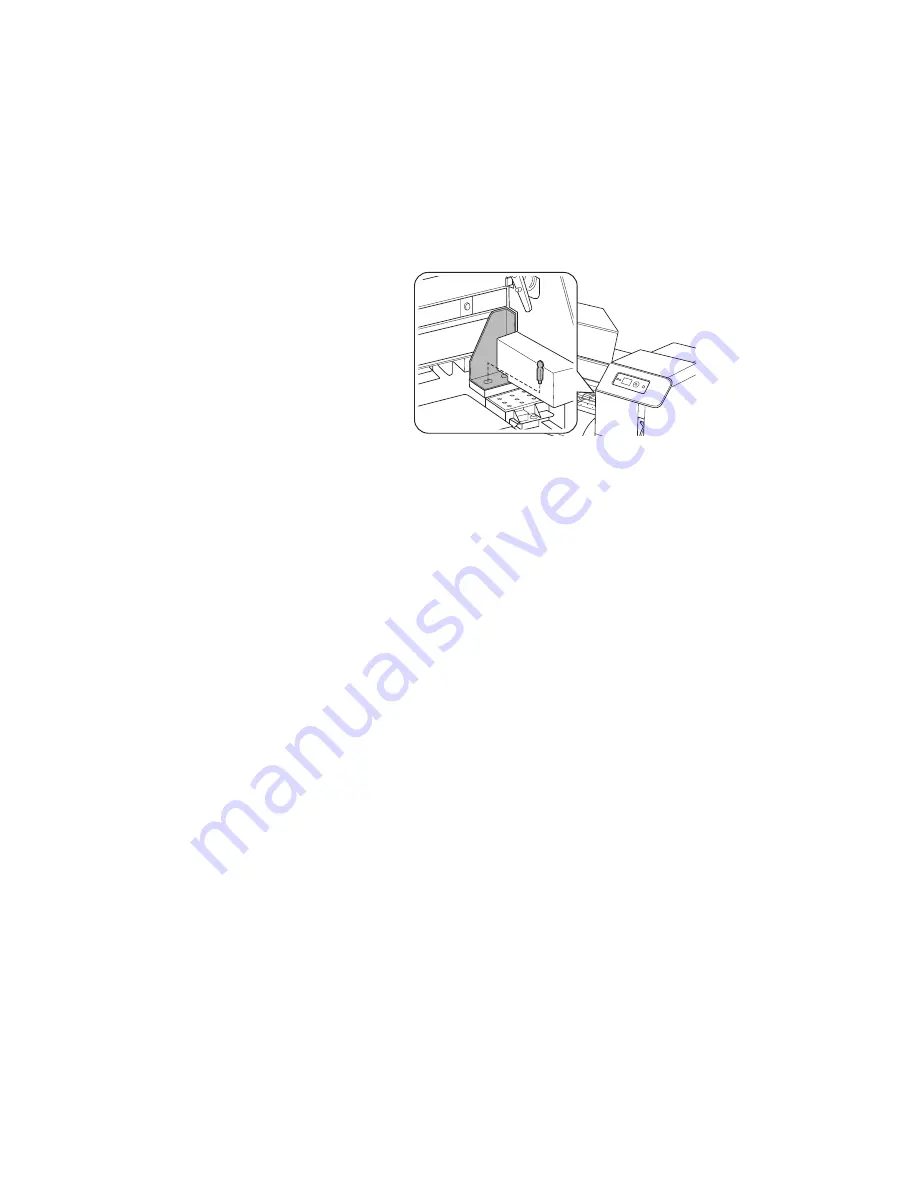
5. Reinstall the bolt and bracket securing the print head that you removed
during setup.
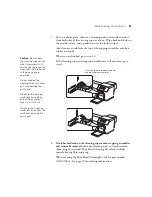
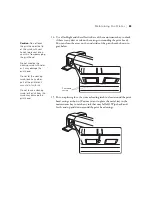
6. Close any open covers on the printer and tape them shut.
7. Follow the steps on page 96 to remove the printer from the stand.
When you set up the printer again, follow the steps in Chapter 1 to attach
the printer to the stand, install the Auto Take-Up Reel, remove the print
head bracket and bolt, and connect the power and interface cables. The first
time you print, it’s a good idea to run a cleaning cycle (page 74) and realign
the print head (page 61) to ensure good print quality.
1 to 2 week preparation
You will need a set of additional cleaning cartridges to wash the ink system
in these steps; see page 10 for ordering information. This process also uses
ink from your ink cartridges to re-initialize the printer.
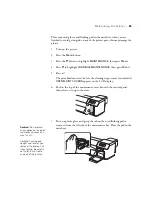
1. Dispose of any waste ink in the waste ink tank (see page 78).
2. Turn on the printer.
3. Press the
Menu
button.
4. Press the
d
button to highlight
MAINTENANCE
, then press
Menu
.
5. Press
d
to highlight
HEAD WASHING
, then press
Menu
.
Caution:
Never turn off
the printer by
disconnecting the power
cord or turning off power
to the electrical outlet.
Do not tilt the printer,
stand it on end, or turn it
upside down when
transporting it, or ink will
leak and you may damage
the printer.
Carefully follow all the
instructions on the LCD
display to avoid errors. If
you see a
DRAIN TANK
FULL
error, you failed to
empty the waste ink tank
when instructed. If you
see a
COVER OPEN
error, you opened a cover
on the printer when you
were not instructed to.
Содержание Stylus Pro GS6000
Страница 1: ...Epson Stylus Pro GS6000 SETUP AND USE GUIDE ...
Страница 4: ......
Страница 8: ...8 8 Contents ...
Страница 68: ...68 68 Handling Media and Printouts ...
Страница 88: ...88 88 Maintaining the Printer ...
Страница 98: ...98 98 Cleaning Storing and Transporting the Printer ...
Страница 124: ...124 124 Specifications ...

