Thin paper
NARROW
F
Print a paper thickness test pattern.
1. Press the
/
button to select
THICKNESS
PATTERN
, and then press the
button.
2. Press the
button to print the paper
thickness test pattern.
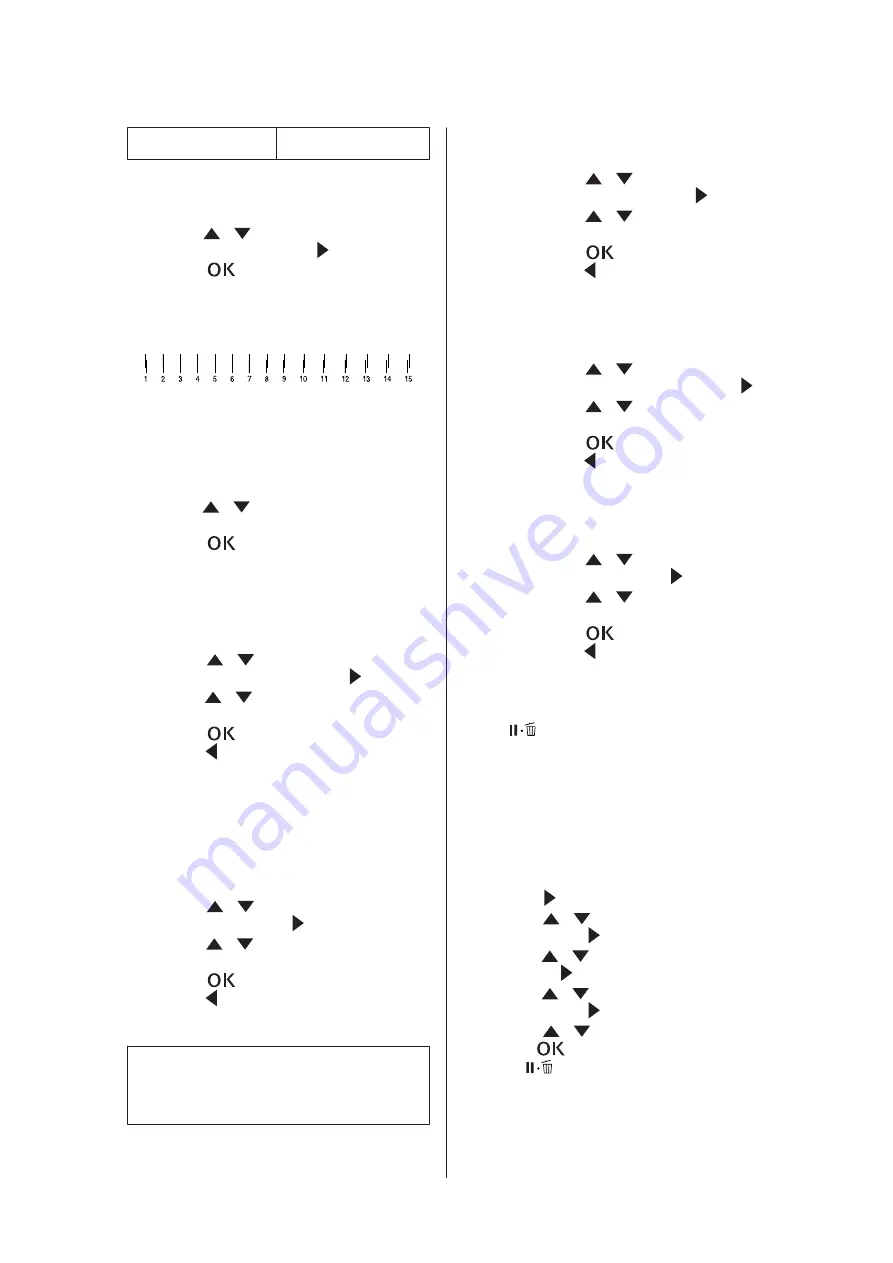
Example of pattern:
G
Examine the printed pattern to determine which
set of lines are aligned (showing the smallest
gap), and select the
THICKNESS NUMBER
(from 1
to 15).
1. Press the
/
button to select the number.
In the case of the illustration above, select 4.
2. Press the
button.
H
Set Paper feed adjustment if necessary.
Set the paper feed amount (- 0.7 to 0.7%).
1. Press the
/
button to select
PAPER
FEED ADJUST
, and then press the
button.
2. Press the
/
button to set the paper feed
amount.
3. Press the
button.
4. Press the
button to go back to the previous
menu.
I
Set drying time, if necessary.
You can set the ink drying time for each print
head pass. The range is 0.0 to 10.0 seconds.
1. Press the
/
button to select
DRYING
TIME
, and then press the
button.
2. Press the
/
button to select the time in
seconds.
3. Press the
button.
4. Press the
button to go back to the previous
menu.
Note:
If the ink blurs on the paper, set a longer time for
ink drying.
J
Select the paper suction if necessary.
1. Press the
/
button to select
PAPER
SUCTION
, and then press the
button.
2. Press the
/
button to select a suitable
setting for the paper.
3. Press the
button.
4. Press the
button to go back to the previous
menu.
K
Select the roll paper tension if necessary.
1. Press the
/
button to select
SET ROLL
PAPER TENSION
, and then press the
button.
2. Press the
/
button to select a suitable
setting for the paper.
3. Press the
button.
4. Press the
button to go back to the previous
menu.
L
Select the remove skew setting if necessary.
1. Press the
/
button to select
REMOVE
SKEW
, and then press the
button.
2. Press the
/
button to select a suitable
setting for the paper.
3. Press the
button.
4. Press the
button to go back to the previous
menu.
M
After registering the paper settings, press the
button to exit Menu mode.
The custom paper setting is now complete. Start
printing to print on the custom paper you just
set.
To use the registered custom settings, follow the steps
below.
1. Press the
button to enter the Menu mode.
2. Press the
/
button to display
PAPER SETUP
,
and then press the
button.
3. Press the
/
button to select
PAPER TYPE
, and
then press the
button.
4. Press the
/
button to display
CUSTOM PAPER
,
and then press the
button.
5. Press the
/
button to select media type, and
then press
button.
Press the
button to exit the Menu mode and then
print the data.
Epson Stylus Pro 9860 User's Guide
Paper Information
54
Содержание Stylus Pro 9860
Страница 1: ...User s Guide NPD4476 00 EN ...


