150
5.
Select
Basic Settings
.
6.
Select
Line Type
.
7.
Select
PBX
.
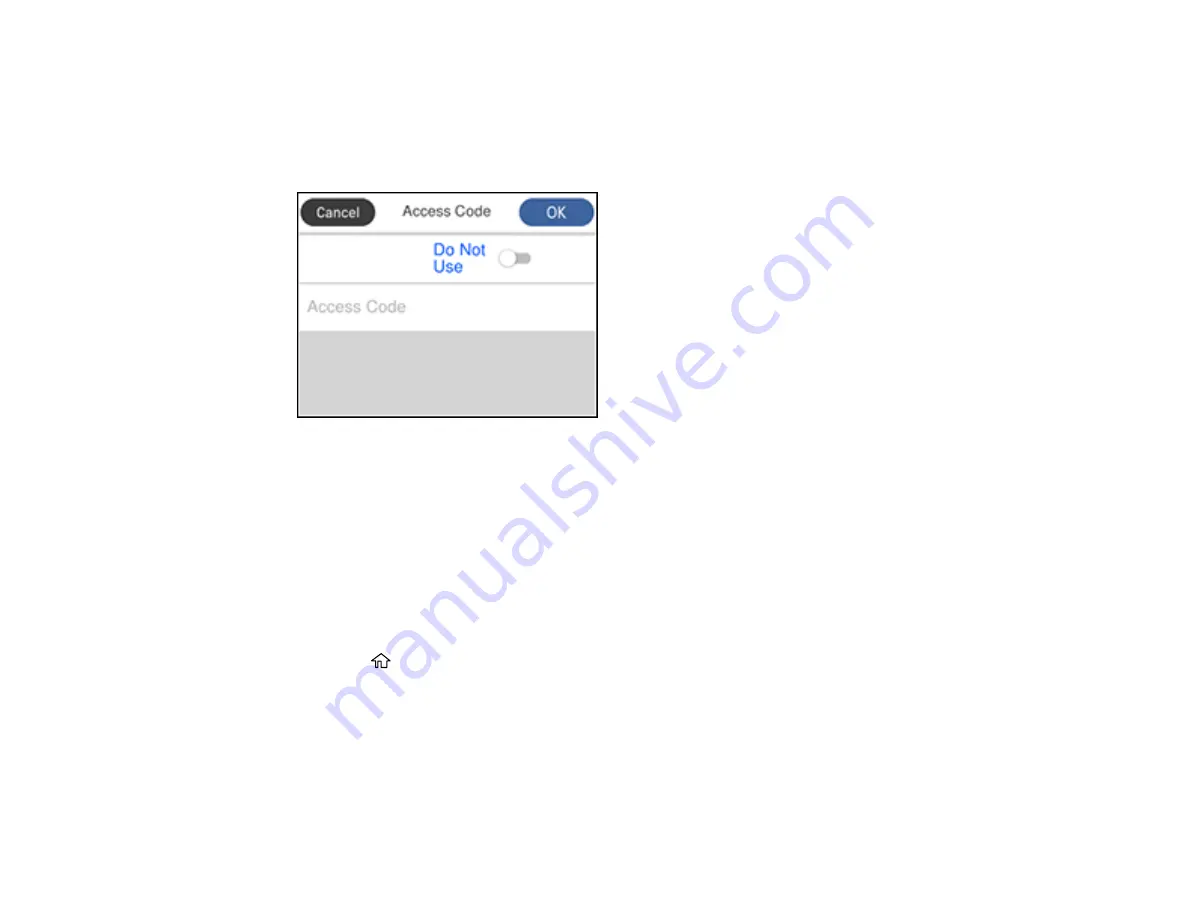
You see a screen like this:
8.
Set the switch to
Use
to activate the setting.
9.
Select
Access Code
.
10. Use the displayed keypad to enter the access code, such as 9, and select
OK
.
Parent topic:
Setting the Number of Rings to Answer
If you connect an external answering machine and select to receive faxes automatically, make sure the
Rings to Answer setting is correct. The number of rings should be higher than the number of rings your
answering machine is set to for answering a call.
1.
Press the
home button, if necessary.
2.
Select
Settings
.
Содержание ST-4000
Страница 1: ...ST 4000 User s Guide ...
Страница 2: ......
Страница 12: ......
Страница 13: ...13 ST 4000 User s Guide Welcome to the ST 4000 User s Guide For a printable PDF copy of this guide click here ...
Страница 18: ...18 3 Select General Settings 4 Select Basic Settings 5 Select Date Time Settings ...
Страница 26: ...26 Product Parts Inside 1 Document cover 2 Scanner glass 3 Control panel ...
Страница 60: ...60 2 Pull out the paper cassette until it stops 3 Slide the edge guides outward ...
Страница 108: ...108 10 Select the Layout tab 11 Select the orientation of your document as the Orientation setting ...
Страница 203: ...203 3 Open the ink tank cover then open the cap for the ink tank you are going to fill ...
Страница 231: ...231 4 Slide out the paper cassette and remove the paper 5 Make sure the ink tank caps are securely closed ...
Страница 235: ...235 7 Make sure the ink tank caps are securely closed and close the ink tank cover 8 Lower the scanner unit ...


