41
1.
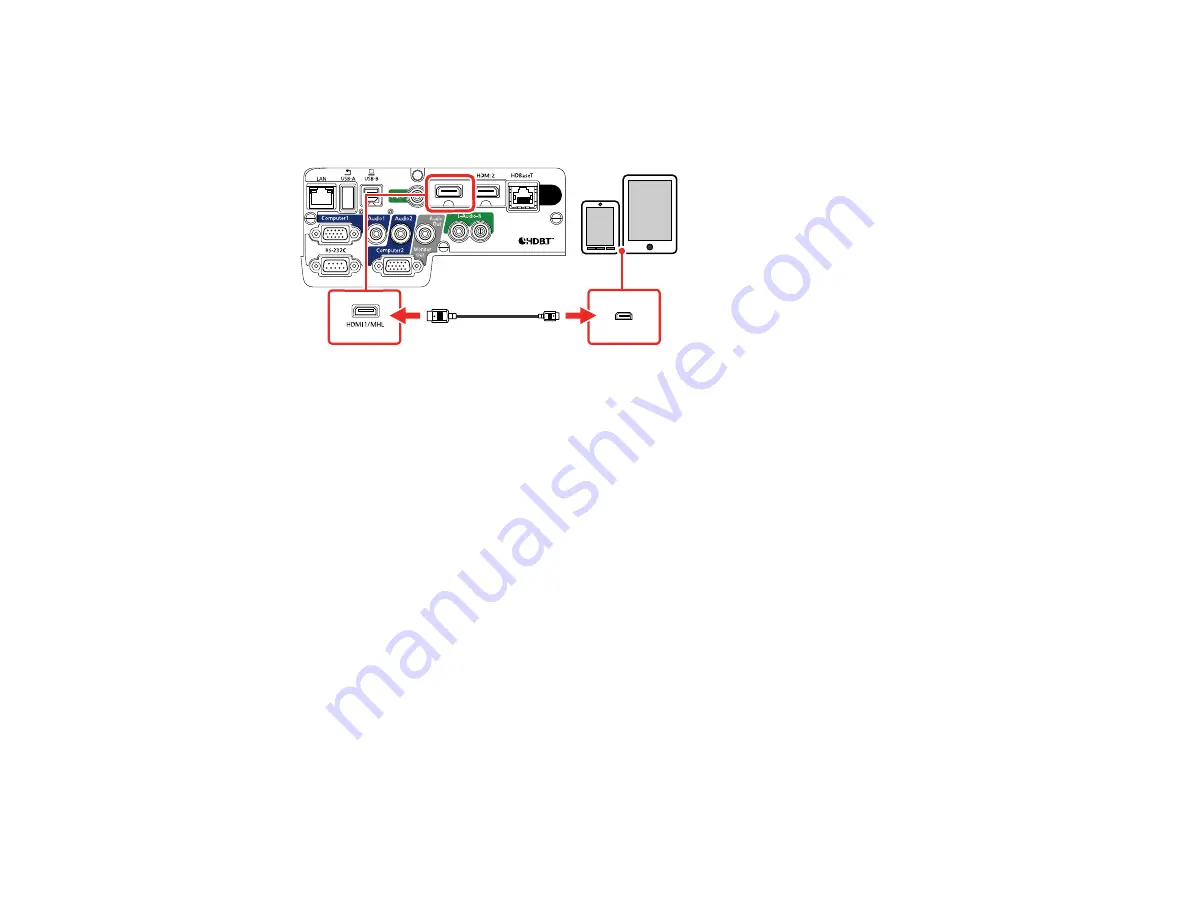
Connect the MHL cable or adapter to your device's Micro-USB port.
2.
If you are using an MHL adapter, connect it to an MHL-compatible HDMI cable.
3.
Connect the other end of the cable to the projector's
HDMI1/MHL
port.
Note:
The projector converts the digital audio signal sent from your video source into a mono analog
signal for the internal speaker or a stereo analog signal if you are connecting to external speakers.
Parent topic:
Connecting to a Component Video Source
If your video source has component video ports, you can connect it to the projector using an optional
component-to-VGA video cable. Depending on your component ports, you may need to use an adapter
cable along with a component video cable.
1.
Connect the component connectors to your video source's color-coded component video output
ports, usually labeled
Y
,
Pb
,
Pr
or
Y
,
Cb
,
Cr
. If you are using an adapter, connect these connectors
to your component video cable.
Содержание PowerLite Home Cinema 2040
Страница 1: ...PowerLite 975W 2040 2055 2065 2140W 2155W 2165W 2245U 2250U 2255U 2265U User s Guide ...
Страница 2: ......
Страница 10: ......
Страница 20: ...20 Projector Parts Front Top PowerLite 2040 2140W ...
Страница 21: ...21 PowerLite 975W 2055 2065 2155W 2165W ...
Страница 27: ...27 Projector Parts Remote Control 1 Power button ...
Страница 29: ...29 29 Remote control signal emitter emits remote control signals Parent topic Projector Part Locations ...
Страница 51: ...51 1 Remove the battery cover 2 Insert the batteries with the and ends facing as shown ...
Страница 61: ...61 1 Remove the wireless LAN module cover screw 2 Insert the wireless LAN module into the USB A port ...
Страница 178: ...178 PowerLite 2040 2140W ...
Страница 182: ...182 PowerLite 2040 2140W Caution Do not touch any glass on the lamp assembly to avoid premature lamp failure ...
Страница 184: ...184 PowerLite 2040 2140W 9 Replace the lamp cover and tighten the screw to secure it ...


