30
Setting Up the Projector
Follow the instructions in these sections to set up your projector for use.
Projector Placement
Projector Connections
Installing Batteries in the Remote Control
Opening the Lens Cover
Projector Placement
You can place the projector on almost any flat surface to project an image.
You can also install the projector in a ceiling mount if you want to use it in a fixed location.
Keep these considerations in mind as you select a projector location:
• Place the projector on a sturdy, level surface or install it using a compatible mount.
• Leave plenty of space around and under the projector for ventilation, and do not place it on top of or
next to anything that could block the vents.
• Position the projector within reach of a grounded electrical outlet or extension cord.
Projector Setup and Installation Options
Projection Distance
Parent topic:
Projector Setup and Installation Options
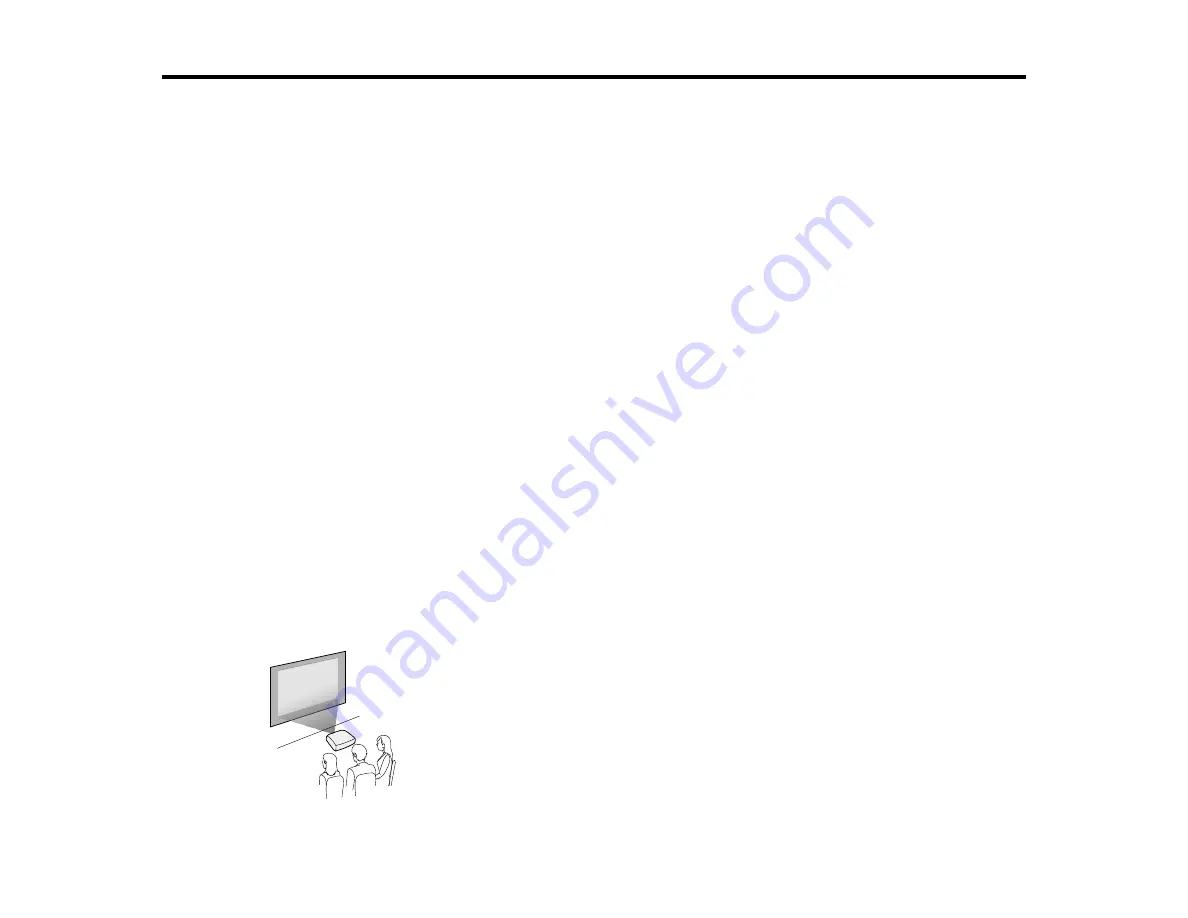
You can set up or install your projector in the following ways:
Front
Содержание PowerLite Home Cinema 2040
Страница 1: ...PowerLite 975W 2040 2055 2065 2140W 2155W 2165W 2245U 2250U 2255U 2265U User s Guide ...
Страница 2: ......
Страница 10: ......
Страница 20: ...20 Projector Parts Front Top PowerLite 2040 2140W ...
Страница 21: ...21 PowerLite 975W 2055 2065 2155W 2165W ...
Страница 27: ...27 Projector Parts Remote Control 1 Power button ...
Страница 29: ...29 29 Remote control signal emitter emits remote control signals Parent topic Projector Part Locations ...
Страница 51: ...51 1 Remove the battery cover 2 Insert the batteries with the and ends facing as shown ...
Страница 61: ...61 1 Remove the wireless LAN module cover screw 2 Insert the wireless LAN module into the USB A port ...
Страница 178: ...178 PowerLite 2040 2140W ...
Страница 182: ...182 PowerLite 2040 2140W Caution Do not touch any glass on the lamp assembly to avoid premature lamp failure ...
Страница 184: ...184 PowerLite 2040 2140W 9 Replace the lamp cover and tighten the screw to secure it ...


