131
2.
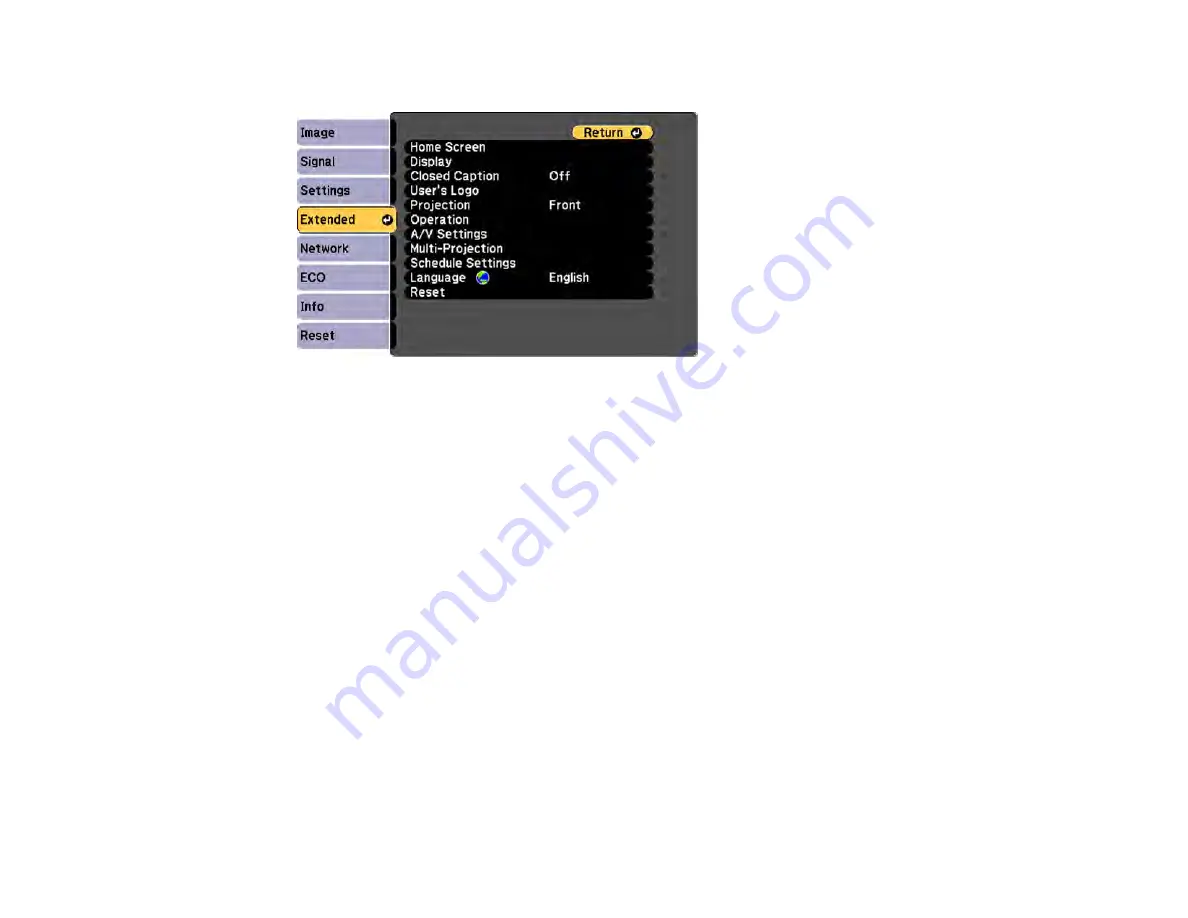
Press the
Menu
button, select the
Extended
menu, and press
Enter
.
3.
Select the
User's Logo
setting and press
Enter
.
You see a prompt asking if you want to use the displayed image as a user's logo.
4.
Select
Yes
and press
Enter
.
You see a selection box overlaying your image.
5.
Use the arrow buttons on the remote control to surround the image area you want to use as the
User's Logo and press
Enter
.
You see a prompt asking if you want to select this image area.
6.
Select
Yes
and press
Enter
. (If you want to change the selected area, select
No
, press
Enter
, and
repeat the last step.)
Содержание PowerLite Home Cinema 2040
Страница 1: ...PowerLite 975W 2040 2055 2065 2140W 2155W 2165W 2245U 2250U 2255U 2265U User s Guide ...
Страница 2: ......
Страница 10: ......
Страница 20: ...20 Projector Parts Front Top PowerLite 2040 2140W ...
Страница 21: ...21 PowerLite 975W 2055 2065 2155W 2165W ...
Страница 27: ...27 Projector Parts Remote Control 1 Power button ...
Страница 29: ...29 29 Remote control signal emitter emits remote control signals Parent topic Projector Part Locations ...
Страница 51: ...51 1 Remove the battery cover 2 Insert the batteries with the and ends facing as shown ...
Страница 61: ...61 1 Remove the wireless LAN module cover screw 2 Insert the wireless LAN module into the USB A port ...
Страница 178: ...178 PowerLite 2040 2140W ...
Страница 182: ...182 PowerLite 2040 2140W Caution Do not touch any glass on the lamp assembly to avoid premature lamp failure ...
Страница 184: ...184 PowerLite 2040 2140W 9 Replace the lamp cover and tighten the screw to secure it ...


