EPSON
LQ-570e/LQ-580
Revision
C
Disassembly
and Assembly
Disassembly
and Assembly
89
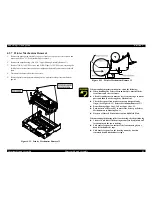
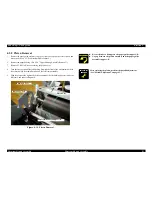
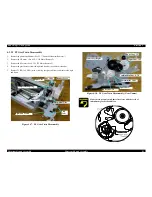
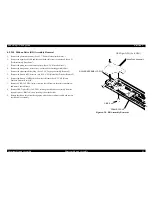
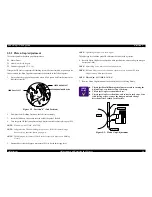
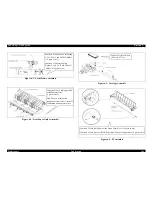
Figure
4-26. Mounting the Carriage Assembly
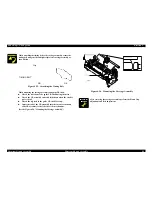
When
attaching the timing belt to the carriage assembly, secure the
timing
belt using the left and light clips of the carriage assembly as
shown
below.
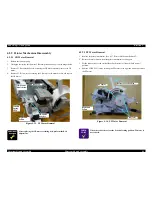
Figure
4-25. Attaching the Timing Belt
When
mounting the carriage assembly and guide CR shaft;
n
Check
the direction of the guide CR shaft during insertion.
n
Check
the CR assembly smoothly slide down when the shaft is
put
vertical.
n
Check
the big hole of the guide CR shaft faces up.
n
Insert
the tab of the CR assembly into the cutout section and
slide
CR assembly to the left side of the mechanism.
(See
the Figure 4-26, "Mounting the Carriage Assembly")
C l i p
N G
O K
T I M I N G B E L T
A D J U S T M E N T
R E Q U I R E D
After
removing the carriage assembly, perform the Platen Gap
adjustment
and Bi-d adjustment.
Содержание LQ-570e
Страница 8: ...C H A P T E R 1 PRODUCT DESCRIPTION ...
Страница 46: ...C H A P T E R 2 OPERATINGPRINCIPLES ...
Страница 57: ...C H A P T E R 3 TROUBLESHOOTING ...
Страница 70: ...C H A P T E R 4 DISASSEMBLYANDASSEMBLY ...
Страница 93: ...C H A P T E R 5 ADJUSTMENT ...
Страница 101: ...C H A P T E R 6 MAINTENANCE ...
Страница 106: ...C H A P T E R 7 APPENDIX ...
Страница 119: ...EPSON LQ 570e LQ 580 Revision C Appendix Components Layout 119 Figure 7 3 C293PSB Component Layout ...
Страница 120: ...EPSON LQ 570e LQ 580 Revision C Appendix Components Layout 120 Figure 7 4 C293PSE Component Layout ...
Страница 127: ......
Страница 128: ......
Страница 129: ......


