35
6.
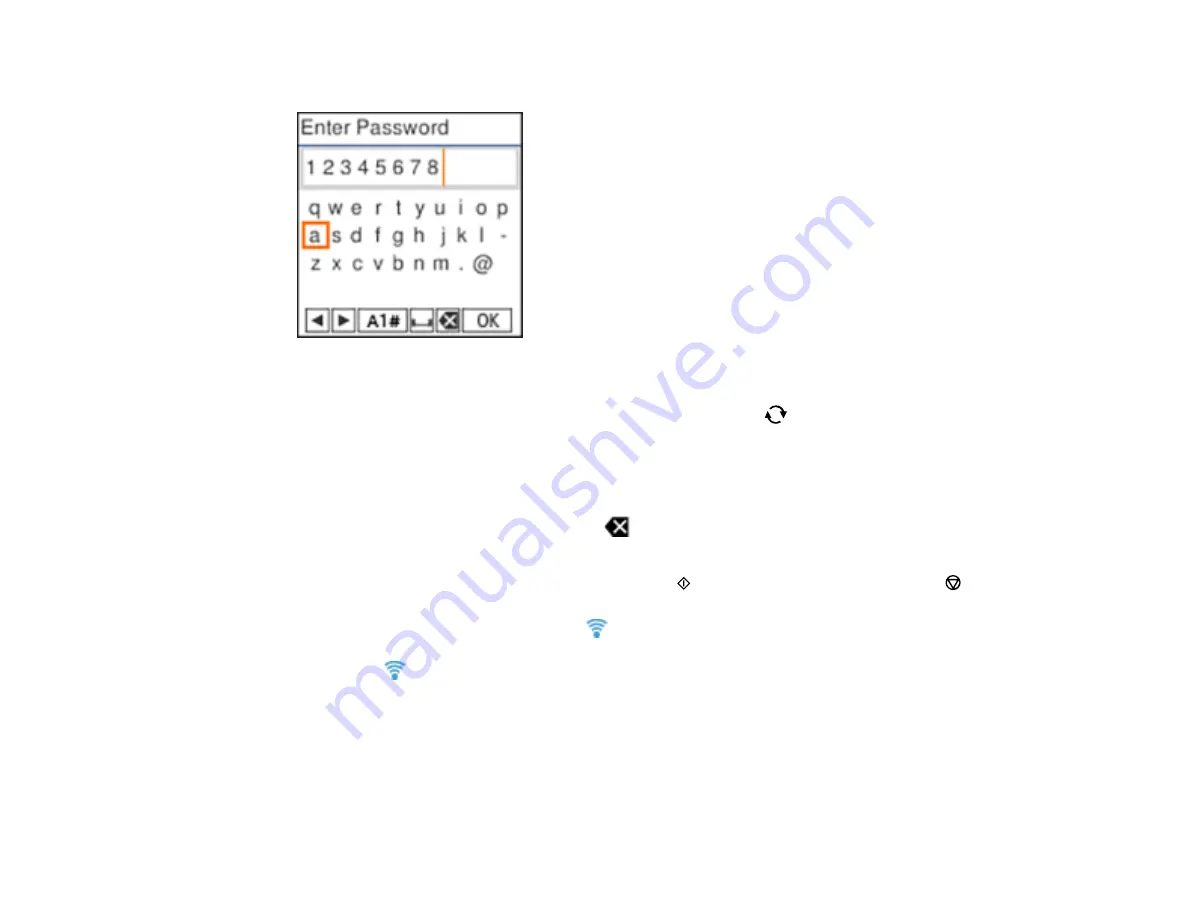
Enter your wireless password (or network name and then password).
• To enter characters, press the buttons on the numeric keypad.
• To change the character case or type, select
A1#
or press the
reset button.
• To move the cursor to the right or add a space, press the right arrow button.
• To move the cursor to the left, press the left arrow button.
• To enter symbols, press
1
on the numeric keypad.
• To delete the previous character, select
.
• When you finish entering characters, select
OK
and press the
OK
button.
7.
If you want to print a network setup report, press the
start button. (Otherwise, press the
stop
button.)
Your product should now display a blue
Wi-Fi icon on the LCD screen.
Note:
If the
Wi-Fi icon is not displayed on the LCD screen as shown above, you may have
selected the wrong network name or entered the password incorrectly. Repeat these steps to try
again.
Parent topic:
Wi-Fi Infrastructure Mode Setup
Related references
Содержание L3260 Series
Страница 1: ...L3260 User s Guide ...
Страница 2: ......
Страница 11: ...11 L3260 User s Guide Welcome to the L3260 User s Guide For a printable PDF copy of this guide click here ...
Страница 14: ...14 Product Parts Inside 1 Document cover 2 Scanner glass 3 Control panel 1 Scanner unit ...
Страница 116: ...116 You see an Epson Scan 2 window like this ...
Страница 128: ...128 1 Click the Settings button You see a screen like this 2 Click the File Name Settings tab ...
Страница 130: ...130 You see a screen like this 2 Click the Save Settings tab ...
Страница 133: ...133 You see a screen like this 2 Click the Customize Actions tab ...
Страница 135: ...135 You see this window ...
Страница 160: ...160 You see a window like this 5 Click Print ...


