136
2.
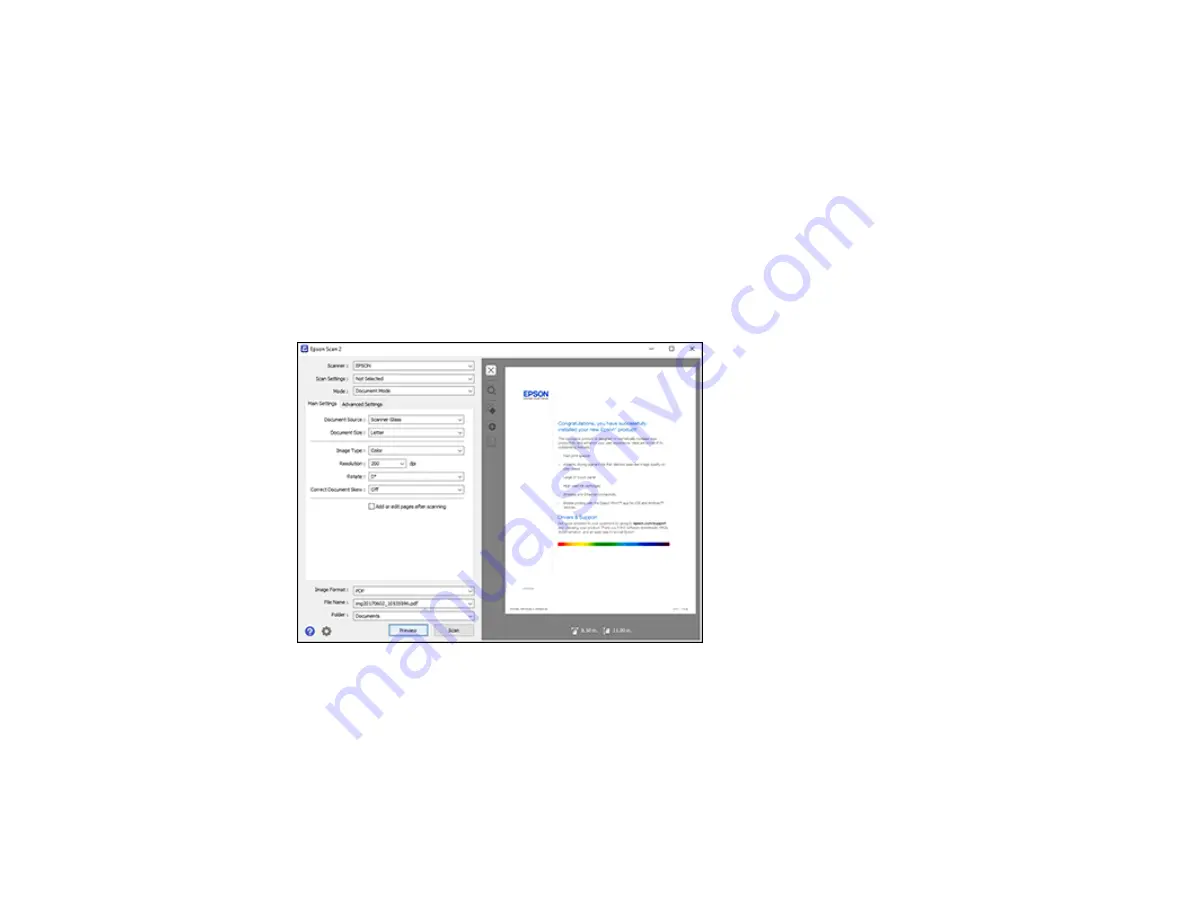
Select the
Mode
setting that matches the type of original you are scanning.
3.
Select the
Document Source
setting that matches where you placed your original.
4.
Select the
Document Size
setting that matches the size of your original. You can select
Customize
to enter a custom size, if necessary.
5.
Select the image type of your original and how you want it scanned as the
Image Type
setting.
6.
Select the
Resolution
setting you want to use for your scan.
7.
Select the
Rotate
setting to rotate the scanned image.
8.
Select the
Correct Document Skew
setting to correct skewed originals, image contents, or both.
9.
Click the
Preview
button.
Epson Scan 2 previews your original and displays the results in the Epson Scan 2 window.
10. Select any of the additional settings that you want to use on the Main Settings tab.
11. Click the
Advanced Settings
tab and select any settings that you want to use.
12. Select the format in which you want to save your scanned file as the
Image Format
setting. If
necessary, select
Options
and select any desired format options.
13. Enter the file name for your scanned file in the
File Name
field. If necessary, select
Settings
to
modify the file name settings.
Содержание L3260 Series
Страница 1: ...L3260 User s Guide ...
Страница 2: ......
Страница 11: ...11 L3260 User s Guide Welcome to the L3260 User s Guide For a printable PDF copy of this guide click here ...
Страница 14: ...14 Product Parts Inside 1 Document cover 2 Scanner glass 3 Control panel 1 Scanner unit ...
Страница 116: ...116 You see an Epson Scan 2 window like this ...
Страница 128: ...128 1 Click the Settings button You see a screen like this 2 Click the File Name Settings tab ...
Страница 130: ...130 You see a screen like this 2 Click the Save Settings tab ...
Страница 133: ...133 You see a screen like this 2 Click the Customize Actions tab ...
Страница 135: ...135 You see this window ...
Страница 160: ...160 You see a window like this 5 Click Print ...


